


So you've got a new pair of hiking boots and you can't wait to show them off. I'm sure you're excited to wear them on your next hiking trip, but before you do, you'll have to break them in properly.
But that's why we're here today. In this article, I'll share with you everything there is to know about breaking in new hiking boots. Let's jump straight in!
How To Break In Hiking Boots
Theoretically, you can tough it up and just wear your new boots until they're broken in. But you should take care of your feet as well. For that reason, it's important to do the process in several steps.
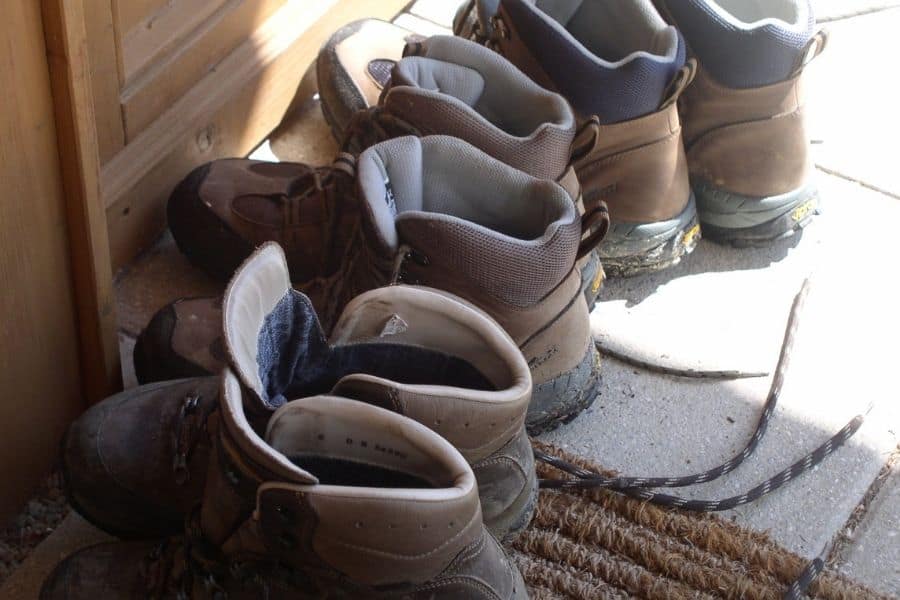
1. Wear Boots At Home
Start by wearing your new hiking boots at home. By this, I mean wearing them the same way you'd do when on the trail – wearing the same type of socks and insoles. Now, you might be wondering – why start at home first?
Here's a well-known scenario – you got so hyped up about wearing your new pair of shoes for the first time, only to realize they're not the right fit. More often than not, we fall in love with the design and pay little attention to how well a specific pair suits us.
By wearing your new hiking boots at home, you get to see if there are issues that can't be fixed by breaking them in.
For instance, I have a rather high arch so a lot of regular-fitting boots are too tight for my feet. Still, that's not always apparent on the first try.
For that reason, I always wear boots at home first, so that I can return them if they turn out to be the wrong fit.
Now, you'll surely feel the discomfort you'll feel when wearing hiking boots for the first time. But before you decide it's the shape of the boots and not the fact that they're new, make sure you're wearing them properly. Check if the tongue is in place, as well as if they're laced the right way.
2. Wear Boots Outside
If you're sure about the fit, you should wear your new boots outside as well.
Ideally, you can wear them while doing chores such as grocery shopping or picking up kids from school. These activities don't usually last too long, so you shouldn't get blisters from wearing new shoes. Plus, you can keep a pair of your everyday shoes in your car, so as soon as you start feeling uncomfortable, you can switch them.
As you start getting more comfortable wearing them, go for long walks while wearing them.
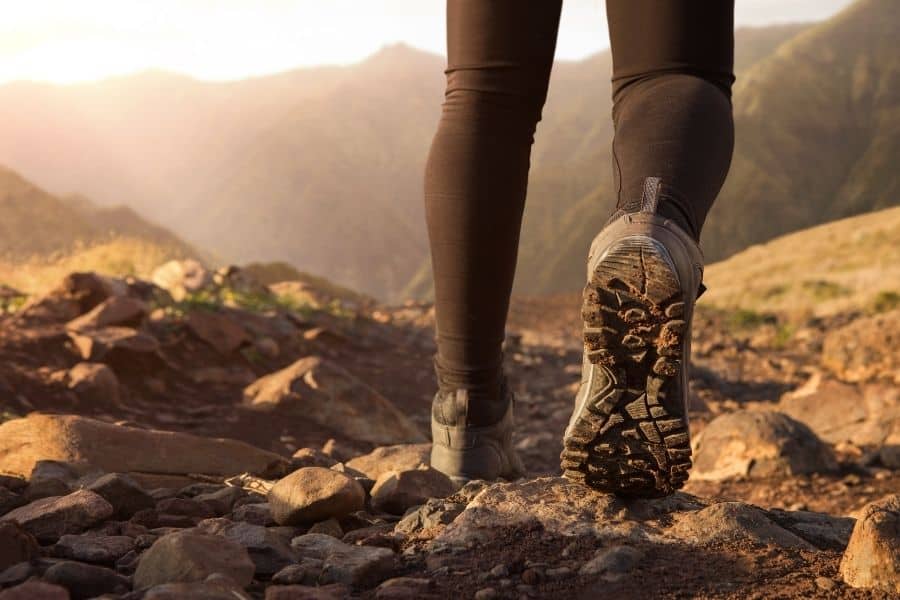
3. Vary your terrain
If possible, ditch the streets and go for a walk in the woods, on the beach and other types of terrain. That's the best way to see if your new boots are suitable for your next trip.
Walk on hills, emulate switchbacks, trek through dirt and grass, and rocks, etc.
Whatever you can do to give your boots a thorough test of the elements and variety of terrain, the more broken in they'll get!
4. Add Weight
After a few sessions of breaking in your new boots around the block, it's time to get the game to the next level. By this, I mean putting some weight on your back.
After all, you're probably going to carry at least 20 pounds when hiking, so you better prepare your feet for that expedition.
How to Avoid Getting Blisters When Breaking In Hiking Boots
If your hiking boots are not the right fit, blisters are inevitable. But if they are, there are ways you can avoid getting them.
Most importantly, you need to take things slow – even if that means it will take longer to break them in.
At first, wear them only in the morning, when your feet are rested and the weather is cool. As it gets closer to noon, the temperature rises and your feet start to swell.
Remember, we're taking things gradually. As soon as you feel a hot spot, check out to see if the boots are sitting properly on your feet. Maybe the laces are too tight, or the insoles have moved around. Or, you are simply wearing socks that are too thick.
Make sure to always have bandages and band aids close at hand, so that you can cover hot spots and prevent blisters from forming. Hydrogel dressings and moleskin are also helpful in this situation.
How Long Does It Take To Break In Hiking Boots?
If you really must, there are ways you can break in your hiking boots for as little as a few days. But these techniques will definitely shorten the life span of your boots and probably cause blisters.
In other words, I definitely recommend breaking in your boots in a traditional way. And doing it so will take you anywhere from one to four weeks, depending on how stiff those hiking boots actually are.
You know how I said you should start by wearing them at home and while doing short tasks outside? Well, you should do that for about a week or two, until the soles and cushions start getting adjusted to the shape of your feet. Likewise, your feet will slowly get adjusted to your new hiking boots.
After this time, you can start doing short hikes as a trial period.
Why short? Because there's a big possibility of getting blisters if you force your feet to wear new boots for a long period of time.
Generally, it will take you 3 to 5 short hikes to completely break in your new boots.
Can You Start Hiking With Brand New Hiking Boots Without Breaking Them In?
Absolutely not!
Surely, I've heard the tales about top-tier hiking boots that are so gentle on your feet that you don't need to be broken in before being worn. But even those boots made of mesh and other light material need to be worn a few times before you head out in the wild.
Considering how damaging unbroken boots can be to your feet, I can safely say that wearing them on the trail right away is not worth it. Imagine you find out mid-hike that they're not as comfy as you thought them to be?
When To Know You're Wearing The Wrong Boots
Let's start with the most obvious sign of them all – pain.
Sure, unbroken boots will usually be uncomfortable and can be painful when worn for too long. But that shouldn't happen when you barely put them on.
Now, the pain could be in your soles, fingers or even arches. In all of these cases, it means that something is wrong with the fit.
The pain around your ankles, especially above the heel doesn't necessarily mean your boots aren't adequate. In most cases, this is the part of the boot that needs to be broken in the most.
Remember that different brands have different sizing charts. And while you're used to wearing, let's say, size 8, that doesn't mean every boot of that size will fit you. If you notice your toes are cramped or crunched, that's a clear sign that those boots aren't suitable for you.
How To Break In Boots Fast

You might be tempted to do some of the quick breaking in techniques – and if you're really set on doing them, I won't stop you.
But, you should know that these methods can damage your boots – and even your feet.
So while I definitely don't recommend doing this, I'll show you what are the two most popular ways of breaking in boots fast.
1. One of the oldest tricks out there is to get them soaked in water and then worn until they're dry.
When they get wet, boots can stretch and get shaped more easily.
But that's also an easy way to destroy a brand new pair of boots. Sure, they might be waterproof, but the manufacturer didn't have you practically swimming with them in mind.
Of course, you don't need me to tell you that wearing wet boots isn't good for your feet either. Wet boots will wet your socks too, and they'll create friction on your skin. Eventually, that will create painful blisters that will make you hate your new boots.
2. Another method that you can try is blow dry them.
Yes, you've heard it right. The heat is supposed to soften the material and make it easily stretchable. While this method can work well with leather boots, you shouldn't do it with synthetic materials as they might melt.
Summing Things Up
Breaking in new hiking boots is a slow but effective process.
While skipping steps is, theoretically, possible, it won't give you the same results as the traditional method would.
So take your time and go slow – those boots aren't going anywhere without you!
And be sure to check out more essential hiking tips for beginners here!