

Hiking is no walk in the park.
It requires physical strength and endurance (see the difference between hiking and walking).
So if you think you can just put your boots on and head for the mountains – boy, are you wrong!
But don't despair.
With a little time and effort, anyone can get in shape for hitting the trail. And if you don't know where to start, I've got you covered.
In this article, I'll share with you my best tips on how to train for hiking. These are all things that really help me prepare for a hike, and I'm sure they'll help you too.
Let's dive straight in.
How To Train For Hiking – 8 Training Tips
Training for a hike doesn't just mean spending your free time at the local gym.
It involves a combination of different physical activities, as well as getting used to hiking gear.
Here are some of the best things you can do to get in shape leading up to a hike.
Do Basic Exercises
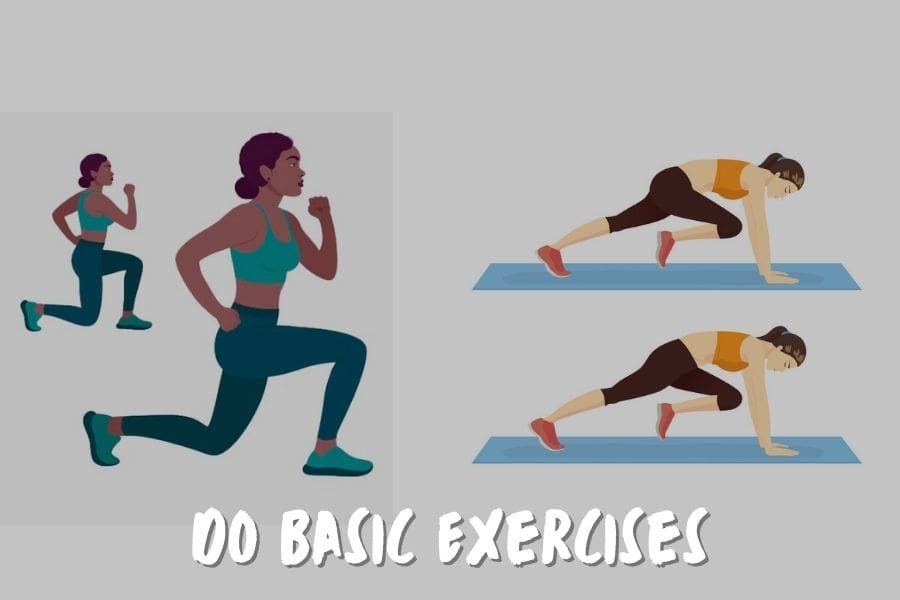
There are a few strength exercises you can do at home that will help you get in shape for hiking.
Lunges & Walking Lunges – This exercise helps you strengthen the quadriceps, which are your strongest leg muscles. Lunges also improve your balance and overall core strength.
Mountain Climbers – Mountain climbers are a good workout for the entire body. They work on your shoulders, core, triceps, quadriceps and hamstrings. They're a great way to prepare your heart and lungs for hiking.
Poor Man's Leg Curl – This exercise improves your knees, hamstrings and glutes, allowing you to march over hard terrain for a long time because you don't want knee pain after hiking.
Band Walks – Band walks are great for your glutes, hips and thighs. This workout will help you carry a heavy load throughout your hike.
Jump Squats – This is a great all-around exercise for your lower body and leg muscles.
Step Up Exercise – This workout works on your quadriceps and glutes. Strengthening these muscles will help you jump over any obstacle with ease while you're hiking.
Ideally, you should do these exercises in sets of 25, three to five times a week, depending on how much time you have at your disposal.
Start Early
By starting your training as early as possible, you give yourself time to gradually improve. Three to four months prior to your hike would be best.
You can start training for a hike with a simple walk around the neighborhood. Do this at least three times a week.
Don't force yourself – you've got time to increase the route over the course of time.
As you start feeling more comfortable walking a larger distance, start going on day hikes. Ideally, you should go at least once a week.
Track Your Time

Not sure if you're making any progress?
The only way you can know for sure is to keep track of your time.
There are tons of fitness apps available. They will give you a general idea of your current physical condition and how much you need to work before you're ready to tackle a hike.
Even if you have a long way to go, don't force yourself. It's better to consistently reach smaller goals than to strain yourself to get insane results in a short amount of time. That will just leave you with sore muscles – and probably no will to go on.
Get Used To Your Shoes
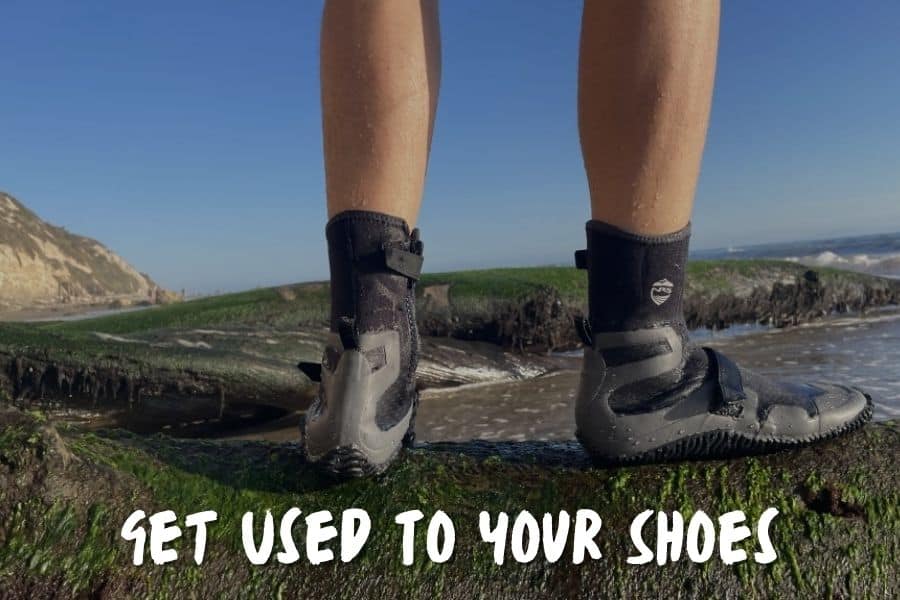
Any shoe that you haven't worn in a long time can give you blisters.
That's even more true for a new pair. New hiking shoes are stiff and take time to be broken in.
To avoid causing stress on your feet, get used to your shoes by wearing them a bit around your home every once in a while.
After a few days, hit the streets. Wear them while running errands. They will surely be uncomfortable at first, but the idea is not to wear them long enough for blisters to form.
By the time you hit the trail, these shoes will feel like gloves.
Wear A Backpack
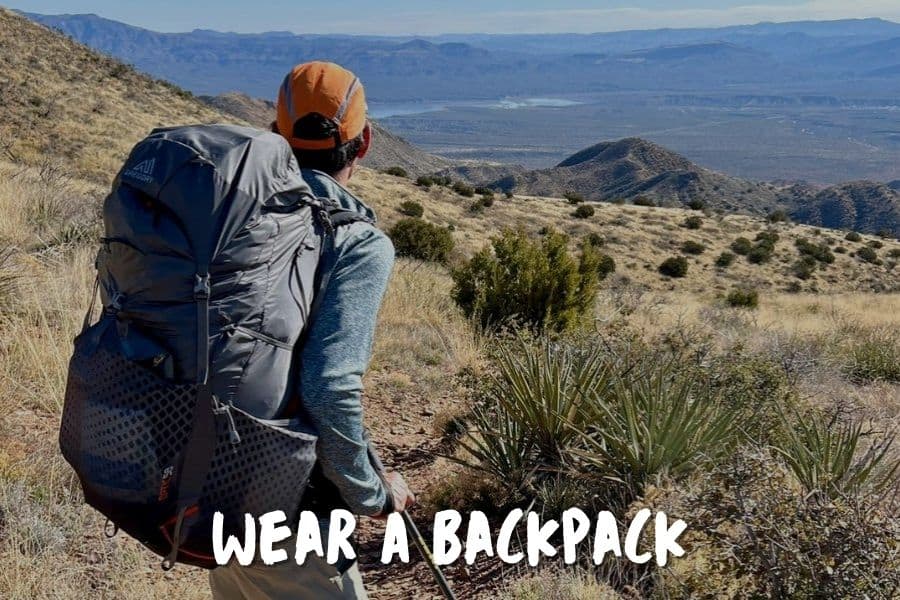
You'll be carrying quite a load on your back during the hike, and that's also something you should work on getting used to.
Start by wearing a backpack loaded with up to 25% of the weight it will have during your hike.
Then slowly increase both the pack weight and time on feet each week, until you reach the goal.
Just make sure to spread the load evenly. The heaviest pieces of gear should be stored next to your back and centered in the pack. This will give you the most stability.
Swim To Build Strength
One of the best ways to build up your endurance without straining your joints is to go swimming.
This is the ultimate all-in-one training.
It puts all of your muscles to work, increases your stamina and improves overall cardiovascular health.
I'd suggest going swimming at least two times a week. Start slow and increase the number of laps with each practice. Your goal should be to swim laps for 30 to 40 minutes per session.
Rest Before The D Day
Take it easy a few days prior to your hike.
By that, I don't necessarily mean sitting in front of your TV for 72 hours straight.
Light exercise is okay – even desirable.
But any last-minute intense workout, planning or packing is a big no. This will drain the energy that you could otherwise use for hiking.
Preparing For High Altitude Hiking
If you plan on hiking at an altitude above 8,000 feet, then you need to prepare your body for that elevation gain.
Why?
Because the higher you go, the air becomes thinner and lower in oxygen. If your body isn't ready, it'll start to become hard to breathe.
These are some things you can do to get your body ready for hiking at high altitudes.
Go Gradually
The best way to acclimate to the altitude is to do it gradually.
So when you're going up, make sure to do it slowly, with no more than 1,000 feet of elevation gain each day. As you get more accustomed to the altitude, you can slowly increase your daily gain, if you're comfortable.
Among other things, high altitude affects sleep too. You might have trouble falling asleep as well as breathing. That's why you should always sleep at a 3,000-foot difference. So for instance, if you've reached 12,000 feet today, sleep at 9,000.
Stay Hydrated

Dry air and low pressure at high altitudes cause our bodies to lose water not just through sweating but breathing too.
As if that's not enough, you actually feel less thirsty at a higher altitude.
Basically, it's a recipe for dehydration.
To avoid that, you should drink between 35 and 50 ounces more water than you'd otherwise drink per day.
Read: Hiking Safety Tips (How to Stay Safe on the Trail)
Know Symptoms Of Altitude Sickness
Altitude sickness is actually a group of symptoms that can occur as you quickly change your elevation.
There are three types of altitude sickness:
Acute Mountain Sickness (AMS) is the most common. The symptoms are pretty much the same as the morning after – headache, nausea, muscle aches and dizziness.
High Altitude Pulmonary Edema (HAPE) is a more serious type of altitude sickness. It occurs when fluid builds up in the lungs. This can be life-threatening. Some of the symptoms include fatigue, severe shortness of breath and a cough that starts off dry but may progress to create phlegm.
High Altitude Cerebral Edema (HACE) is a build-up of fluid in the brain. It causes increased heart rate, confusion, incoordination and loss of consciousness. These symptoms are as scary as they sound. HACE can be life-threatening.
Didn't mean to scare you there – but know that ignoring altitude sickness symptoms is extremely dangerous. That's why you should never ignore the signals your body is sending you.
If you notice any altitude sickness symptoms, the best thing you can do is slow down your pace and lower the elevation.
Hiking at high altitudes is not a race. It's important to take your time and acclimate your body to the different air pressure.
And what's the point of rushing anyway?
Go slow and enjoy nature.
Getting In Shape For A Backpacking Trip
I've seen a bunch of people on the internet saying that you don't need any extra preparation for a long distance hike. According to them, you should just start slowly, and you'll get better along the way.
What a horrible piece of advice.
I can already envision all the aspiring hikers hitting the trail only to give up as soon as they realize what they've gotten themselves into.
A thru hike is the definition of commitment. It takes weeks, if not months to finish the hike.
And sure, the first few weeks act as a kind of training, but that doesn't mean you can go totally unprepared.
In fact, you should take at least six months to prepare for a backpacking trip.
Your training plan should look something like this:
Month 1 & 2 – you should train several times a week, alternating between strength training and cardio exercises.
Your focus is getting into shape, with an accent on thighs, calves and lower back muscles.
Month 3 & 4 – These two months are reserved for pushing your limits.
Increase your load when weight training to build up your strength and lung capacity.
Month 5 & 6 – Don't strain yourself two months prior to your hike.
This period is reserved for maintaining your current fitness level. That way, you'll be at the top of your game when you hit the trail.
Choosing The Right Hiking Shoes/Boots
Hiking boots are your most important piece of gear.
Your feet will be doing most of the work, so you need to protect them from rough terrain.
Good hiking shoes need to be comfortable, a good fit and durable.
But what type to go for?
Low-cut shoes generally have flexible soles. They're suitable for easier and shorter hikes.
Mid-cut boots cover your ankles, thus giving them more support. This comes in handy if you're carrying a heavy load on your back.
They're stiffer than low-cut shoes, which makes them great for multi-day hikes.
Finally, there are high-cut boots. They're well-padded with rather stiff soles. They're suitable for walking over rough terrain with a heavy pack for multiple days.
As you can see, the right choice of hiking shoes depends a lot on the type of terrain you're most likely to encounter on the trail.
No matter what paid you choose, make sure to properly break them in, so that you don't get blisters.
Ready To Hit The Trail?
Getting in shape for a hike involves way more than just running on a treadmill.
You need to build up your overall strength and endurance, with an accent on your lower back and leg muscles.
If you're climbing well above sea level, you should prepare your body for low air pressure, too.
The key is to take your time to adapt.
By following these steps, you'll be able to physically prepare yourself for any trail. Just make sure you start training on time!
Also Read: How to Research Your Hiking Trail