

When you go on any outdoor adventure, one of the biggest headaches is choosing what to pack. To make things easier, look to the Ten Essentials.
Walk into any outdoors store, and you'll find literally millions of items you could pick up. From shoes to stoves to shovels, how do you decide what the heck to bring?
The Ten Essentials were initially outlined by Seattle-based outdoors organization, The Mountaineers. Their goal was to prepare for emergency situations by making a list of gear that would allow you to spend one night outside.
The Ten Essentials have since evolved into the definitive framework of how to prepare for a trip. In this article, I'll attempt to give you an overview of each essential, including why you want it and what to bring.
Let's do it!
What Are The Ten Essentials?
Without beating around the bush, here are the Ten Essentials. Click on each item to learn more, and read on to learn the details of each item.
#1 – Navigation
First and foremost, you have to make sure you don't get lost. In emergency situations, you might get entirely off track. Even if you're on the trail, it's still possible to get lost.
Navigation supplies are crucial for hiking, so you can figure out what mountain you're on. Here are some options to help point you in the right direction.
Cell phones are great for providing maps, but you'll likely run out of battery and/or leave your coverage area.
Map
As old-school as they are, physical maps are timeless for a reason. They're easy to use, lightweight, and affordable, making them an excellent choice for all outdoor enthusiasts.
Always grab a physical map at the entrance to the park. That'll give you trail details and local geography.
A great place to get maps is your local REI store. REI staffs their stores with experienced hikers to give you in-person advice. They'll show you which map to get and even how to use it.
If you don't have an REI near you, here are some great places to view maps online or buy physical maps:
- National Geographic Trails Illustrated – All United States, plus some Canada
- Tom Harris Maps – California Only
- Green Trails – Arizona, California, Nevada, Oregon, Washington, British Columbia, New York
- Beartooth Publishing – Wyoming, Montana, Arizona
Pro-tip: throw your map inside a Ziploc bag to keep it waterproof.
Compass
Now that you've got a map, you need to be able to know which way is which. Using a compass is the answer to your question.
Outdoors compasses show you much more than where north is. They help you distinguish between true north and magnetic north, as well as give you the tools needed to find your route.
Compasses are lightweight and affordable, making them a no-brainer even for day trips.
Altimeter
An altimeter shows you what your altitude is (get it, Altitude-meter, altimeter?). This is useful in nailing down exactly where you are.
Most maps include altitude data. Matching your map's altitude up with altimeter data is a great way to confirm your location when you're lost.
Altimeters come in many forms. Which you choose
- Mobile Apps – affordable and easy to use, but poor performance and depends on cell phone battery.
- Analog – more affordable than a watch and doesn't need batteries, but requires calibration.
- Digital watches – pricier, better data, but run the risk of running out of battery.
#2 – Sun Protection
It's always smart to stay safe from the sun, but it's even more important in emergency situations. If you get injured on a mountainside, you might be stuck in the sun for hours! Make sure you protect yourself with proper sun gear.
Hat
The most basic of sun protection, also one of the easiest!
A baseball cap will cover your face, but it won't protect your neck or ears. A quality wide-brim hat will protect your entire head, face, and neck from the sun's rays. Considering these are some of the most sensitive areas of the skin, a hat is a crucial piece of gear to bring.
Sunglasses
Now that your face is protected, it's time to defend arguably your most important organ: your eyes. While hiking, the sun beats down on you as you climb altitude. UV rays are powerful, and radiate through clouds and bounce off the white snow.
Sunglasses aren't just a fashion statement. They'll allow you to spend more time outdoors and see greater distances.
A common question I get is, "should you get polarized lenses?" Initially used by fishermen for looking deeper into the water, polarized lenses are also great for hiking. They'll help reduce the blinding light that reflects off water or snow.
Sunscreen
I'm not trying to sound like your mom here, but make sure you wear your sunscreen.
Sunscreen drastically cuts down the intensity of harmful rays that penetrate your skin. It's also super easy – all you have to do is slap it on.
There are hundreds of sunscreens on the market, but make sure that it checks these two boxes:
- Broad Spectrum – this means it protects against UVA and UVB sun rays, giving you complete defense.
- At least 30 SPF – anything below won't provide much coverage. Use at least 30 SPF, 50 SPF if you're prone to sunburn or somewhere crazy hot like Arizona.
Sunscreen should be applied 15-20 minutes before entering the sun so that it can sink in. Reapply as necessary to guarantee effectiveness. Your lips can burn too, so it might be worthwhile to pick up some lip balm that contains sunscreen (it'll say the SPF level on it, as well).
For facial sunscreens, I like the ones that contain Zinc oxide (you know, the white stuff lifeguards put on their nose). Zinc oxide is a natural mineral that reflects light off your skin, minimizing the effect the sun has on you.
Clothes (The Original Sunscreen)
The easiest way to block out the sun's rays is to wear clothes that protect you from the sun. Instead of applying sunscreen to your arms and legs, you can simply wear long sleeves and pants.
Today, there are even clothes that come with sun ratings. While sunscreen uses SPF (Sun Protection Factor), clothes are rated by UPF (Ultraviolet Protection Factor). The difference is that SPF measures only UVB protection, while UPF measures both UVA and UVB.
For reference, a plain white t-shirt offers about 5 UPF. This will block out the sun's rays…but only slightly. Depending on your sun tolerance, you can get clothes with UPF rating up to 50! Definitely consider checking out high UPF clothes if you're especially intolerant to the sun.
#3 – Insulation
When you leave the house, you usually dress warm enough for the weather you feel outside your door. However, things can get cold real quick if you start gaining elevation.
Because of the lower air pressure at higher pressure, temperatures tend to drop as altitude rises. That's why you see mountain peaks covered in snow, while the ground level is clear and dry.
Another factor is the time of day. Maybe you start your hike during the day when the sun warms you up. As the sun sets, temperatures drop, and you'll quickly be reaching for a sweater!
Here in Colorado, temperatures can swing from 100 degrees at noon to 60 degrees during the day. Needless to say, we watch the weather pretty carefully.
For these reasons, we recommend that you always consider packing extra clothes. Depending on the location and season, anything from a light jacket to a full coat might be necessary to adjust for temperature changes.
It's also worthwhile to bring a thick pair of socks. Especially if you're sweating through your socks, you don't want to be stuck with a thin, wet pair on your feet. Bring an extra, thick pair to make sure you stay warm and dry.
Rain Jacket
Although extra clothes are commonly used for keeping you warm, they can also be used for staying dry.
As much as the weatherman says he knows what'll happen, the truth is we never know when it's going to rain. That's why it's always crucial to pack a rain jacket (or at least a waterproof poncho) when you go hiking. Personally, I have a thin, lightweight rain jacket I bring everywhere. I even keep a spare in my car in case it rains.
You might think that rain is no big deal, but that's because you're used to living in civilization. When it rains outside, you can easily hide under an awning or duck into a Starbucks to avoid getting soaked.
Not so much in the outdoors. Even if you manage to find shelter under the trees, you're not stuck outside. When it starts raining, you don't want to be trapped under cover of a tree. You want to get going before the rain gets worse
That's why having a rain jacket is an absolute necessity in my book.
#4 – Illumination
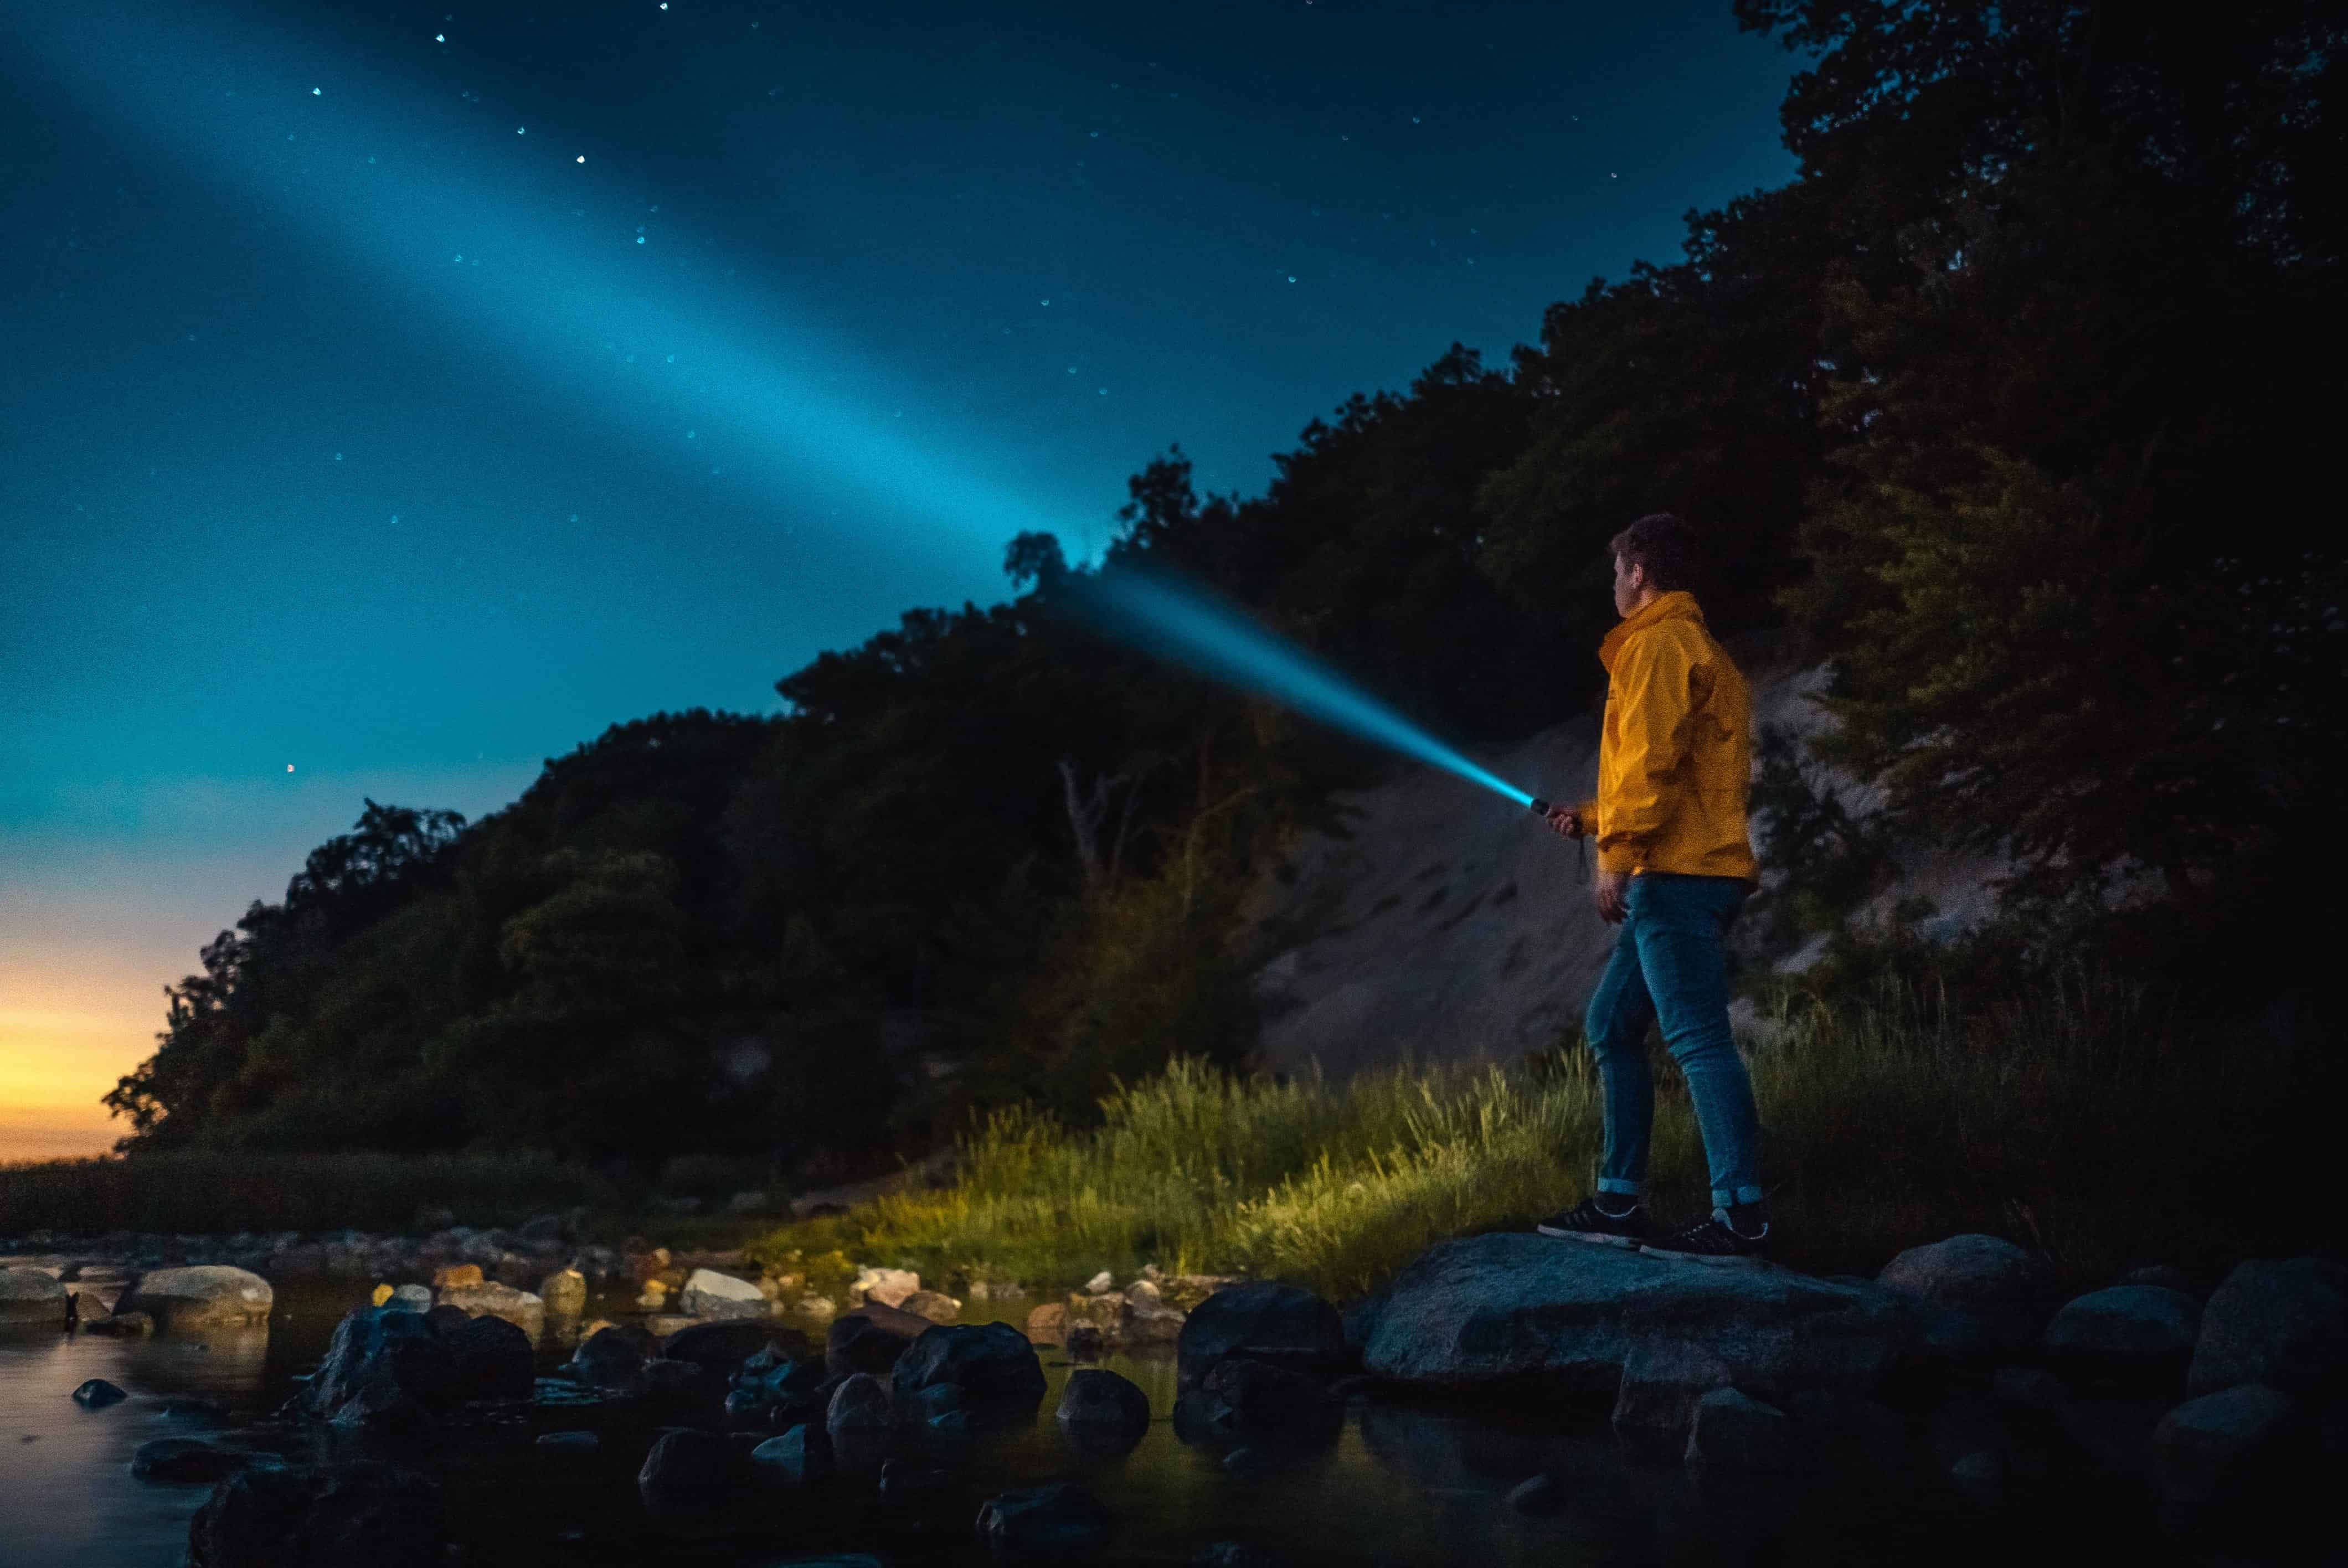
The next essential is the illumination, A.K.A. light, A.K.A. a flashlight.
You might be wondering, "why would I need a flashlight when I'm hiking during the day?"
Just like how you should prepare for being cold at night, you should be ready in case you're stuck in the dark. Although we can guess when the sun goes down, you might overshoot your route (or underestimate your walking pace) and end up hiking without light.
When the sun goes down, a flashlight is incredibly useful for finding your way, staying on the path, or digging through your bag.
Flashlights can also be used to signal for help. Some flashlights have a strobe feature that blinks the light (like a rave) to make the beam even more noticeable to rescuers.
Just like a map, your cell phone could be a good flashlight. Unfortunately, your phone's flashlight is nowhere near as broad or intense as an actual flashlight. You could also run out of phone battery, which is not reliable in an emergency scenario.
Before you grab any old flashlight, consider that using a flashlight in the wild is a different beast than home improvement. I have a massive Mag-Lite in my garage that's super reliable. But, that flashlight weighs about 300 lbs, so it isn't the best for packing in my bag.
Instead, here are some options for illuminating your trip.
Headlamps
The standard go-to light for outdoorsmen is a headlamp. Compared to regular flashlights, headlamps:
- Are lightweight (2-4 oz) and affordable
- Use minimal battery thanks to LED bulbs
- Free up your hands
That last point is critical if you're doing something like cooking, or if you're hiking with poles and want both of your hands available. Headlamps might look dorky, but they're incredibly useful.
Tactical Flashlights
If you don't want a headlamp, another lightweight option is a tactical flashlight. These flashlights are made to be small enough to fit in your hand, but bright enough to shine through the thick of the forest.
The benefit tactical flashlights have over headlamps is that they're usually more durable. As a "tactical" item, they're built with durable metal and made to be completely indestructible. Compare that to a plastic headlamp, and you can see why I suggest these rigid options.
Headlamps definitely have an edge when it comes to working with your hands. However, a tactical flashlight can be held in your mouth if you're cooking, or strapped to your bag for when you're walking.
Bright Ideas
On top of choosing the right flashlight, here are some tips to make sure your illumination is impactful.
- Make sure your batteries are new. It might be worthwhile to store your flashlight with the batteries out, so the flashlight doesn't drain power while inactive.
- Consider bringing extra batteries, especially on long trips.
- Check your bulb life. Order extra bulbs and replace them regularly, or bring bulbs with you for additional insurance.
Follow these tips, and your trip will be brightened up in no time.
#5 – First-aid
At first glance, this essential might seem like overkill. 99% of outdoors trips don't lead to injury, so why would you need first aid? Well, the few adventures that lead to injury could lead to disaster.
You never know what'll happen on the trail. Between me, my friends, and my family, I've seen cuts, bruises, sprains, you name it.
That might sound dangerous, but the good news is that first aid kits are affordable, light, and easy to pack. These days, pharmacies like Walgreens or stores like REI have compact, waterproof first aid kits you can just grab 'n' go. There's really no excuse for not having one.
First-Aid Kit Recipe
I'll admit, there are a million different items you could put in a first-aid kit. Instead of worrying about what to bring, just buy a first aid kit and throw it in your bag.
If you're more of a DIY-er, here are some suggestions for what to pack.
- Bandages, skin closures
- Gauze/dressings
- Brace or wrap
- Antiseptic, blister prevention/treatment
- Nitrile gloves
- Tweezers
- Painkillers, NSAIDs
- Pepto Bismol, antihistamines
- Topical antibiotic
- EpiPen (if allergic to bees)
- Tourniquet
You don't need all of these, but these are some suggestions for you to get started (I also wrote a detailed post about this!).
#6 – Fire
As archaic as this seems, fire is one of the most crucial components for surviving emergency situations. A well-built fire can help you signal your location, cook food, and stay warm.
The bad news is that creating a fire from scratch is not easy. There's a reason why it took the cavemen centuries to figure it out. The good news is that technology has come a long way, and there are now a ton of great fire-starting tools on the market.
Here are some of the most popular choices:
- Basic matchbook (like you find at a bar) – these can start a fire but are too flimsy for outdoors purposes. On top of that, they could get wet, which would render them useless.
- Disposable butane lighter – These are small, available everywhere, and will light under most circumstances. The downside is that the butane could run out, and the flame could be too small to start a useful fire.
- Stormproof matches – these survival-minded matches are waterproof by design. They also come in a waterproof container (with a striker attached), making them a convenient and portable option.
- Ferro rod – a more advanced tool, a Ferro rod is a rod made out of ferrocerium. This metal produces a shower of sparks when struck with another metal (like a knife). Ferro rods are highly recommended due to how weatherproof and long-lasting they are.
At a minimum, bring a gas station butane lighter. This will work under most circumstances, and as long it's full, should you last you long enough to get back to civilization.
If you'd like to be extra prepared, a pack of stormproof matches or a Ferro rod will go a long way and last you for years. They can also be stored at your house and used in emergency or bug-out scenarios.
#7 – Tools
The seventh essential is tools. This category is pretty broad and can be interpreted in a hundred different ways. To me, the tools essential means any implement that'll allow you to expand your capabilities beyond what you can do with your bare hands.
The most important tool is, of course, a knife. A knife will help you prep food, repair gear, start a fire, and administer first aid.
You can double the effectiveness of your knife by bringing a multi-tool such as a Swiss Army knife. This'll equip you with not only a knife, but a pair of scissors, screwdriver, nail file, and much more.
Lastly, a bit of paracord is a small tool that can go a long way. It has an endless list of uses, including making traps, fixing bags/tents, and even an emergency fishing lure. For only a few dollars, this tool is extremely worth the investment.
Repair Kit
Beyond tools, it's also a good idea to bring repair supplies. This can include anything from fabric or cloth, to zip ties or duct tape (which notoriously fixes everything).
Depending on your load, you might have some replacement parts available to you already. Tents usually come with additional fabric so you can seal any holes that are dug into your shelter. Hiking poles as well might have repair kits, which contain extra tips or caps.
#8 – Food
Of everything on this list, food is probably the most important. Unless you think you can catch a fish with your bare hands, it's a good idea to bring some snacks with you on your way.
Even if you're just going for a few hours hike, it's worthwhile to bring some additional sustenance. You never know when there will be foul weather or anything else that keeps you in the wild for longer than expected.
Food becomes even more important when you remember that eating warms you up. Even if you're not dying of starvation, a hearty snack can help you fight off the cold while also giving you energy.
How To Choose Your Outdoors Snack
Before you go rushing to the trail mix, let's discuss what makes a great outdoors snack.
- Portable – should come in a sealed bag to ward off bears
- Non-perishable – so you don't have to worry about it expiring
- Pre-made – you don't want to have to fire up the stove just to have a bite to eat
- NOT spicy – trust me on this one.
- Calorically dense – so you don't have to carry a lot of weight
Looking at this list, you can see why Clif Bars exist. They meet all of the qualifications! Some other great snacks are almonds, PowerBars, beef jerky, pistachios, or even peanut butter & jelly sandwiches.
P.S. for the coffee fiends out there, it might be worthwhile to pack some instant coffee or caffeine pills. These can help give you a second wind that'll help you get out of trouble and back to civilization.
#9 – Water
This should go without saying, but…water is essential!
No matter what you're doing outdoors, make sure you bring enough water. Depending on the person, daily consumption ranges from two to three quarts per day. That number is even higher if you're in hot weather or high altitude.
At a minimum, bring a lightweight water bottle that won't get damaged. I prefer stainless steel bottles over Nalgene since they don't give you that plastic taste.
Many people like to use those CamelBack-style water packs because they're easy to drink out of. However, I'm not a fan. The bladder is prone to freezing and leaking, and it's also hard to clean. Stick with a bare-bones bottle.
Water Purification
A water bottle should be enough for a day hike, but that water won't be enough to last you overnight or over a few days. On top of that, a water bottle won't be able to do anything if you get caught in the wilderness and have to find your own water.
That's where water purification comes into play. Instead of bringing a ton of water, just make your own!
A simple option is to bring water purification tablets. These quick-dissolving pellets use chemistry to turn any water into drinking water. There are a ton of different tabs available, all with different ingredients and effectiveness.
If using chemicals isn't up your ally, you can use a water filter. No, not the Brita that you have in your fridge.
Today, there are plenty of lightweight options available that allow you to turn lake water into drinking water in a jiffy. The Lifestraw is one such example. It's affordable, lightweight, and instantly turns dirty water into life-saving drinking water.
#10 – Shelter
Last but not least, the final essential is shelter.
If you're just going on a day hike, you might think this is overkill. However, consider what happens if you get lost or hurt yourself. You'll end up stuck in the wild for much longer than planned, and you may have to spend the night.
To prepare for that, I recommend at least an ultralight tarp or even a large, industrial trash bag. Remember, this is only temporary.
Emergency space blankets are another useful tool. They'll only cost you a few dollars but will help you retain heat much longer than clothes will.
Best Shelter: Single Use Bivy
In my opinion, the best shelter option is a bivvy. A bivvy is like an ultra-lightweight, plastic sleeping bag made to keep you warm. It can be used inside of a sleeping bag or stand-alone in emergency situations.
This SOL Emergency Bivvy is my favorite, but you can find similar bivvies at your local outdoors store. This model weighs 4.8 oz, and the bright orange color will help rescuers find you in the woods. It's also affordable, raises your temperature by 20° F, and even comes with a built-in flashlight.
Wrapping Up The Ten Essentials
There you have it, The Ten Essentials.
I know that's a lot to digest, but it's important to remember one thing: The Ten Essentials are a framework, not a set of rules.
Instead of stressing about being 300% prepared for your trip, use this guide to help you think about what could happen in an emergency situation. Most people don't even think about what it would be like to be stuck in the woods. By reviewing the Ten Essentials, you've already put yourself head and shoulders above most new campers and hikers.
That being said, you can make the Ten Essentials easy by preparing in advance. Make a list of what you need to pack to satisfy them. Then, put them all in one bag, so you can quickly grab it for your next adventure.
Above all, remember to be safe and have fun!
More Camping and Hiking Safety