First time camping?
You’re probably worried if everything will go according to plan.
But don’t worry. Camping is not rocket science. Once you select your campground, you just need to know how to set up a campsite.
And that’s why we’re here today. In this article, I’ll share with you everything there is to know about the subject, so that you can enjoy your trip into the wilderness to the fullest!
How to Set Up a Campsite?
Let’s start with the essentials:
1. Select a Great Campsite
Location matters. Here’s what you should pay attention to in order to pick a spot that’s suitable for camping.
Look for Level Ground
First things first, you need to find a good spot for a campsite. And, more precisely, a place to set up your tent.
Now, this might seem like a straightforward task, but you can’t just pitch it wherever and call it a day.
You want to pitch a tent on a piece of flat ground. Not only is it a more natural position to sleep, but you won’t roll in your sleep like you would while laying on a slope.
Don’t camp near hillsides. Any rain will flow down the hill and create a water pool around your tent. Instead, search for elevated areas to stay away from potential floods.
Check Campsite’s Drainage
If there’s the slightest chance of rain, you should stay away from marshes and ravines.
The rain can quickly increase the level of nearby water bodies and flood your campsite.
Ideally, you want to be at least 200 feet away from a water source.
Choose A Good Door Orientation
When setting up your tent, pay attention to the wind.
You want the tent doors to open away from the direction it blows. That way, if it starts raining, at least it won’t blow raindrops directly towards your tent door.
Of course, the wind can change its direction. Therefore, there’s a good possibility of having to rotate your tent if that happens.
Utilize the Sun and Shade
When choosing the perfect spot for a tent, you need to pay attention to where the sun rises and sets.
During warmer months, it doesn’t take long for a tent to turn into a sauna. So if you want to sleep past 6 AM, look for a place that’s covered in shade in the morning.
If the weather is cold, on the other hand, you’ll probably want to wake up to the sun rays heating up your tent. Pitch it facing east to feel the first morning rays reaching inside.
Watch for Sharp Objects
Your tent might be rugged, but it’s by no means indestructible. When you pitch it on rough terrain, the bottom of the tent creates friction and wears it down.
Remove all the branches and rocks from the place you want to set up the tent on. If you’re sleeping on a mattress, you do not want to feel the bumps, but if you’re only using a mattress pad, you can bet it won’t be comfortable.
If storage space is not an issue, packing an extra tarp or tent footprint is always helpful. It’s much more durable than your tent’s bottom, so you won’t have to worry about tears. What’s more, it also serves as an additional insulation layer between you and the cold ground.
There’s one thing to keep in mind. Always fold the tarp edges so that they don’t extend past the edges of your tent. That way, if it rains, water won’t collect underneath your tent.
Check for Unhealthy Trees
If there are trees nearby, carefully inspect its branches. If they appear dry or brittle, move away. The last thing you need is the slightest breeze causing them to break off and fall on your campsite.
2. Optimize Your Tent/Shelter Setup With Proper Placement
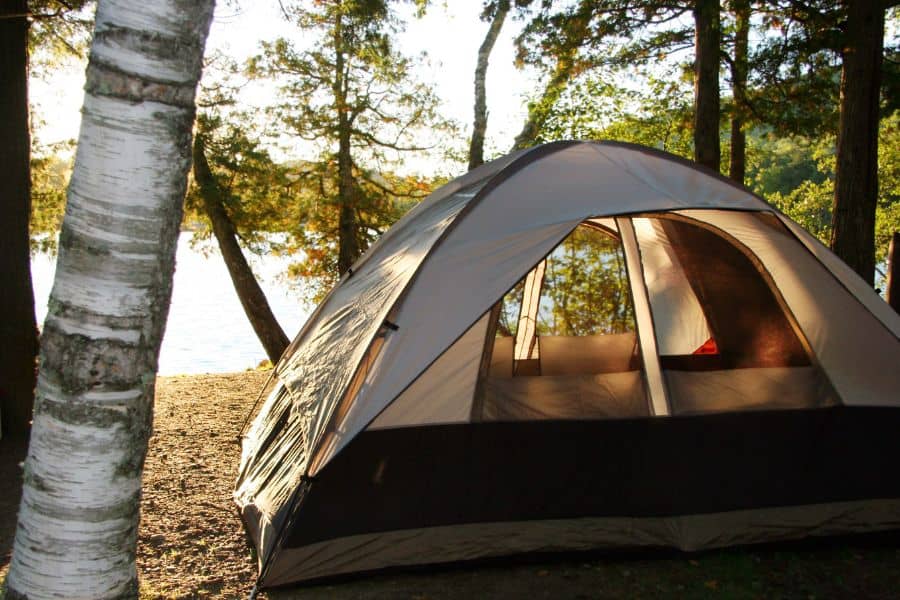
Not (just) because of feng shui. How you set up your sleeping position matters for several reasons.
Bring Enough Tents to Accommodate All Campers Comfortably
As you probably know, tent sizes indicate how many people can fit in tightly.
So for instance, a 2-person tent has room inside only enough to barely fit two sleeping pads. But a 4-person tent is going to be more ideal for two people and their gear.
If you’re backpacking, sacrificing comfort for weight is necessary. But if you’re not, then why should your camping group be packed in like sardines? If you want a good night’s sleep, always go with a size up.
If storage is not an issue, it’s always better to go with several smaller tents rather than just one large. That way, everyone can have a much easier access to doors and windows and just generally more room to move around inside the tent.
Consider Bringing an Extra Tent for Extra Gear
If you have a lot of gear, it’s worth considering packing an additional tent just for storage.
This is especially useful for storing food and kitchen gear, as the tent provides a protection against insects and critters. Storing your gear inside a tent also keeps it safe from wind and rain.
Look for Nearby Trees that Can Protect Your Campsite from High Winds
Always keep in mind that the wind can destabilize or even damage your camping gear. So if there’s a good chance it will blow during your trip, try finding a natural shelter to set up your campsite.
Bushes and trees can create a great natural windbreak.
Just make sure there are no dry branches the wind can break off.
3. Establishing Camp
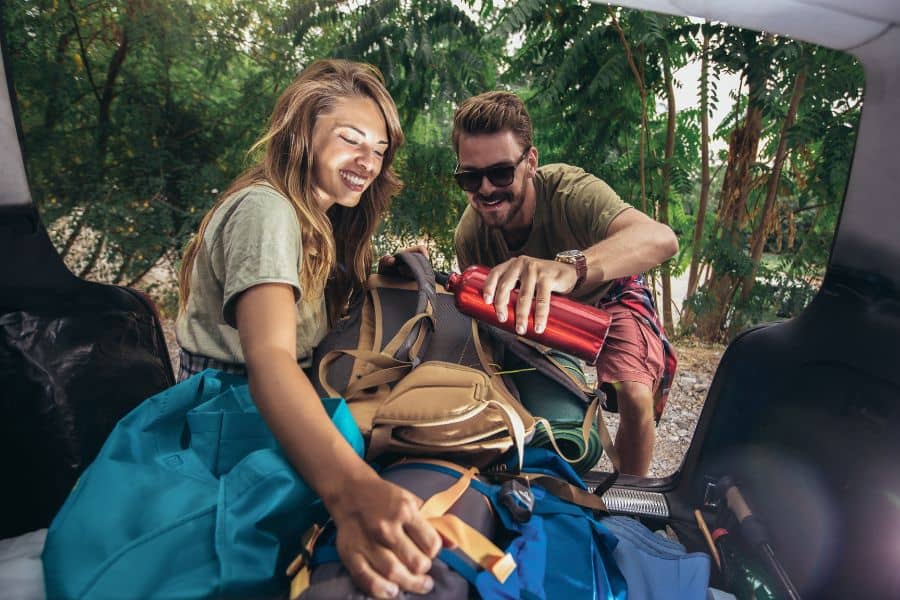
The key to success lies in little things. Here are some tips that will help you set up a camp easier.
Unpack Systematically
If you think that unpacking completely is the first thing you should do when you arrive at the campsite, think again.
With all the stuff spread out on the ground, you’ll probably spend more time searching for that thing you need for 15 minutes straight.
Instead, plan your setup in advance and unpack systematically.
For instance, you don’t need your sleeping gear before you even pitch your tent.
The same goes for your outdoor kitchen. Unpack your foldable counters and tables first, and cookware last.
Keep Essentials Handy
You might not even get the chance to read a single page of that book you’ve packed for your camping trip.
On the other hand, you’ll definitely need a flashlight or a pocket knife. Things that you’re likely to use a lot around your campsite should be always close at hand.
When unpacking, find suitable locations to keep all of your essentials. For instance, you can keep a flashlight inside a tent pocket, so that you can find it even in the dark.
Just remember to share those designated storage locations with your camping companions. That way, they’re available to anyone that needs them at the time.
Related: The Ultimate Guide To The Ten Essentials
Divide and Conquer
While extremely fun, camping can also be quite a lot of work. Unless you’re camping alone, there’s really no reason for you to do all the work by yourself.
If you split the task between your camping buddies, everything will be much easier and way more fun. Plus, you’ll do everything faster and have more time to spend on actually fun outdoor activities.
Bring the Right Tools
Sure, intention matters, but some things are practically impossible without the right tools for the job.
One of the best, most versatile camping tools you absolutely need to have is a hatchet. You can use it to cut down wood to make kindling, clear the path when hiking, stake down a tent with a blunt side… You name it.
A multitool should also be a camping staple. From knife and scissors to screwdriver and bottle opener, you’re equipped with practically anything you might need, and it all fits inside a pocket!
Related: Car Camping Essentials – Things You Need For Your Next Adventure
Make Your Bed
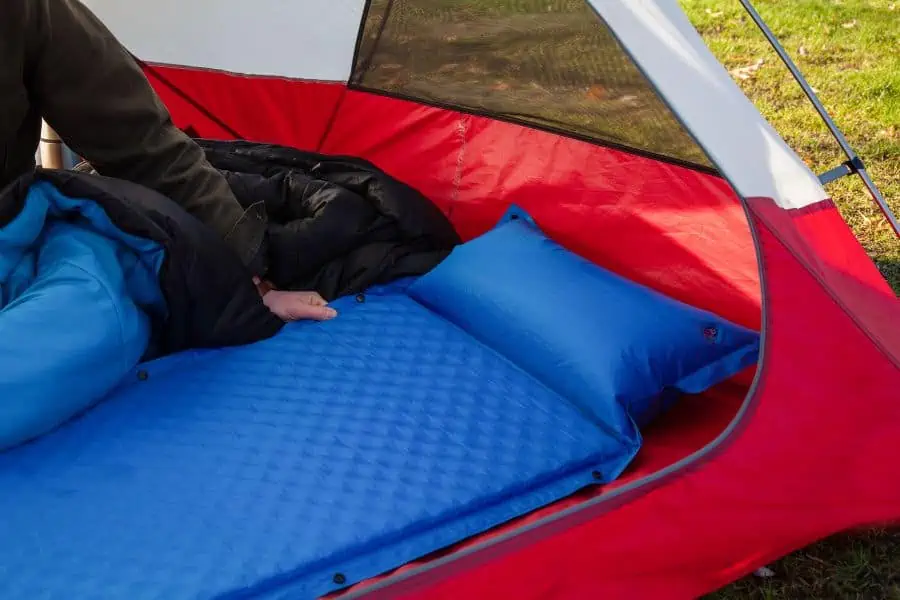
I know what you’re thinking – camping is supposed to be fun. Everyday chores, such as making bed, definitely aren’t. But you’d be surprised how such a simple task can make your day easier.
There’s already very little room inside a tent. Having a messy bed only makes it harder for you to find your stuff inside. What’s more, if you make your bed during the day, you can just slide in when you go to sleep.
Related: The Most Comfortable Way To Sleep In A Tent – Top 10 Tips
Prepare Lanterns and Lighting
Headlamps and flashlights are essential for night vision, but you shouldn’t resort only to them. There are plenty of ways you can light up your campsite at night and create a cozy atmosphere.
Aside from lanterns, string lights are my absolute favorite. They give off just the right amount of light to provide vision at night, but they’re not too flashy for you to sleep. You can hang them from the branches or wrap them around the poles and ropes.
Battery-powered fake candles are also great. They can last for more than 50 hours, which is long enough for weekend trips. They’re waterproof, so they’ll work even if it starts drizzling. And most importantly – they’re super cheap. You can get a whole box of fake candles for your camping trip!
Set up Chairs and Tables
A good seating area is the best part of every camping site.
Not just for eating, but hanging out too. You don’t want to break your back by sitting on the ground, not to mention it can be quite cold too.
That’s why we recommend making sure you have a great heavy duty camping chair and a sturdy camping table.
Of course, a campsite is not completed until you add a hammock for a good afternoon break. Just find a spot with the best breeze around the site.
4. Set Up an Organized and Clean Kitchen Area
Cooking doesn’t have to be difficult even when you’re out in the wild. But there are a few things you should pay attention to.
Keep Food and Trash Away from Your Sleeping Area
I can’t state this enough – always keep the food and trash away from where you sleep.
From critters to bears, there’s a good chance an animal passing by can smell your food and will come to your campsite for a snack.
While some animals will run away at the sight of humans, many won’t. In fact, some can be quite aggressive when it comes to fighting for food, and that’s definitely a situation you want to avoid.
But even if they’re not dangerous, you shouldn’t let wildlife eat your food or trash. Since that’s not what they eat in their natural habitat, human food can be quite difficult for them to consume – even dangerous.
Find a designated spot for storing food and trash that’s away from where you sleep. It should be located at the coolest spot at your campsite and protected from weather elements. It’s also important that you use food containers and zip bags to prevent the smell from attracting wildlife.
Know Where to Store Food in Bear Country
They say that a dog has a sense of smell that’s 100 times stronger than a human’s. In the case of grizzlies, that number is 2100 times stronger! What that means is that a bear can sense your food from far, far away.
Ideally, you want to keep your food at least 100 yards away from where you sleep. And not just that. You should hang your food at least 10 to 12 feet high to make it even harder for a bear to reach it.
You might be tempted to keep your food inside a car, but keep in mind that not many things can stop a hungry bear from reaching food.
Storing food in a bear canister is a much better option, as these containers are built to prevent the smell from getting out.
Related: How To Protect Yourself From Bears (SAFETY Tips) & Bear Necessities: The Ultimate Guide to Camping in Bear Country
Set up Camp Stove and Kitchen Gear
Even if you’re staying at the campsite only for a day, you should set up a kitchen station to make cooking a simple and fun task.
As long as your kitchen gear is kept in one place, you won’t spend time unnecessarily searching for whatever you need at a time.
Keep all of your pots and cutlery in one place, so all of your camping companions can find them. Set a designated spot for dirty dishes, and wash them right after using them to prevent food scraps from attracting bugs and critters.
When setting up a stove, pick a spot that’s protected from wind and rain. It’s true that the best camping stoves work well even in the breeze, but they’ll keep optimal flames if you use them in a more secluded place.
5. Ensure Proper Trash Disposal
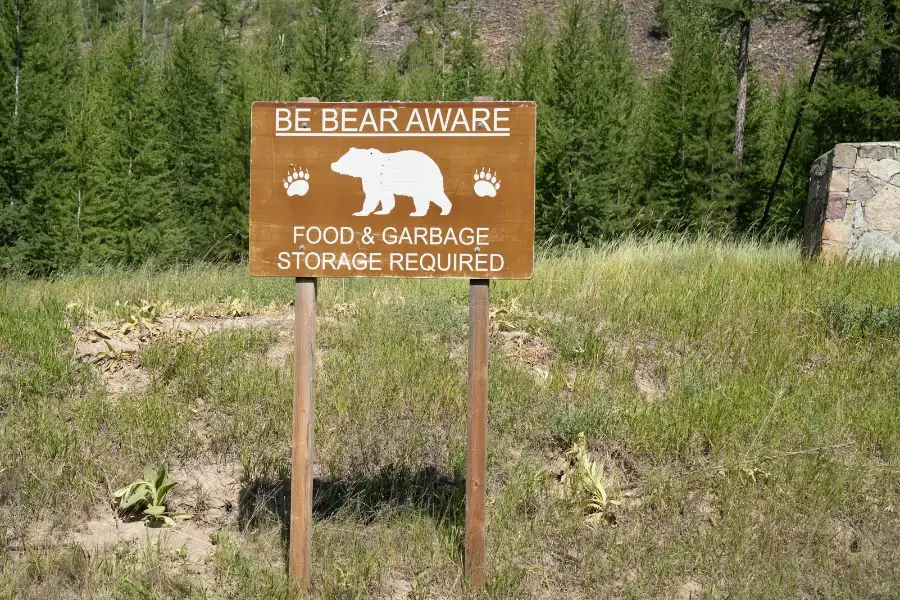
Like storing food, disposing of trash is definitely something you need to do properly. Throwing it out, even if it’s just food scraps, is an absolute no-no. Everything must be properly packed and thrown away once you get back to civilization.
Designate a place on your campsite where you’ll keep the trash. We recommend collapsible pop up trash cans. It should be at least 20 feet away from where you sleep, yet set up in such a way it can’t be reached by animals.
Since we’re on the subject of trash, a camping bathroom is also worth mentioning. Everyone needs to go, obviously. But you should do it at least 200 feet away from your camp spot.
What’s more, you should always make a cathole and bury your business in. A cathole should be no less than 6 inches deep, so that no animal can dig it back up. As for toilet paper, it’s best to pack it up in a trash bag and dispose of it in a suitable garbage container.
Related: Eco Camping – Tips And Trick To Be A Responsible Camper
6. Building a Safe Campfire
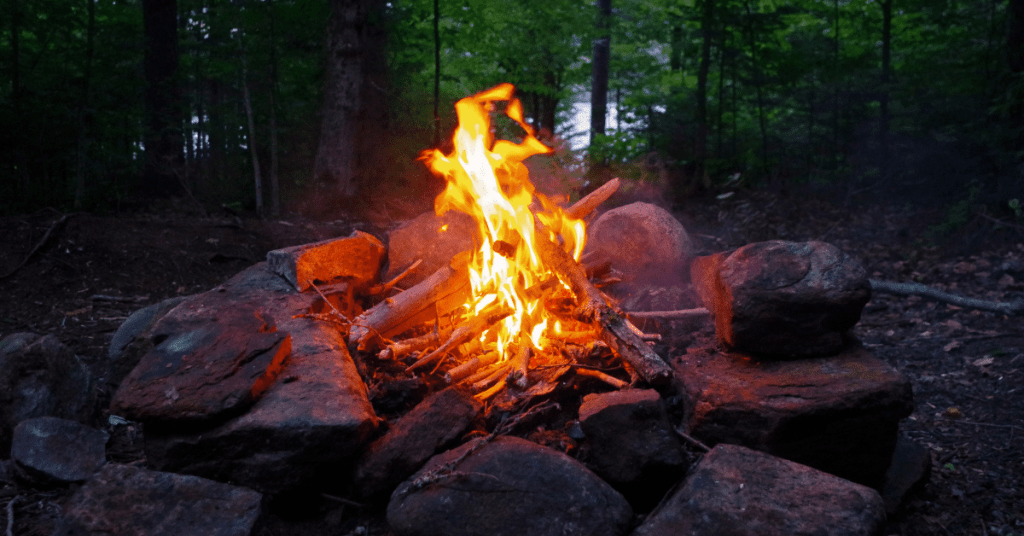
Even the smallest campfire can be a huge hazard if not handled properly. In fact, the numbers show that most wildfires are a direct result of a campfire gone wrong. But there are a few things you can do to set it up safely.
When choosing the right place to make a campfire, pay attention to the direction of the wind.
Choose a spot that’s downwind of your tent and away from anything that can easily catch on fire, whether it’s your hammock or a bush.
Creating a fire pit is essential, as it prevents fire from spreading around. At designated campgrounds, there are usually several pre-made fire rings. But if you’re out in the wild, you can do that by collecting rocks around your campsite.
Once you’re done building a ring, it’s time to collect firewood. You’ll need twigs and dry leaves for tinder, smaller branches for kindling and larger logs for an actual source of fuel.
Remember to always put out the fire when you’re not around it.
Even a single spark can cause the whole forest to burn down. Whether you’re going to sleep or for a hike, it doesn’t matter. As long as you’re not paying attention to the firepit, it should be put down.
Related: How To Build A Campfire: A Step By Step Guide
Preparing and Organizing Gear at Home
The key to a successful camping trip lies in planning. Here’s what I mean:
Use a Gear Checklist
You can be 100% sure you’ve packed all the essentials, but it won’t be until you reach your campsite that you realize something is missing. But all of that can easily be avoided if you make a checklist prior to packing.
Make sure to include every single thing you can to pack. A sleeping bag might be the most obvious part of the gear, but you’d be surprised how easily we overlook these essentials.
To make planning easier, group your gear into different categories: sleeping, eating, hygiene, etc.
Of course, every camping trip is different, and your gear checklist will probably change. That’s why you should always make a new one several days prior to your trip.
Related: Camping Checklist For Beginners (47 Essentials To Bring On Your Trip)
Check all Gear that Has Been Stored
Imagine getting to your camp spot and unpacking your tent only to realize you still haven’t washed or patched it up from your last trip.
Or, let’s say, you’ve forgotten to restock some pieces of your first aid kit after you used them all up.
Double-check all of the gear that’s been packed up and stored away since your last camping trip. That way, you can do some fixing and restocking while you’re still home.
Pack Strategically
Don’t just grab your backpacks and fill them randomly with the first things you can grab. That means you’ll have to unpack everything in order to find whatever you might need at some point.
Things like tents, rainwear, lamps and tools should be packed in separate pockets so that you can access them quickly when necessary.
Sleeping bags and cookware, for instance, won’t be required as soon as you arrive so that they can be packed at the bottom of your bags.
Related: The Top 12 Beginner Camping Mistakes (And How To Dodge Them)
Utilize Separate Storage Bins and Gear Totes for Different Supplies
Unpacking doesn’t have to be time-consuming. Nowadays, you can find storage bags and boxes in different sizes, perfect for separating gear.
Personally, I’m a big fan of packing cube sets. You can pack your clothes, sleeping gear, and kitchen utensils in separate cubes before putting them all inside a bag.
You should also pack separate bags or totes for dirty stuff. If you’re storing wet clothes, make sure the bag is waterproof, so that the rest of your gear doesn’t get wet.
When it comes to dirty kitchen pots and utensils, it’s best to keep them in plastic storage bins, so that nothing can leak through.
Related: Camping Storage Ideas (18 Tips To Get Organized In No Time)
Practice Setting Up your Tent at Home
If you have a pop-up tent or an instant tent, then pitching is something you can do blindfolded. But with regular tents, that might not be such a straightforward task.
That’s especially true for large tents, and they often are much easier to assemble with the help of another person.
Now, who wants to spend time reading through setup instructions instead of enjoying the outdoors? Save yourself time and frustration from doing that when you arrive at the campsite, and do your “homework” at home.
What I mean by this is practice pitching up your tent.
At home, you have all the time in the world, ideal lightning and no weather conditions to worry about. You can read the manual, watch video clips and even search the forums for tips and tricks on setting up a tent.
Related: How To Set Up A Tent: A Step-By-Step Guide
Food Preparation
Just because you’re out in the wild doesn’t mean you have to resort to simple meals. You can eat just as well as you do at home, as long as you do some preparation beforehand.
Who said you can’t eat a nice steak? The key to a juicy piece of meat lies in the marinade, which you can do at home. Then, pack the steak into a releasable bag and store it in your portable cooler.
You can also prep your veggies at home. Wash and chop them per your preference, then pack them in suitable food storage containers. This way, you’re also saving up on storage space. It’s much easier to pack broccoli chopped, isn’t it?
Related: 19 Genius Camping Food Hacks For Easy Breezy Outdoor Cooking
Cooler and Ice Preparation
No matter how great your cooler might be, it won’t stay cold forever.
Soft-sided coolers can keep your stuff chilled for no more than a day or two, while hard-sided coolers will last a few days. Depending on the daily temperature, it might be even shorter.
And lastly, you can always opt for the more expensive (but worth it) electric cooler.
Frankly, these days, we find an electric cooler to be a great option, so long as you have a solid power station.
Keep an eye on the cooler – get rid of water as ice melts and replace it with fresh ice. This means you’ll have to plan your restocking trips in advance.
Read: What Size Cooler do I Need for Camping?
Organizing Your Campsite
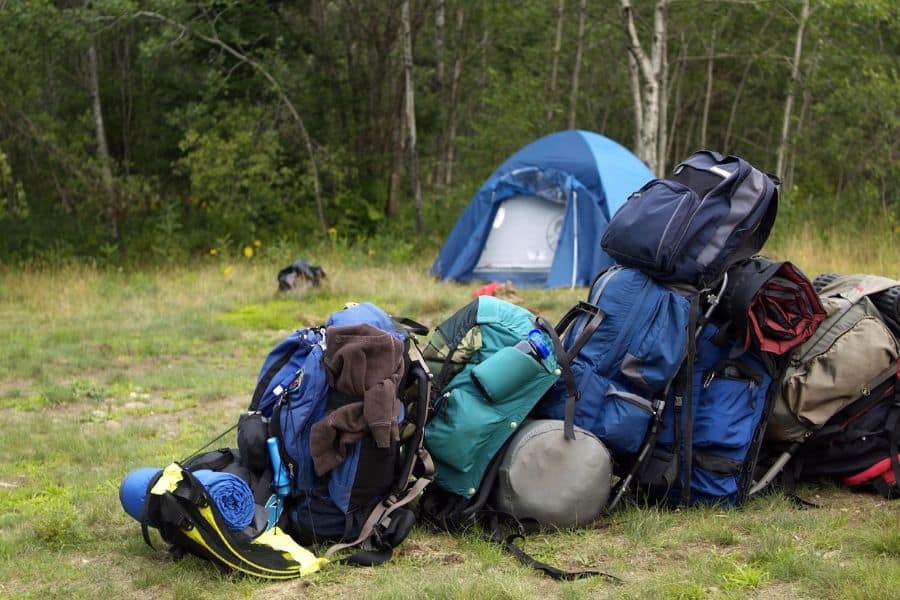
Don’t let the campsite turn into a mess. Here are a few ways you can keep your spot organized.
Keep the Campsite Clean
Before you even start unpacking, make sure the place around you is clean from the debris and fallen branches.
This is especially true for the spot you want to pitch tents on. Even though they’re rugged, tent floors are by no means abrasion-resistant.
They can easily get pierced with a piece of wood underneath.
Related: How To Stay Clean While Camping – Everything You Need To Know
Stay Tidy
The weather might change during your camping trip.
If it gets windy or rainy, you can expect your campsite to be messy afterward.
Pick up fallen branches and leaves and pile them in a single spot outside of your hanging-out area. Once wet, tree parts turn mushy and can turn your camp spot into a muddy mess.
Add Homey Touches
Who said you can’t feel at home while out in the wild?
If storage is not an issue, you can bring some things that can add a homey touch to your camping spot.
Personally, I love bringing outdoor rugs to put around the campsite. They’re great for sitting on the ground without getting dirty or feeling cold. They can get wet and quickly dry out, so you don’t have to remove them even if it might drizzle overnight.
Alternative lighting options are another great way to make a campsite feel more like home. Torches, lanterns and string lights give off just enough light to give you vision at night, while keeping the atmosphere cozy.
Finally, pack your favorite mug. It won’t take up that much space, and it will make every drink taste better.
Use Separate Coolers for Drinks and for Food
Every time you open a cooler, you let a little bit of heat inside, ultimately shortening the amount of time it stays cold.
If you like your beverage cold, that means you’ll reach for the cooler at least every few hours.
And while your drinks probably won’t go bad once the temperature inside the cooler rises, perishable food will. That’s why it’s better to have separate coolers for drinks and food.
Another reason you might want to use separate coolers is the risk of leakage. Let’s say you didn’t close the bottle of juice properly. If it spills inside a cooler full of bottles and cans, that can easily be cleaned. But if it spills all over your veggies and fruits…
Related: How To Keep Food Cold While Camping – 15 Great Tips + Safety Advice
FAQ
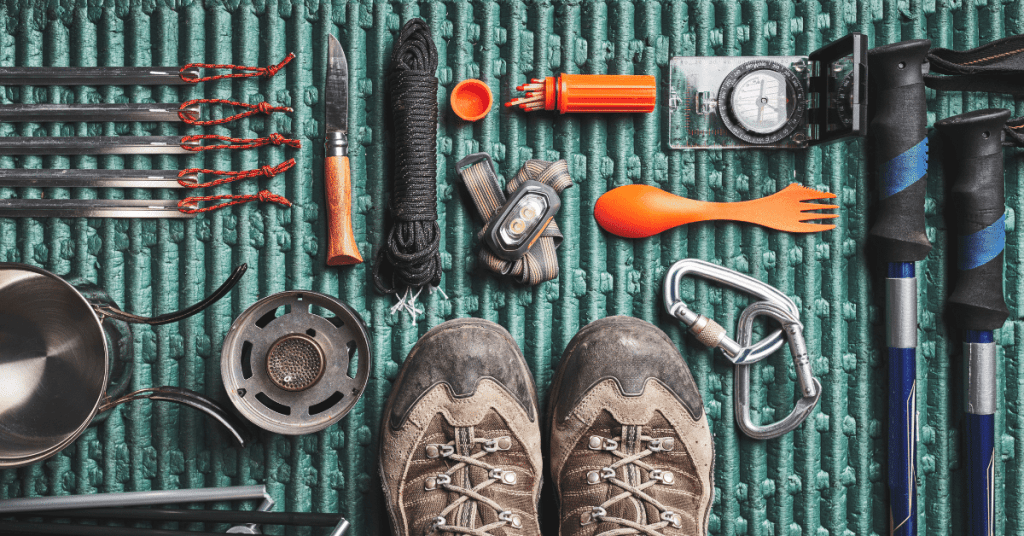
Still have questions? In this section, I’ll try to give you a short explanation on some things you might be wondering about.
How Do You Set Up Camp Fast?
When you’re short on time, always focus on your priorities. In this case, that’s your shelter. Start by pitching your tent at a suitable spot.
If your tent features a large awning, that can serve as a storage spot for your gear. If not, you can use either a tarp or natural surroundings to make space for your gear that’s protected from weather elements.
What Makes a Good Campsite?
In theory, any place can serve as a campsite.
But an ideal location is on dry, flat ground that’s slightly elevated.
Trees, stones and other types of natural windshields come in handy in case of high winds. As for the water source, you want it to be a walking distance away but not too close.
Where Do You Put Your Tent When Camping?
Your tent should be positioned in such a way that water drains away from it in case it rains.
If possible, you can also put it close to the trees or bushes to create shade and have wind protection.
What if There is Rain when Setting Up Camp?
Setting up a campsite during rain isn’t great, but can be done.
That’s why you should always have a large tarp packed. Start by stretching it above the designated camp area, with a slight slope so that rain doesn’t collect on top of it.
Once you have your rain shelter, you can pitch your tent and set up your storage area.
What if It is Windy when Setting Up Camp?
If there are trees, bushes or rocks that can serve as a natural windshield, set up your campsite right next to them. If not, you can use your car as a windbreak while you’re pitching up a tent.
Once you have your tents up, add your gear inside to act as an anchor. Secure the edges of the tent with extra stakes and guylines.
Leave non-essentials in your car to stop them from blowing away.
Related: How To Secure A Tent In High Winds – A Complete Guide
What to Do if Leaving the Campsite?
If you’re leaving the campsite (say for a day hike), make sure to pack any food and trash beforehand.
You should always put out your campfire when you’re not around it.
Make sure you always have enough water to extinguish fire, and use it thoroughly. Even a single spark can be enough to kick start it back again.
Finally, always tip the chairs when you’re not using them. That way, they won’t collect dew and will stay dry when you need them.
What if There Are Fire Bans?
During hot weather, many states implement fire bans.
But just because these bans are in place, that doesn’t mean you have to resort to granola bars during your trips.
You can use gas stoves to prepare any meals you’d otherwise make on the campfire.
Summing Things Up
Now you should have all the basics to successfully set up a campsite.
Of course, there’s always something you can do differently, so try out new things as you go.
Just remember, planning is half the job.


