

Let's face it…we live in a digital age. And sure, we can find out exactly where we are and where we need to go with GPS on your phone in just a few clicks.
But, c'mon – what is the point of spending time in nature if you're not connecting with it?
We use electronic devices every day, but when you're out on a hike the last thing you want to do is stare at your phone for guidelines.
Instead, you can look at the trees or stones for markings and the beautiful scenery around.
Plus, you'll often find yourself in places where you don't have any signal.
In these cases, all you'll have to guide you are the markings along the way, so you'll definitely want to make sure you know how to read trail markers.
In this article, you will learn reliable guidelines to be sure you know how to find your way on any hiking trail.
What makes up a hiking trail?
I'm going to let you in on a little secret: trails don't just appear spontaneously.
They are planned, built, and marked so people can travel safely from trailhead to summit or wherever the trail is supposed to take them.
A hiking trail usually consists of:
- Trailheads
- Tread & borders
- Trail markers
Let's discuss each one of those in more detail, shall we?
Also See: How to Research Your Hiking Trail
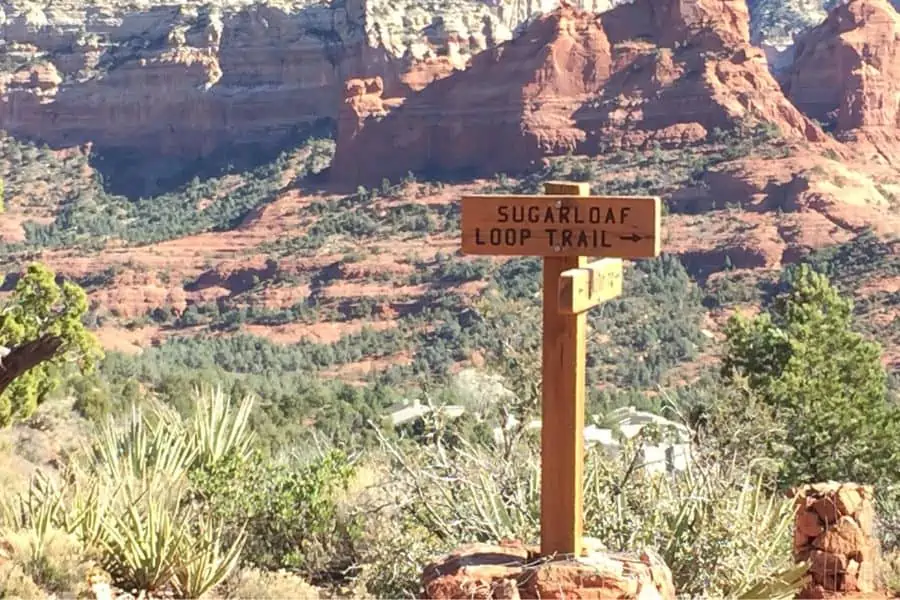
Trailheads
A trailhead is a point at which a trail begins.
Back in the day, trailheads used to just mark the starting point of hiking trails on roadsides.
However, modern trailheads have marked toilets, parking lots, maps, signposts, visitor information kiosks, shopping malls, etc. (Ok, so the last one was a joke, but really – the modern ones are more than well-equipped to help you on your hiking journey)
Sometimes, you'll find a case next to a trailhead, like a newspaper box. If there is one, in there you can find maps or informational brochures about the area.
Trailheads can also contain local regulations and safety tips. You should read them before starting your trail journey.
This might seem like a no-brainer, but it might shock you to find out that around 160 people die each year visiting national parks. When you consider this, it's definitely better to take every precaution you can.
Tread & Borders
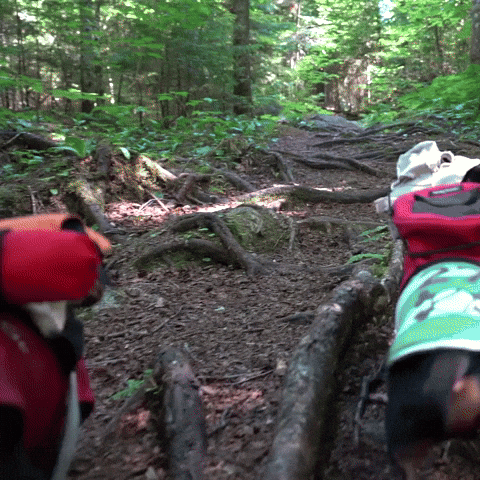
The path that we walk on a trail is called the tread.
To maintain a natural look, treads are usually made from nearby materials such as soil, stones, wood chippings, or gravel.
But what if the tread goes over a stream or a river?
Usually, then, there are stones placed in the wet area or bridges made out of wood so you can cross without getting your feet wet.
Some fun facts about treads:
- Treads are usually 3-6 feet wide and have borders on their sides.
- Borders are there to protect the vegetation and limit erosions.
- If the tread goes through a grassy area, then it will appear as a bare earth path.
- If it goes through a wooded area, then the tread will probably be slightly furrowed from the passage of hikers. Also, on forest treads, you will most likely see fallen dried-out leaves.
- Sometimes, the borders of the trail will be made out of low stone walls. This way they keep the hikers on the trail and off the fragile vegetation around.
- Trail maintainers sometimes leave logs on the side of the tread to mark its borders and guide hikers.
Following a trail basically means sticking within the borders of the established path.
Trail Markers (Or Blazes)
The basic purpose of trail markers (otherwise known as blazes) is to help hikers follow a given path.
Trail markers show things such as the beginning and end of a trail, a change of direction, or an intersection.
That's why it's crucial that they are placed on spots that are easily visible, like trees that stand out on the trail.
Mostly, the markers are just above eye level – or slightly higher in snowy areas.
On most trails, markers or blazes appear on both sides of the path. This points out that the trail is usable in both directions.
It may seem intuitive, but not all trails can be trekked both ways.
Hunters, for example, often use blind or one-way trails that can be dangerous for a casual hiker.
If you're on a trail with carved markings, it's even more important to search for double signs.
It just so happens that animals leave claw marks on trees that can look suspiciously like legitimate trail markers.
Yes, you read that right.
So if you see what looks like a sign but it's only on one side of the path, you might want to take a second look before following the marking into a bear cave.
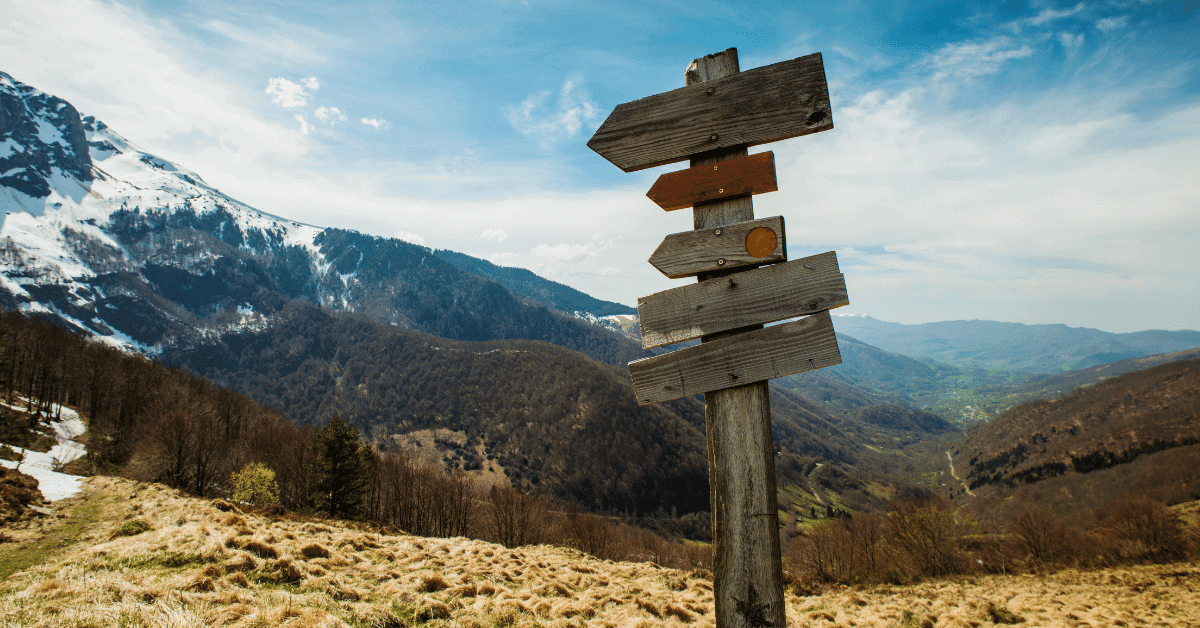
Different Types Of Trail Markers And How To Read Them
Trail markers or blazes come in a variety of shapes and sizes.
They may also vary from country to country.
Here are few types that you'll most likely see here in the US:
- Paint blazes
- Cairns & ducks
- Posts & affixed markers
- Carvings & etchings
- Flags & Ribbons
Paint Blazes

Paint is the most common way to mark a hiking trail.
Although they are not universal, there are some established shapes to show direction.
Three painted rectangles forming a pyramid or an upward-pointing arrow mark the beginning of a trail – the trailhead.
A single painted rectangle means straight ahead.
Two painted rectangles one above the other show a turn of direction. If the top rectangle is to the right of the bottom rectangle, you should turn right. If it is to the left, turn left.
Two rectangles painted one above the other and a third on their side mark an intersection.
Three rectangles structured in an inverted pyramid or downward-pointing arrow mark the end of the trail.
The best part about trail blaze colors?
A trail is typically marked in a single color from beginning to end. This means that each trail is marked in a different color.
When trails intersect or when there are side trails, do not worry. Simply follow the color of your trail and ignore the others. This is a sure-fire way to stay on your intended path.
Cairns & Ducks
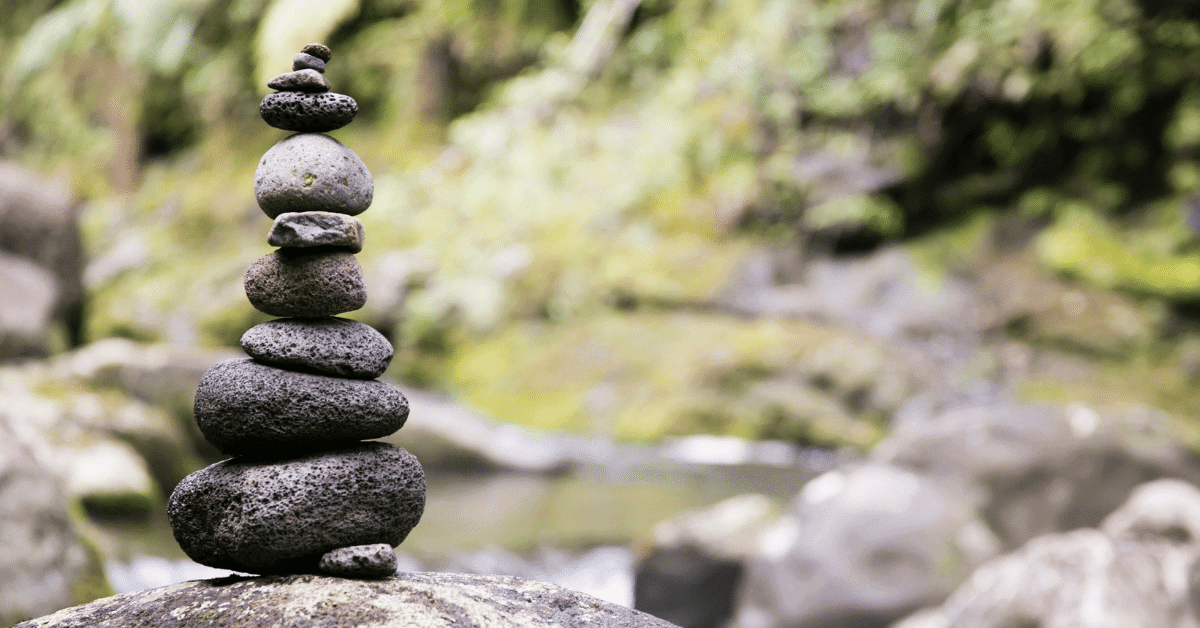
Rock cairns are piles of stones that mark a trail. They are usually 2-3 feet high and 2 or more feet wide.
Cairns are used in areas where there are few or no trees to help guide hikers.
They're often made by hikers who left them there to mark the trail for others. In most national parks though, cairn formations are built by park rangers.
Cairns are easily noticeable and can help you find your way even in bad weather conditions.
It is also said that if you add a rock to the cairn, good luck will follow you! So, if you see a gigantic cairn, this explains it.
Even if it might seem tempting, you should never knock down or move a cairn. Someone hiking after you can get lost if there isn't a cairn mark where there is supposed to be one.
In other regions, ducks are more frequently used.
Ducks are much smaller rock piles.
They are stacked just high enough for hikers to be able to see them and notice that they aren't natural.
The upside and downside of trail ducks are that they are very easy to construct.
Here's why:
The upside is that when you are in an area where they are used, you can easily spot them and be sure you are on the right path.
The downside is that people sometimes construct them out of fun or boredom and without meaning – which can be deceiving for a hiker.
You might be wondering how you can differentiate a cairn trail from a duck trail.
Well, as we said, cairns are big rock piles, sometimes enormous. Ducks are small rock piles, though big enough to be noticeable. Think Dwayne Johnson vs Bruce Lee.
Posts & Affixed Markers
Posts are mostly used in areas where there are no trees or stones available, such as rocky outcrops or ridgelines.
They usually show the trail you are on or they have the next destination marked, usually with an arrow.
Also, posts can be used to show the distance traveled or the distance to the summit or end of the trail.
When a trail is not maintained often, posts can be knocked over or get covered by overgrown vegetation. But, on maintained trails, they can be very helpful.
Affixed markers are pieces of metal, plastic, or wood that are nailed onto a tree.
Posts and affixed markers are clear when they're there, but sometimes they can fall down or get stolen. For this reason, they aren't as common as other types of trail markers.
Carvings & Etchings
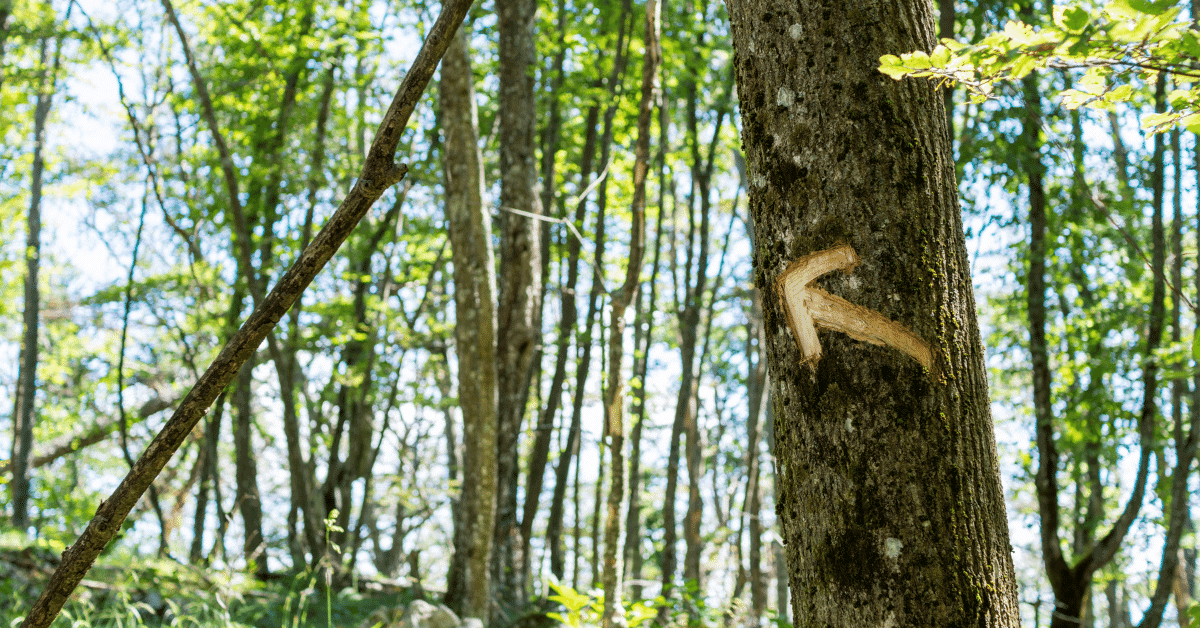
Carvings, also known as etchings, are trail markers that are engraved on the visible side of a tree trunk.
Usually, an X or an arrow is carved into the tree as a trail marker.
As a marking sign, they are effective, but they permanently harm the trees.
That's why they're used far less than other types of markings.
Flags & Ribbons
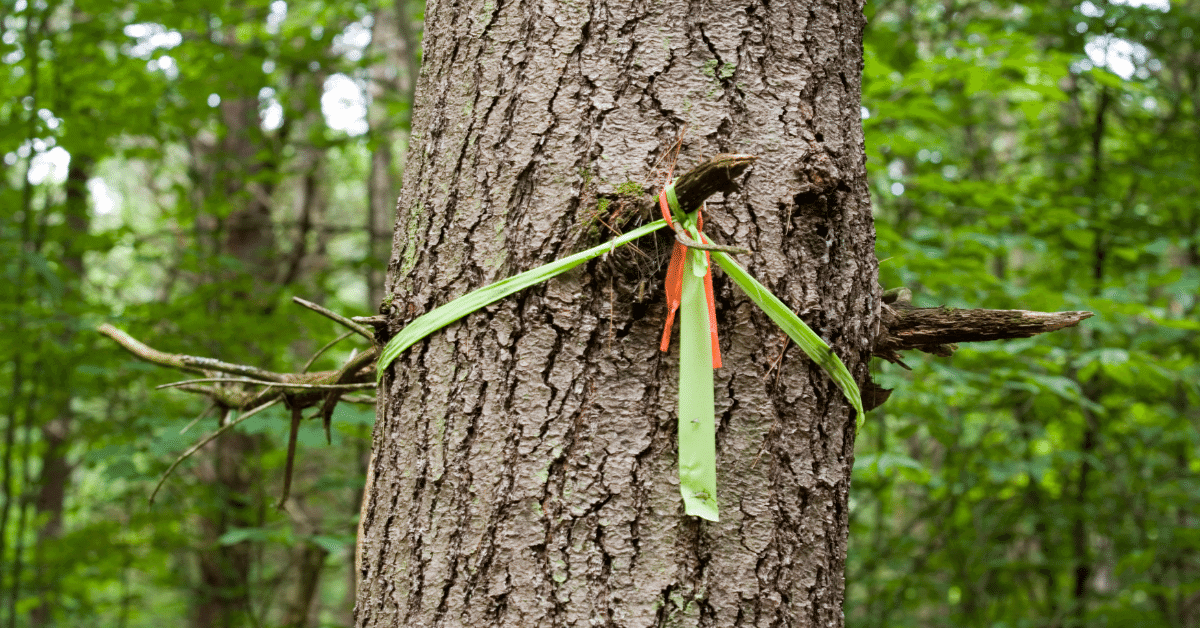
Some trails are marked with flagging tape or ribbons.
Each flag or ribbon is tied to a tree branch that can easily be spotted from the trail.
They do not harm the tree, but can easily be torn down. Also when torn down if someone doesn't pick them up they end up as litter on the trail, which sucks for the environment.
So, if you see any fallen flagging tape, be sure to pick it up and throw it in the nearest trash can.
Story time:
A few years ago when I was still a beginner, I was in China hiking in the mountains around West Lake in Hangzhou.
The trails there were different – they had a tread made out of stone, so it was easy to stay on the right path.
At some point, I saw just one piece of fine elastic fabric tied to a tree. It was pink with little dots.
So, I thought to myself: oh cool, I'll take this to have as a souvenir from this journey.
Today, I'm thinking it might have been some sort of marking. Oops.
I just hope nobody got lost because of that missing piece of fabric.
Even so, from the moment I took it and still today, it receives a lot of love and appreciation from me. And usually, whenever I go on a hike I take it with me so it can be in nature again.
However, I definitely do not recommend doing this. Be careful. Learn from my mistakes.
Respect the markings on your trail and pick up litter if you see it.
What To Do Next?
You are now ready to hike any trail you wish. Just make sure you're in the right physical condition for it, especially if it's a difficult one.
You've learned what the different types of trail markings are, and how to read them.
Pack your bag and off you go to try out your new knowledge.
Of course, if you don't feel confident enough to find your way based just on trail markings, you can always download a map of the trail on your phone or a GPS device.
But, for the real feel of nature, I do recommend trusting yourself with this knowledge and going on your hike without an electronic device.
Imagine how it feels like to go hiking and find your way just by reading trail markers.
Let me tell you, it feels freaking great! Like you are one with nature.