

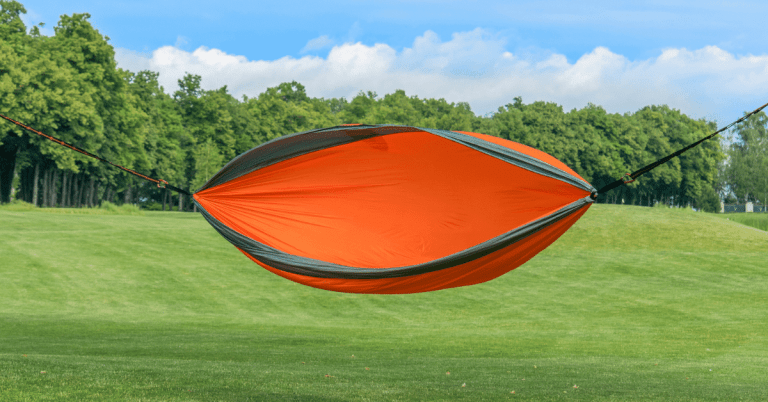
Summer is coming, and it's time to take your hammock out and hang it in your backyard.
But considering you haven't slept in it since last September, it seems like it needs a good cleaning session.
In this article, I'll show you everything you need to know about hammock maintenance, starting with how to wash it to get it looking brand new. I'll cover both hand washing and machine washing, and I'll throw in a few tips for repairing damage and storage.
So let's dive in!
Hand Washing Your Hammock

Yes – you can hand wash any hammock, regardless of which kind of fabric it's made of.
And if the spreader bar is not removable, this is your only washing option.
Handwashing is a rather quick and simple procedure.
Here's how you can do it, step by step.
Step 1: Soak The Hammock
This can be done both indoors and outdoors.
In the first case, a bathtub is your best option.
In case you want to do it outside, you're going to need a kids' pool or a really large bucket. The idea is to soak the hammock, so find something that can fit it comfortably.
If you have a garden hose, you can spray the hammock down. If not, simply fill the bucket/pool with water, and sink it in.
Always do this with cool water.
Step 2: Use Delicate Detergent
For washing, you'll want to use a mild detergent.
Ideally, pick something that's fragrant free and suitable for sensitive skin. You can't go wrong with a baby detergent.
When it comes to the amount, a quart will do. You don't want to spend the whole afternoon dealing with a bunch of bubbles you can't rinse out.
Step 3: Scrub Away The Dirt
Pour the detergent into the water, and grab a gentle bristle brush. Scrub lightly to get the dirt out.
In case you don't have a brush close at hand, a sponge will do.
After you're done scrubbing, take the hammock out and drain the soapy water.
Step 4: Re-Rinse With Clean Water
Refill the pool or bucket with new, clean water.
Put the hammock back in and rinse it again.
Depending on the amount of soap, you might need to refill with clean water a few times to get it all out.
Step 5: Hang Your Hammock Up To Dry
After you're done, squeeze the hammock to remove excess water, and hang it up to dry.
If possible, avoid hanging it in direct sunlight. UV rays speed up the fabric degradation process, so leaving it out in the sun for too long can cause sun damage.
Machine Washing Your Hammock

Most camping hammocks are made of nylon and are safe for machine washing. In case you're unsure, you can always check the care tab attached to the hammock.
Generally, hammocks are safe to wash in a front-load washing machine. Top loads usually have agitators (those tall vertical spindles in the center) which are a no-no. This mechanism rubs against fabric to remove dirt, and this can damage your hammock.
Step 1: Prepare The Hammock For Machine Washing
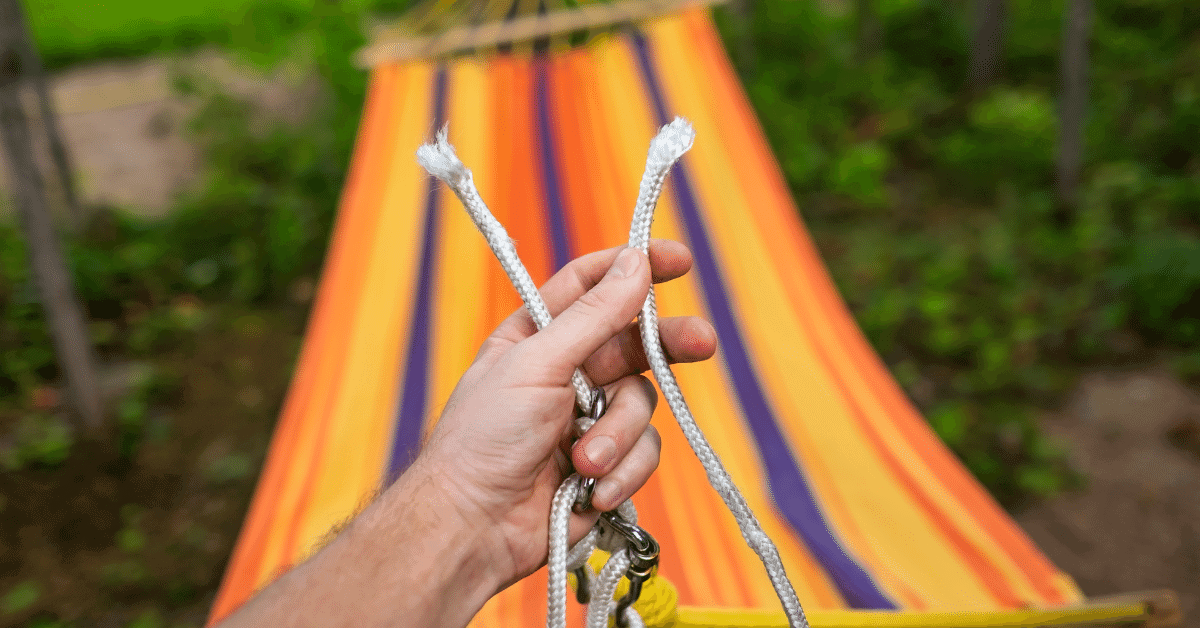
The first thing you want to do is remove the carabiners. These things are pretty heavy and can damage your washing machine if left on. Place them somewhere safe so you don't lose them.
Fold the hammock in half, and bring both end loops together. Tie the end strings together, to prevent them from getting tangled while the machine is spinning.
The best way to make sure no strings get stuck inside the machine drum is to place the hammock in a pillowcase and close it.
Step 2: Add A Tiny Bit Of Detergent
You'll need even less detergent for machine washing. A tablespoon of mild detergent should be enough.
Don't use bleach or any type of fabric softeners. These chemicals can be too harsh on hammock fabric.
Step 3: Choose A Delicate Cycle
Set your machine on a delicate cycle. That's the shortest and most gentle option.
Depending on the machine model, instead of a "delicate" program, you might have "hand wash" or "wool" options. These would work just the same.
Choosing a delicate program should automatically set to a low spin cycle. In case it doesn't, do this manually. Go for 400, which would be the lowest spinning speed available.
Again, depending on the washing machine model, you might have the option of choosing the water temperature. In that case, always go for cool water, since it's less damaging to the material.
Step 4: Air Dry
After the cycle is finished, hang your hammock outside on a line to dry.
If possible, do it under the porch, to avoid direct sunlight.
Inspecting For Damage And Repairing Your Hammock
If there's one thing I've learned the hard way, it's that you should always check your hammock for unwanted visitors before you get into it.
I had a hammock hanging in my backyard for the whole summer, but I barely used it. So one day, I decided to read a book while swinging. As I approached my hammock, I thought it would be a good idea to jump straight into it, without prior inspection.
Boy was I wrong.
A swarm of bees busted out of my hammock, and I ended up landing on my behind with a bunch of sting bites. Needles to say, I was bathing in calamine lotion for the next two days.
From bugs to rodents and birds, all kinds of animals might find rocking in your hammock a fun activity. They might also do quite some damage to the fabric.
To avoid a rough landing on your behind, always check your hammock for damage prior to hanging it.
This is especially important for old hammocks, since both fabric and strings stretch and fray over time.
Asides from rips, another thing you should pay attention to is mildew. It can be somewhat hard to spot in the beginning, so look for any discoloration or staining. If your hammock was stored in a garage for the last half a year, there's a pretty good chance it has some mildew buildup on it.
Luckily, you can brush off the mildew stains easily. Then, apply white vinegar and leave the hammock in the sun for half an hour. After that, brush it again and rinse with cool water.
And that's it!

During fall, check the hammock occasionally for leaves and twigs. If they build up in the pad or get stuck between the rope for a long time, they might cause the fabric to rot.
It's always better to be safe than sorry. Longtime exposure to rain and snow will eventually make your hammock's life shorter. So if you don't plan on using it for a while, store it away.
Some damage can be easily repaired. You can fix a small rip on a canvas hammock by cross hatching, while a sail repair tape is a good solution for nylon hammocks.
When sewing, be sure to always use a waterproof thread.
Hammock Storage Tips And Advice
One thing you should never do is store a hammock before it's completely dry. Doing so can cause mildew and mold buildup, which can cause serious damage to your beloved hammock.
For that same reason, always store it in a dry place. Your garage, basement or attic can work, but only if they're properly isolated and there are no humidity issues.
Most hammocks are pretty compact when packed, so they can fit under your bed or inside your closet, too. So if there's any space left, store your hammock there to keep it safe.
If you have to store it in a garage or basement, put it in a weather-tight bag. That way, you're protecting it from rodents that might come searching for something to snack on.
Recommended Reading: The Hammock Camping Gear List – All The Essentials And Extras You Need
To Wrap It Up
That's everything you need to know, from washing a hammock to repairing and storing it. If you want to use your hammock for more than one season, knowing how to properly take care of it is crucial.
Just like any other piece of camping gear, hammocks get dirty and damaged.
But, when you know how to maintain them properly, they can last for many years.
To find out more about cleaning your camping gear, check out some of our other articles, like this one on cleaning your hiking backpack.