

Bike camping is an extraordinary adventure.
But how do you get started?
It might seem like you need to learn a lot before you can head out into the wild on your bike. Don't worry, though. It's actually not all that difficult.
I've been on dozens of bicycle camping trips, and I'm here to share with you everything they've taught me.
From route planning, to bike selection, to gear and repair tips – I've got you covered.
Ready?
Let's pedal in!
Bikepacking Vs Cycle Touring
Bikepacking and cycle touring both mean that you are traveling with a bicycle as your primary means of transportation.
These two activities are very similar, but there are a few minor differences worth noting.
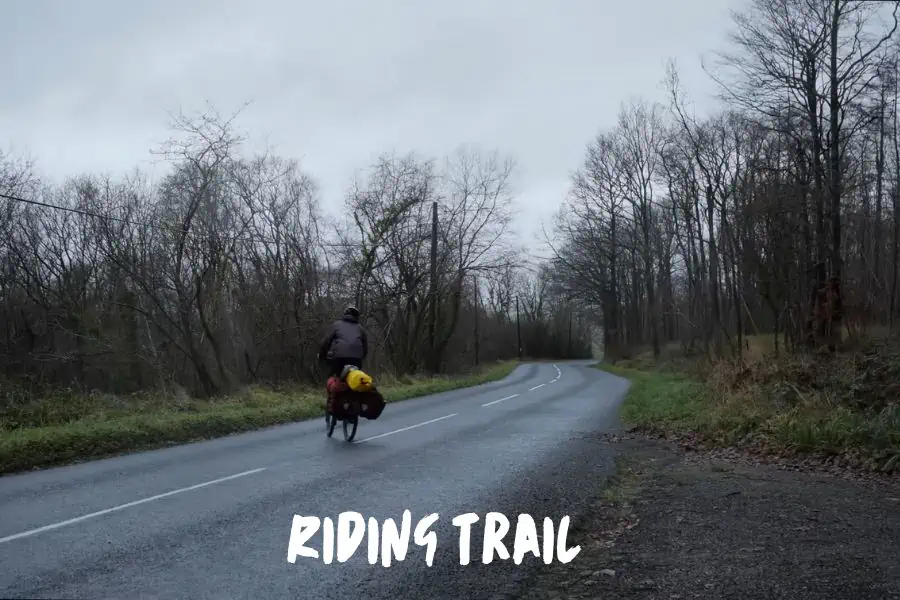
Riding Trail
So, here's the deal:
On bicycle touring trips, you ride a bike for days, weeks, months, or even a whole year. On these trips you mostly ride on roads, going from town to town.
Bikepacking on the other hand is like backpacking, but instead of hiking between campsites, you're riding your bike.
When bikepacking, you mostly ride on trails and unpaved roads, in contrast to bicycle touring where you stick to roads.
Type Of Bike
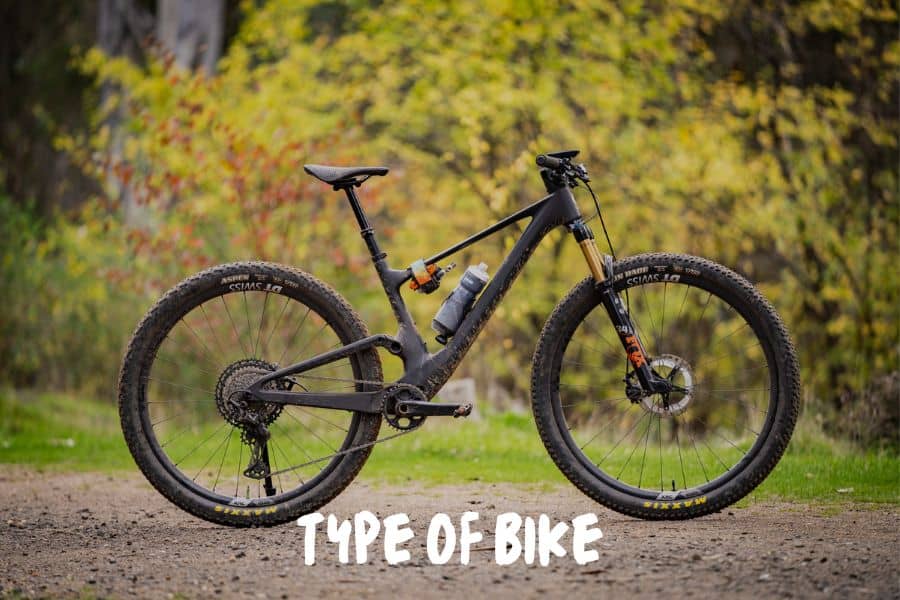
Another difference between bike touring and bikepacking is the type of bicycle you'll be riding.
Cycle touring can basically be done on any bicycle. Mostly though, it's done on city road bikes which are heavy and can withstand a lot of gear weight.
For bikepacking though, mountain or cross-country bikes are a better option, since they're built for off-road riding with wider tires.
Accommodation
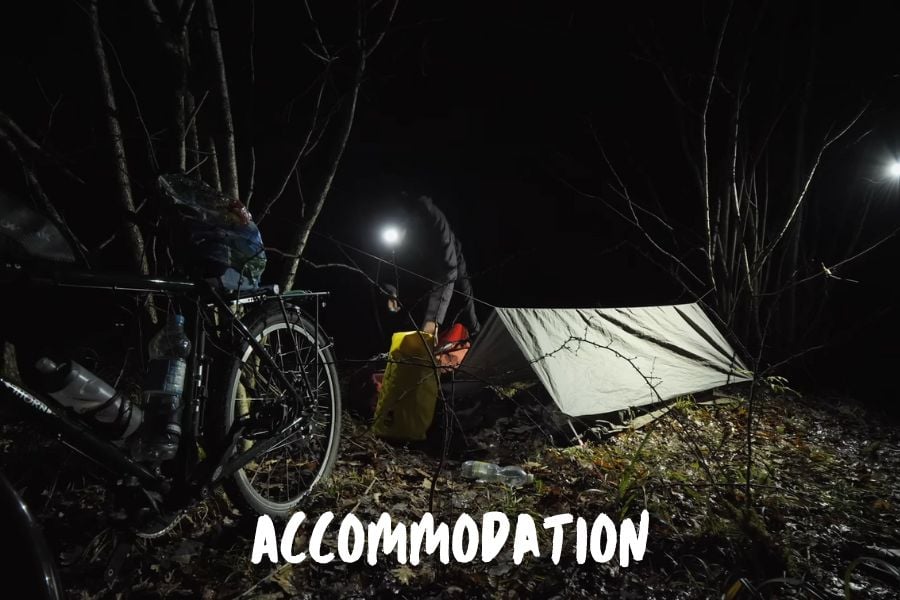
On cycle tours, people usually spend the night in a hotel, apartment, or with friends, if they have them in the city they're passing through.
Also, on these tours, you can pack minimal gear and pay for supplies and accommodation along the way. This type of traveling is known as credit card bike touring.
Other times, there are organized cycle tours where there's a vehicle supporting you on the road, carrying food and equipment between the decided checkpoints.
When going on this type of bike tour, you don't have to think too much. The tour organizer has already done it for you, so you can just ride and enjoy the road without too much planning ahead.
Bikepacking is a more self-supported way of traveling. Usually, you carry all your gear with you and can set up camp wherever you like.
However, none of this is set in stone. You can combine these types of traveling by sometimes camping out in the wild, and riding to a city the next day and staying in a comfy hotel.
So, feel free to get creative and see what works best for you.
Do you prefer relying on someone else to handle the organization?
Or do you prefer to do all the planning yourself?
Do you want to join a group, or do you want to go it alone?
Either way, adventure and excitement are guaranteed on any type of bike camping trip.
Route Planning
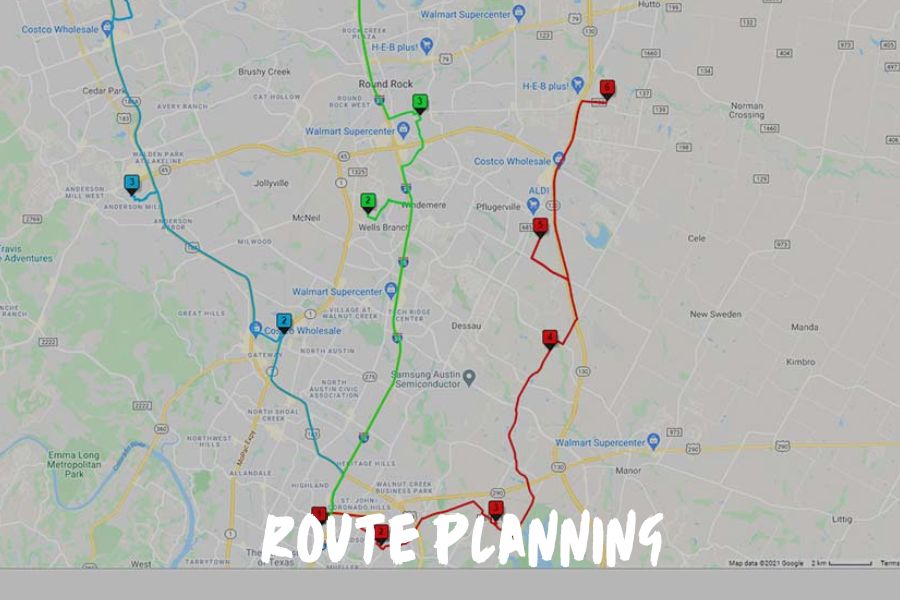
The first thing you should keep in mind when planning your bicycle camping route is to choose trails that are suitable for your bike.
Obviously, a city bike won't do so well on an off-road mountain trail.
Unless you are at an intermediate or expert level, you should avoid trails that are too narrow, steep, or rough.
Other things to think about are the type of terrain, weather, mileage, road hazards, and potential traffic.
Also, decide how many days you want the trip to last, how much actual biking you want to do, and your budget.
Do you want to camp in the woods or at a developed campground?
Whichever the answer, note that your campsites shouldn't be more than a day's ride apart.
How To Choose A Bike For Camping
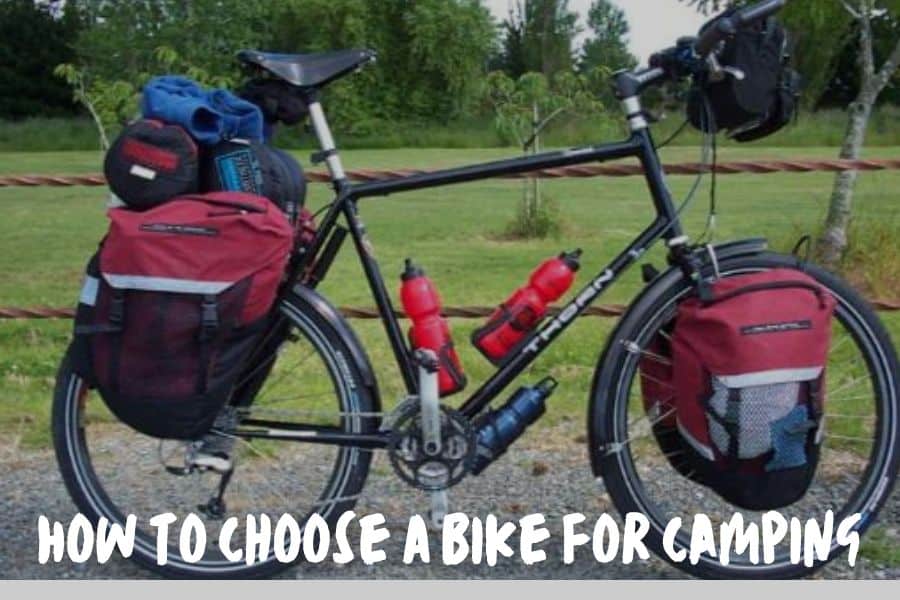
Before buying a bike, there are a few things you have to decide on..
Do you prefer thin tires or wide ones?
Do you want front suspension or not?
Would you rather ride on the road, mountains, or both?
How much money are you willing to spend on a bike?
These are some of the questions you should ask yourself before buying anything.
If you aren't sure, trying out a few different types will give you the opportunity to figure out what's best for you.
My personal preference is a combo of a city and mountain bike, also known as a cross bike.
I find it's great for the city ride, but also for the mountains.
The front suspension is quite useful on bumps, sidewalks, and up and down terrain.
I also prefer wider tires with crampons as I find them safer. Thin tires without crampons are faster but can slip when it's rainy.
Also, thin tires can easily get stuck in holes, like the ones on tram tracks for example, and send you flying. With a thick tire, on the other hand, you can just ride over them smoothly.
But, as I said, to find what's best for you, try them out like different flavors of ice cream.
Essential Gear For A Bike Camping Trip
When it comes to bike camping gear, along with your clothes, food and hygiene stuff, you'll need to pack:
- Sleeping gear
- Cooking gear and water
- Bike repair gear
Sleeping Gear
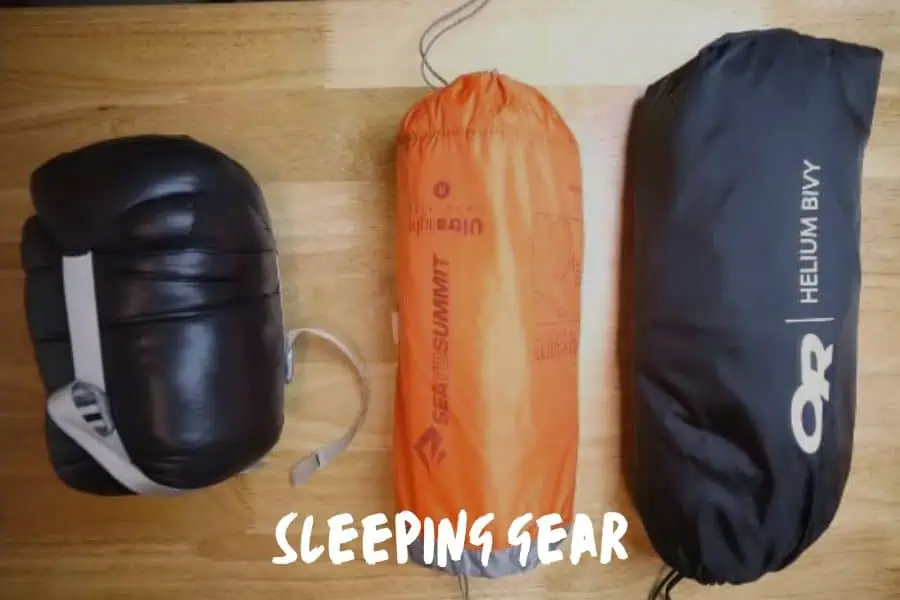
Your sleeping gear tends to be the bulkiest camping equipment you'll carry, apart from your spare clothes. I strongly suggest placing it in your handlebar bag, at least that's what I do. It's relatively lightweight, but it takes up quite a bit of space. So, this is the perfect spot for it.
All of your sleeping gear should fit here plus more depending on what you want to carry.
Obviously, the most important thing to think about when it comes to sleeping gear is shelter.
There are several different types of shelter you can choose from:
- A backpacking tent or motorcycle tent
- A bivy sack
- A tarp
- A hammock
There are two factors you should consider before you start packing your sleeping gear.
First of all – location.
Where are you going to ride?
Secondly – weather conditions.
Sunny and warm or rainy and cold?
If you are going to an area with lots of trees, and the weather is going to be hot, you can simply sleep in a hammock. Yes, you can set up your hammock without trees, but when going bike camping you don't want to overload yourself with unnecessary equipment.
On the other hand, if I know that it will rain on my trip, I definitely bring a camping tarp, as it can be quite useful for staying dry. You can set one up over your tent, or just use it on its own.
Along with shelter, you'll need to pack the following items:
- A sleeping bag
- A sleeping pad
- Linen sheets and pillows are optional
Cooking Gear & Water
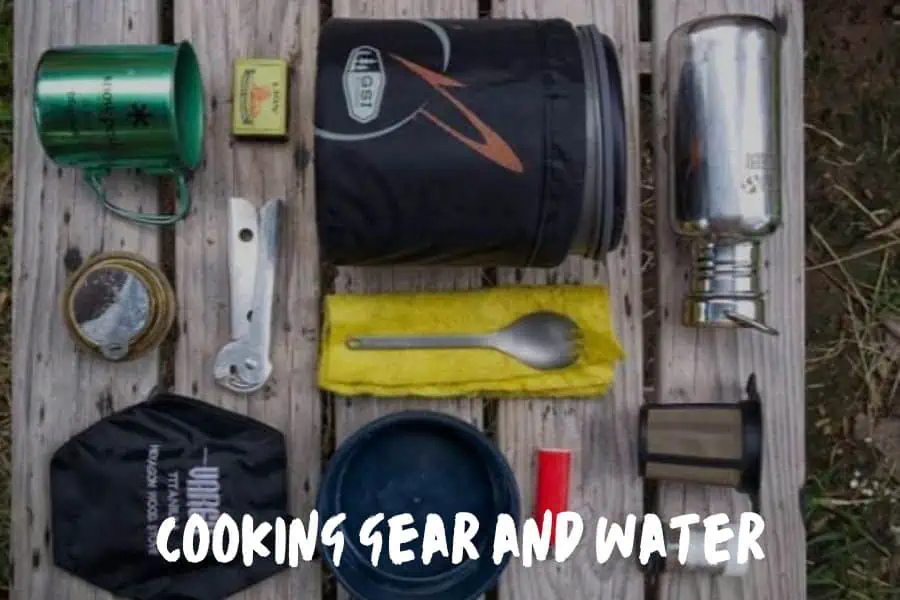
If you've ever been on any kind of backpacking trip, you're probably familiar with what you need to bring with you. It's exactly the same scenario for bike camping.
Less is more.
Here's a list of essential cooking gear just in case you forgot and need a reminder:
- A backpacking stove, gas, and a lighter
- A pocket knife and a spork
- A mug that can be used as pot
- A small pan
- A plate
When it comes to water, what you pack will vary significantly depending on the location of your trip.
If you're planning to stray far away from civilization, you should bring as much water as you can carry with you.
Also, a super cool thing to have with you is a backpacking water filter. This way, whenever you see any source of water you can purify it and refill your supply.
Bike Gear
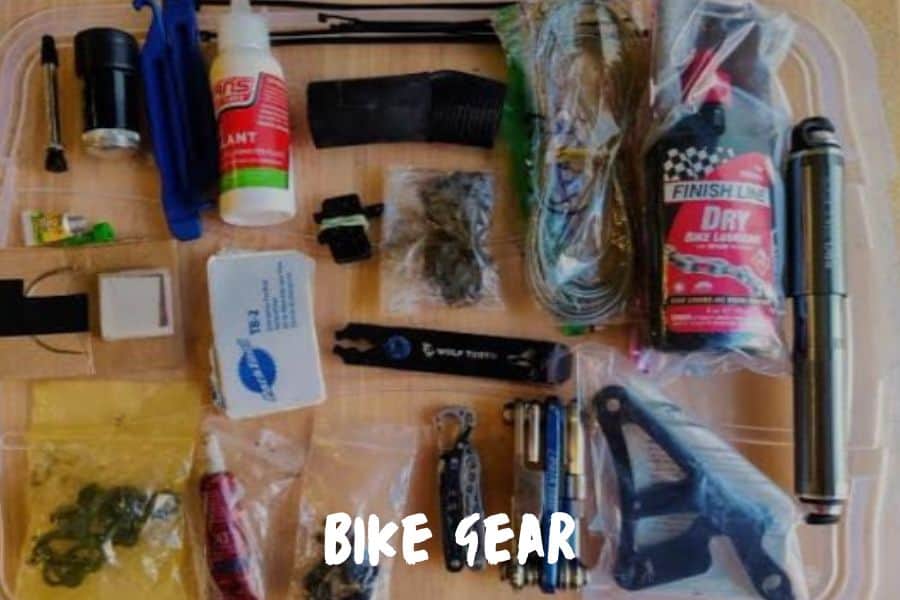
Last on our gear list, but not least – bike gear!
There are two types of bike gear that you need to think about.
The essentials such as:
- A helmet
- A head flashlight
- A front and backlight on your bike
Next to these essentials, you've got bike repair gear.
When bikepacking, you're a little bit further off the grid, which means you're a bit far from help.
So you want to be prepared for the worst.
You don't want to get stuck with a flat tire or a broken spoke in the middle of nowhere.
Again, how broad your repair kit will be depends on your route and location.
Let's go through a list of essential repair items that you should pack.
- Spare tubes
- The right pump for your tires
- Cycling multi-tool
- First aid kit
If you are familiar with bike repairs and you're planning to go further off-grid, I suggest bringing the items listed below as well.
- Chain links replacement
- Chain tool
- A spare piece of chain *optional
- Lubricant
- Spare spokes
- Brake pads
- Thick duct tape
- Crazy glue
- Patch kit
If you are a complete beginner and have no experience with bike repair, I suggest starting off with a vehicle-supported bike tour where you'll be with a group that'll help you with the problems you might face.
If you're up for going on a bikepacking trip alone, go for it. But before you do, take your bicycle to a bike shop for a thorough check-up. Also, I'd recommend not going too far off the grid for the first few times.
And you should at least learn how to change a flat tire. This will be sufficient to go on a self-supported bikepacking trip for a few days to a week or two.
Trust me, I'm someone who's not really good with tools and too much repair work. But that didn't stop me from going on plenty of solo bike camping trips.
Once I even went on a two month trip on my own. Although, I was on an island near a small town where I could get supplies and buy anything that I might need for my bike.
For these two months I only had one problem – maybe you can guess what it was?
A flat tire!
And it happened while I was going to pick up some fresh fruit, so I didn't have my gear with me.
I did know how to change it, but my pump was back in my tent, so I hitched a ride and some friendly people helped me get back to my tent.
Moral of the story – knowing how to change a tire is not enough. Make sure you've always got a tube and a pump with you whenever you're riding.
Ways To Carry Your Gear
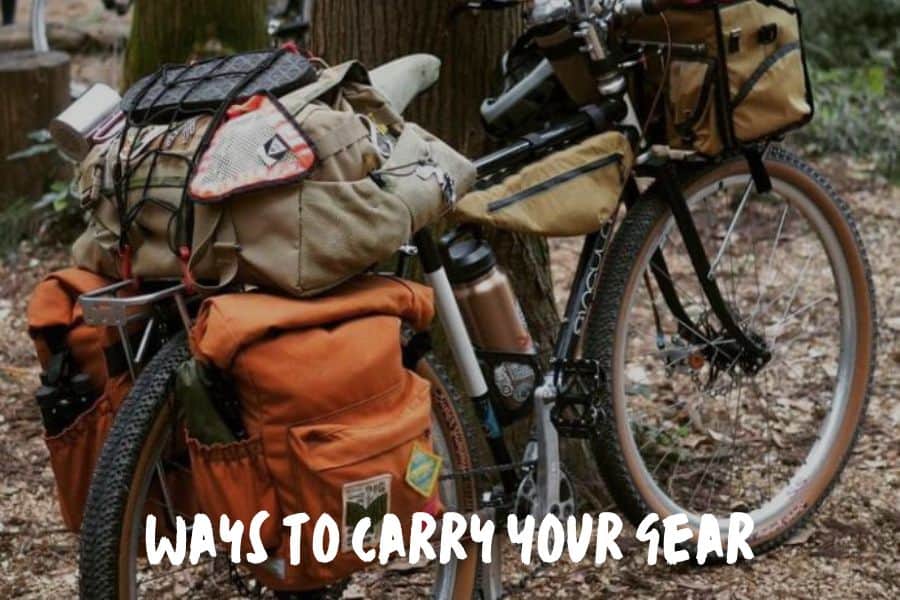
There are a few options when it comes to carrying your gear. It mostly depends on the weight of the gear and the length of your trip.
When traveling on your bike, it's best to keep the weight off your body and closer to the ground.
Lightweight gear is usually placed in a handlebar bag, frame bag, and seat bag. These bags should be sufficient if you're going on a shorter trip.
For heavier stuff like food, water reservoirs, and cooking equipment, you should get bike panniers.
They usually attach to the side of your back wheels, but if you need more space you can attach two more to the front as well. Usually, they're used for longer bike tours.
If you feel adventurous, you can tie your sleeping gear directly to your bicycle's frame or handlebars.
Another option is to get a bike trailer. I'd suggest using this if you need to bring some super heavy gear with you. It's also a great option if you're going bike camping with your family.
Bike Camping Safety
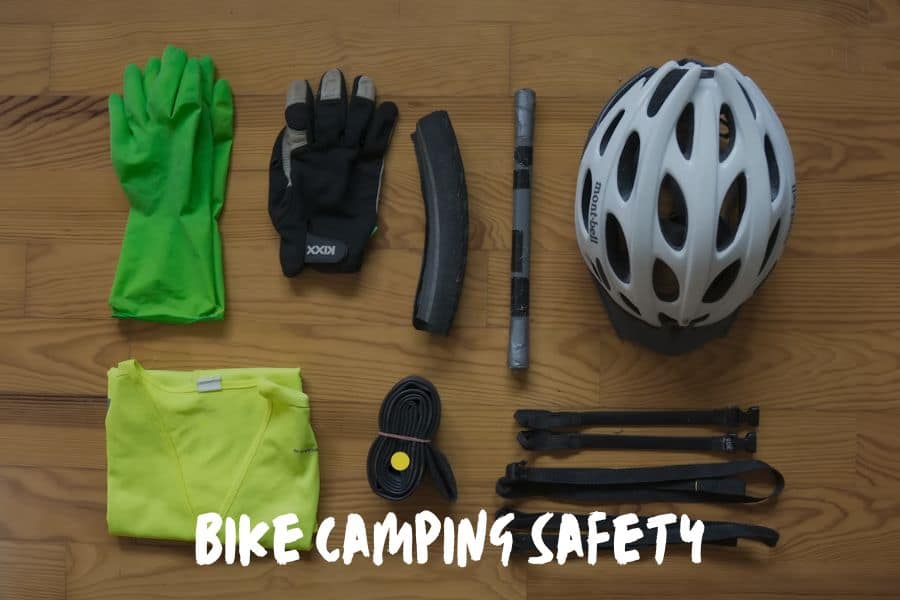
Biking can be dangerous, so it's important to take measures for safety.
First of all – wearing a helmet should be the norm!
Falling from a bike can be unpredictable and can happen in a second, so it's crucial to protect your head!
Along with a helmet, you should equip your bike with a front and tail light.
This way, if you ride after sunset you're marked. Cars on roads or other hikers on the trail can see you and bypass you accordingly.
What else can you do?
- Go with the flow of the traffic. Stay right so you're going in the same direction as other vehicles.
- Respect traffic laws when riding on roads. Know that a bicycle is a vehicle and you're a driver.
- Be predictable. Whenever you're about to turn, indicate with your hand in the direction you want to go.
- Be alert at all times. Watch where you're going, especially in the mountains and on the road – always look before you turn.
- Be cautious of parked cars, as they can open their door at any time. This happened to me a few times and trust me, it's really not pleasant. So, again full-time alertness!
Wrapping It Up
Whether you opt for bikepacking or cycle touring, one thing is inevitable – it's going to be fun.
Choose your type of bike camping according to your physical capabilities, the effort you want to put into planning, and your budget.
When planning a route make sure your overnight stops are a reasonable distance apart.
Before buying a bike, try out different types to discover what works best for you.
Double-check your gear list before heading out.
Keep the weight of your gear off your body and closer to the ground.
Make sure you wear a helmet and have lights on your bicycle.
I might seem crazy, but I'll repeat myself again:
Full-time alertness!
And, most importantly – enjoy yourself.
More Camping Guides: