


From hiking to setting up a camp, spending time outdoors can be quite exhausting. There's nothing better than a bottle of fresh water to quench your thirst.
But, what if your water supply is limited?
Sure, the pond over there looks tempting. But, if I tell you it's home to a million microorganisms that are very likely to get you sick, will that change your mind?
The good thing is, you can drink that contaminated water if you purify it.
That might sound like a complex process, but it's really simple. This guide will show you how to purify water a couple of ways, so you can get clear, safe drinking water in the wild – with just a few tools.
Let's dive in!
6 Ways To Purify Water In The Wild
To stay hydrated during long hikes and backpacking trips, you'll probably have to make use of the water you can find in nature.
Here are the best ways you can make untreated water from any source drinkable.
Boiling Water
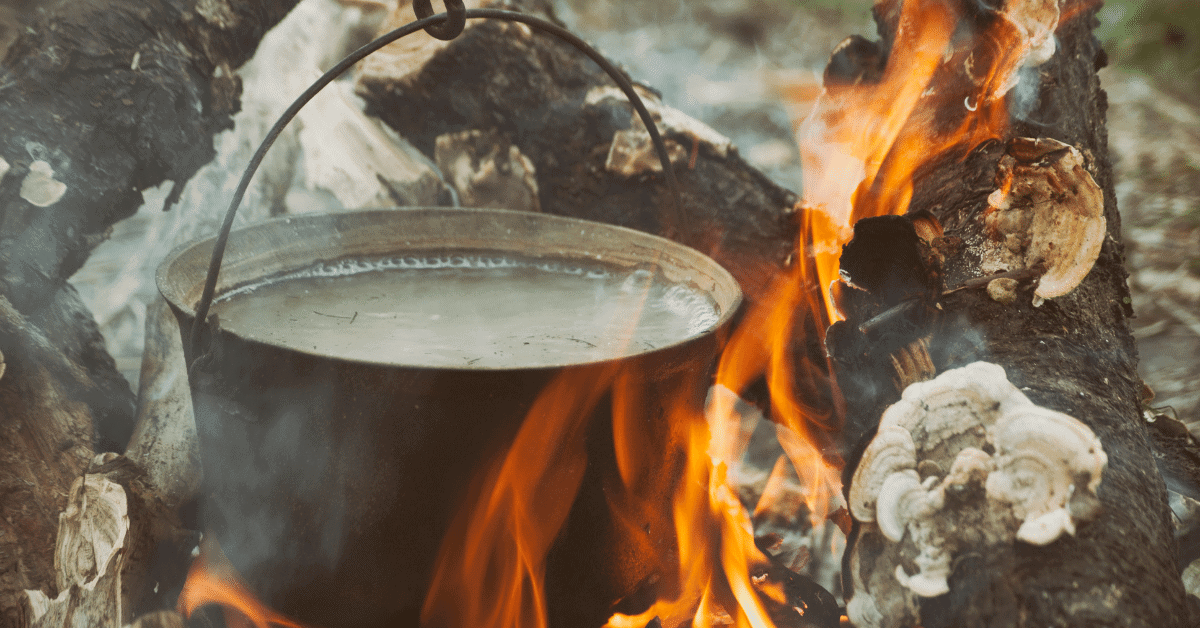
Here's a well-known water purification method that probably already crossed your mind.
We've all done this a million times at home while preparing food. It's one of the easiest ways to kill up to 99% of pathogens that usually live in water.
I'm assuming you packed well enough to have some means of starting fire and a cooking pot for water. These are the only two things you'll need.
And here are the steps of this apparent procedure:
- Light the fire
- Pour water into a cooking pot or a fireproof container and place it above the fire
- Let the water boil for 5 minutes before removing it from fire
Here's one thing to keep in mind:
We were all taught at school that water boils at 212 °F (100 °C). But, this is only true for sea level altitudes. As you go higher, boiling power lowers – thanks to the decreasing atmospheric pressure.
So, at higher altitudes, it will take you less time to boil water. But that doesn't mean it will kill germs faster. To be sure, let it bubble for five more minutes before taking it down from fire.
But don't drink it right away! Let the boiled water cool for at least five to ten minutes first if you don't want to burn your tongue. Plus, hot water doesn't taste all that great.
Water Purification Tablets
Purification tablets are an easy way of getting clean, drinking water in the wild.
They use certain chemical ingredients, the most common ones being chlorine and iodine. In small doses, these components are generally non toxic to us, yet strong enough to kill all the parasites in water.
But, like with any other chemicals, these have their downsides, too.
Chlorine is a chemical used in pools to get rid of germs. It does a great job at that. In fact, it has been said that using chlorine is probably the most significant public health advance of the millennium.
With that being said, the main issue some people might have with chlorine tablets is the aftertaste. If you're ever been to the pool, you know what I'm talking about. You can somewhat get rid of it by leaving the water bottle open, but some aftertaste will always be present.
Iodine is another popular chemical of choice in water purification tablets. Our bodies need iodine as a nutrient. Of course, too much of it can be dangerous to our health, but unless you drink 264 gallons of water, you'll be fine.
However, you should be aware that iodine tablets pose certain health risks to:
- Pregnant women
- People with thyroid issues
- People allergic to iodine
Iodine also leaves an aftertaste. But, if you put some vitamin C in your purified water, it will neutralize the taste.
Now that we've covered all you need to know about the health effects of water purification tablets, let's see how these work.
Different tablets have different instructions.
In general, they require two to five gallons of water, so make sure you have a large enough pot or can for that. You'll need to be able to measure the amount of needed water, so you don't overuse the tablets.
Fill the water container with the required amount of water and add the tablets as per instructions.
Stir well for half a minute, to make sure everything is fully dissolved.
Let the tablets do their job for at least 20 minutes before drinking the water.
Sedimentation
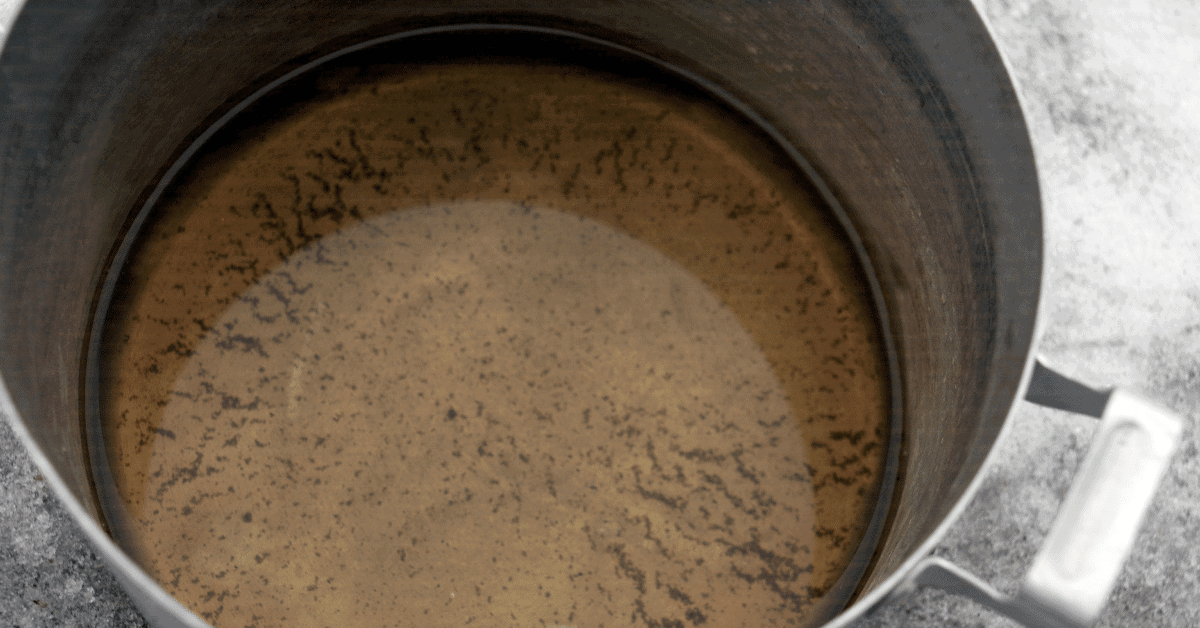
So you've finally found a water source, but it's filled with dirt particles.
What now?
Often overlooked, this method allows you to clear the water without much effort.
Sedimentation requires two things – two water containers and time.
First, fill one container with water and let it sit for at least two days. In time, all the particles will sink to the bottom of the container.
After two days, pour the water into the other container, making sure not to disturb the particles at the bottom.
This process won't kill germs in the water. To make it safe for drinking, you'll need to combine this method with other purification methods, like boiling or using tablets.
Distillation
This is a popular method of water purification in tropical and Pacific areas. In these regions, water contains a higher level of sodium, and drinking it only makes you more thirsty.
But, salty water can also be found around the US, and by that I don't mean only on ocean coasts. States like Arizona, Colorado and New Mexico have a large percentage of saline groundwater.
Luckily, you can make saline water drinkable by distilling it. In other words, this process removes the salt from the water.
To make a solar water distiller, you need: a larger and a smaller container, a plastic bag, a bungee cord, and a rock.
Here's what you need to do:
- Find a sunny spot
- Place the smaller container inside the larger one
- Pour the saline water into the larger container, making sure it doesn't overflow into the smaller one
- Cover the top with the plastic bag, and further secure it with the bungee cord
- Put the rock in the middle, on top of the bag right over the small container
And that's it.
As the water evaporates and then condenses, it leaves the salt behind.
However, keep in mind that this method won't work during colder weather.
What's more, while this process removes bad organic compounds (bacteria and viruses) it won't get rid of some of the most persistent germs. That's why you should always combine it with another method from this list, whether it's boiling, tablets or straw filters.
Straw Filters
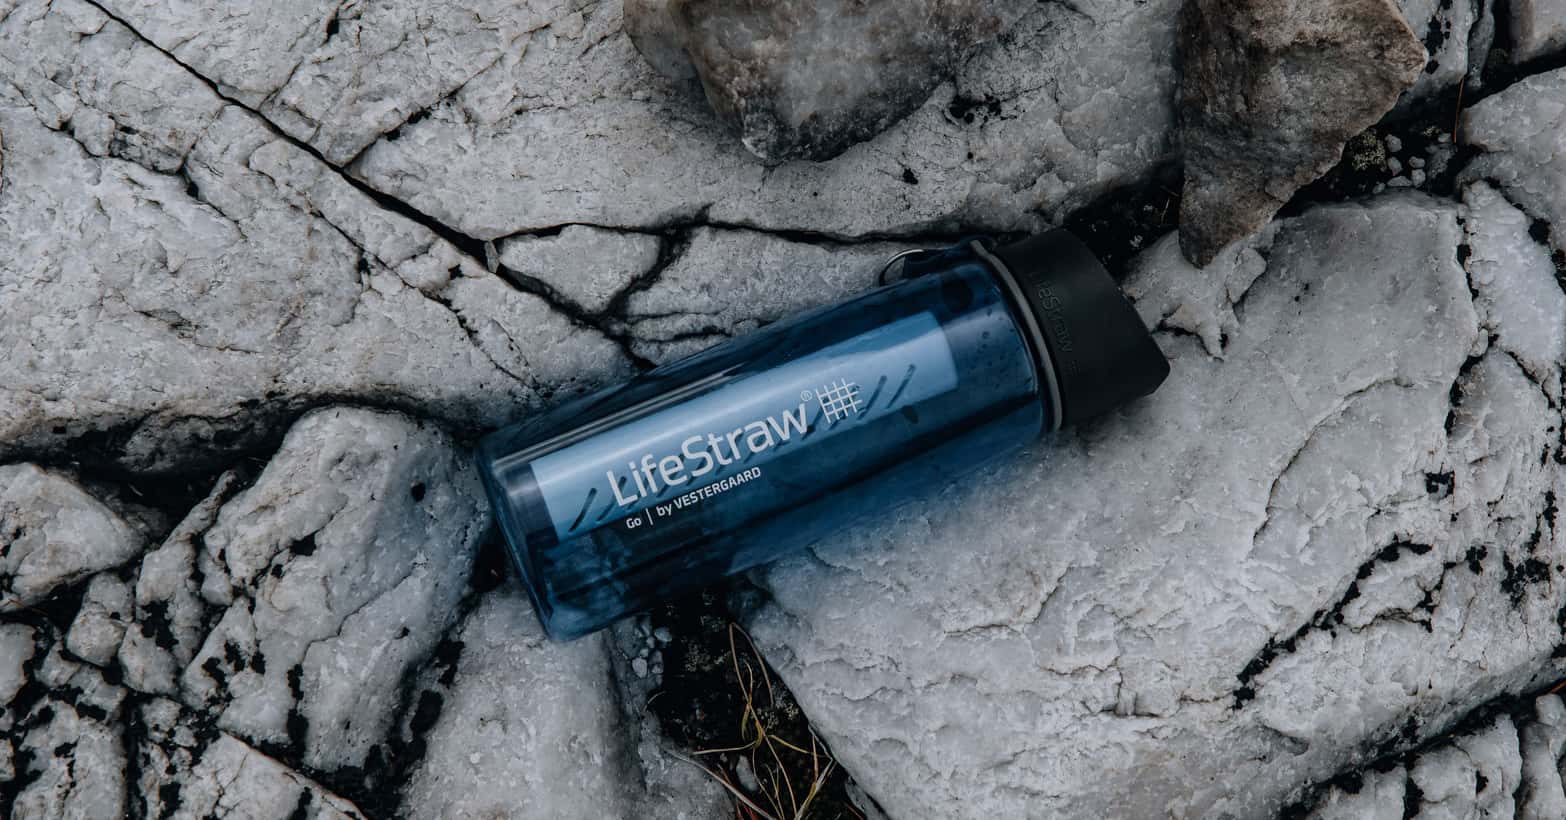
This product is like magic – dirty water enters on one end, and clear water comes out on the other. Bacteria, parasites, dirt, sand and microplastics are all stuck, unable to pass through the straw.
Here's how it works.
The magic behind the straw is actually pretty simple. It uses microfilters with holes small enough only for water molecules to pass through. All the pathogens and dirt particles are simply too big to get through those tiny holes in the straw's water filter.
Most survival straws also use activated carbon, which removes any odd taste and smell the water might have.
Solar Treatment
This is another way you can purify water during sunny days.
Solar treatment of water, known as SODIS, is actually a method over two million people worldwide use everyday to get clean drinking water.
This procedure relies on the sun's UV light rays to inactivate and reduce bacteria, viruses and parasites that live in water.
Depending on the clouds, this treatment will take anywhere from six hours to two days. This means you need to think ahead.
If you get thirsty on a hike and need a quick way to purify water, this method obviously won't do the trick. However, it's a good one to set up back at your base camp to have fresh, clean water waiting for you at the end of the day.
Here are the simple steps of this method:
- Fill a clear plastic bottle with water to the edge
- To increase the saturation of oxygen in it, shake it for 20 seconds or so – this will help the sun do a better job
- Place the bottle in the direct sun, without any shade if possible
- Leave it there for six hours to two days, depending on the weather
That's all. After a period of being exposed to the sun, your water is germ-free and ready for consumption.
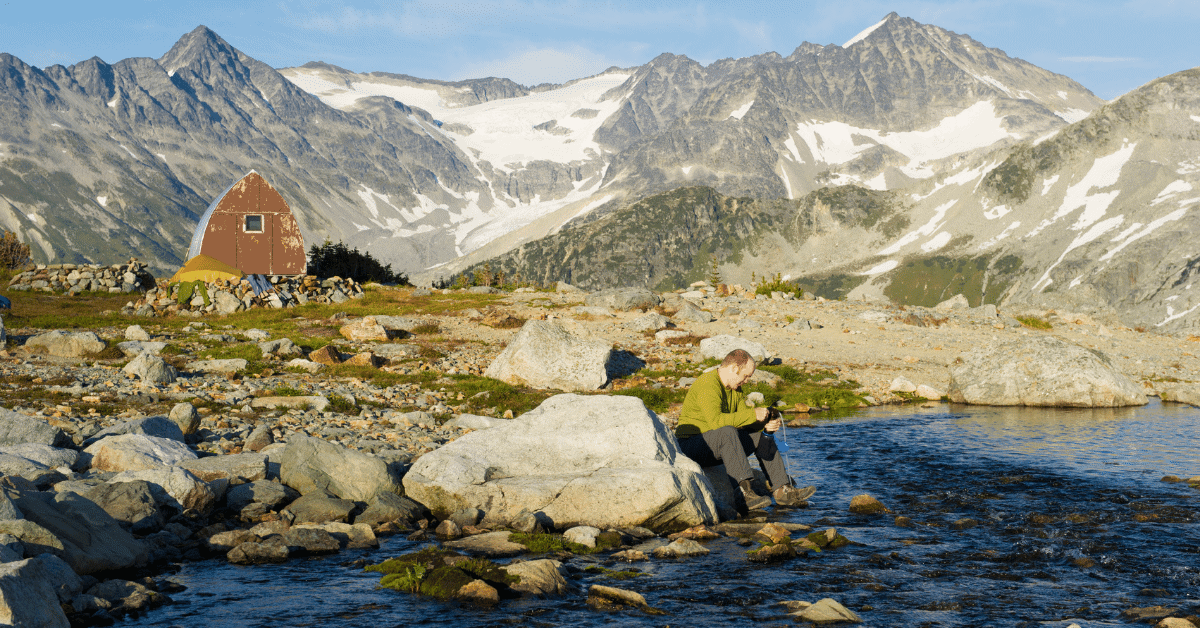
Water From Natural Sources
We're all aware that bottled water is the healthiest option available. The Food and Drug Administration (FDA) sets safety standards that manufacturers are required to follow.
Bottled water would be ideal for camping, backpacking and hiking. But water is heavy, so you can't take a lot with you.
Once you run out of water, you need to turn to natural sources.
Mineral springs and rivers look so appealing, you just want to immerse your head in and drink until your stomach's full. But, if you knew how many tiny creatures live in that water, you'd run for your life.
For example, an old but relevant study showed that around 86% of streams in Great Smoky Mountains National Park are contaminated with fecal coliform bacteria – an organism that lives in animal intestines. Think about that the next time you go there.
Earlier in the article, I mentioned a few ways you can purify water from natural sources. Each of them is very efficient and some of them can be combined.
Boiling, purifying with tablets and using straw filters work well on their own. Sedimentation, distillation and solar treatment, on the other hand help you clear water from certain compounds, but don't kill microorganisms.
But even though these methods work well, you should still be picky about which natural water source you choose.
Here are a few tips you should know beforehand:
- Pay attention to the water clarity. Of course, just because the water is clear doesn't mean it's safe to drink. But, you can easily remove contaminants with the methods described above. Still, these method's aren't magic. If there's scum, debris or even an odor to it, try and find another source of water somewhere else.
- If you have a couple of options available, always go for flowing rather than stagnant water. The latter is a breeding ground not only for bacteria and viruses, but insects too.
- Finally, if you're collecting water from a river source, never do it downhill from agricultural and mining areas, or towns without sewers. You don't even want to imagine what flows down the river.
That's All Folks
There's only so much space for water when packing for your trip in nature. If you're staying for several days, chances are you'll have to find a natural water source.
However, it's often forgotten that the beautiful lakes, rivers and ponds we see are usually contaminated with the things we do not see.
That doesn't mean you'll wither from thirst. Just bring the necessary gear for purifying water, and you can get drinking water from just about any source.