

Did one of your tent poles just snap right in the middle of your camping trip?
Don't pack to go home just yet!
A tent pole is one of those things you can easily repair, as long as you have a few things at your disposal.
Today, I'll show you several ways you can repair your broken tent poles. Let's dive in!
How to Repair a Broken Tent Pole
Accidents happen, and when you're camping, you need to be prepared for them.
So if your tent pole breaks, you should at least be able to give it a quick fix that should last for the duration of your trip.
Then, when you get home, you'll have more time to repair or replace anything that's still broken.
Here's the good part – repairing a broken tent pole isn't rocket science.
Depending on the damage, you might not even need to do too much to it.
Now, let's talk about each possible scenario and how you can deal with it most effectively.
Patching a Broken Tent Pole
In case there's only a small crack on your tent pole, then Bondic Liquid Welder or a similar type of liquid plastic can do the trick.
This type of "glue" works on a simple principle: It is a liquid plastic that requires UV light to be cured.
It won't harden until you do, no matter how long it's been applied for.
I love this "glue" for so many things, and patching up a tent pole is no different.
The steps for this method are pretty straightforward:
- Lay the pole down on a flat surface. If it's slightly bent around the crack, try straightening it up as much as you can.
- Apply a tiny bit of Bondic Liquid Welding to the crack to cover it up.
- Cure the applied glue with the UV light for four seconds.
- If necessary, you can further secure the pole by wrapping the cracked area with tape.
Now, even though liquid plastic is extremely strong, this isn't a fix that will prolong your tent pole's life by many years. While it should do the job for the next trip or two, you should replace it as soon as possible.
Splinting a Broken Tent Pole
Now, if your tent pole is completely broken, there are two different ways you can fix that:
- Using a pole repair sleeve
- Using a tent stake as a splint
Tent pole repair sleeves are amazing, as they're affordable and allow you to make a quick fix while you're out in the wilderness.
But what if you don't have one with you when the "accident" happens?
Well, one thing that you surely have at hand can work for a makeshift splint – a tent stake.
In this section, we'll cover each method.
Supplies you'll need:
- Tent pole repair sleeve
- Gaffer's tape or duct tape
- Wire cutters or pliers (optional)
- Tent stake or sturdy stick (in case you don't have a repair sleeve)
Splinting using a pole repair sleeve
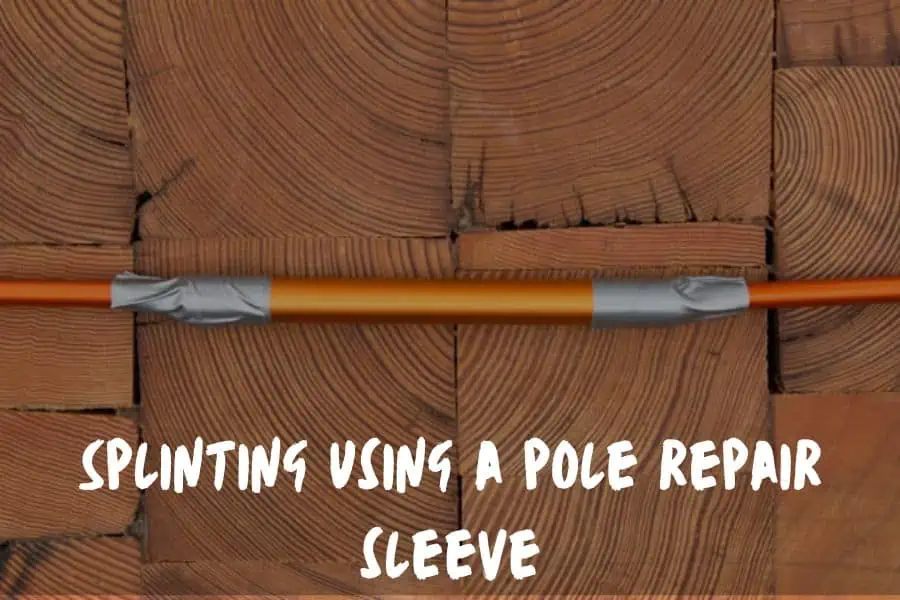
A pole repair sleeve is a short tube that's just a tiny bit larger in diameter than a regular tent pole.
That way, it can be applied on top of it without moving around too much.
Some tents feature a repair sleeve in the purchase, while others don't.
Still, you can buy a pole repair sleeve separately – they're widely available in outdoor gear stores and online.
Here's what you need to do:
- If the tent pole is bent but not completely broken, lay it flat and try straightening it to the original shape.
- If the pole is broken, line up those sections.
- Slide the repair sleeve on the pole, all the way until it covers the break. In case the part where the pole is damaged has splayed pieces, this is where wire cutters or pliers come in handy. You can crimp or bend inwards those pieces so that you can slide the repair sleeve onto the break.
- Grab the tape and wrap it around each end of the sleeve a few times. This should help keep the repair sleeve in place.
Splinting using a tent stake

Chances are you might not have a pole repair sleeve with you. I don't blame you, as I used to do the same back in the day.
So, when my pole broke, I had to improvise. Well, the good thing is that you can use something you have readily available, like a tent stake.
Alternatively, a sturdy stick will do as well. But given that finding such a strong stick would be hard, using a stake is much more practical.
Here's what to do:
- Lay the tent pole (or line up its parts if the pole has completely snapped in half) on a flat surface. If possible, try straightening the bend as much as you can.
- Grab a tent stake and align it in such a way that it's centered next to the part where the pole broke.
- While holding it tight with one hand, grab a tape with another and wrap the stake and pole several times. You want to make the wrap as tight as possible so that it leaves no room for wiggling.
Replacing an Entire Pole Segment
While the previous methods offer quick and easy fixes when you're out in the wilderness, you should eventually replace the entire pole segment and make it as good as new.
For this method, you'll need a replacement segment of the same size as the original pole. Some outdoor brands make replacement parts for their tents, including poles, but that's not always the case.
Alternatively, you might be able to find a segment from other manufacturers that's the right size and material as your own.
Today, many brands offer universal replacement pole segments. Just keep in mind that these come a bit longer so that you can cut them to size.
Supplies you'll need:
- Felt-tipped marker
- Hacksaw
- Metal file or medium-grit sandpaper
- Contrasting tape (optional)
Here's what to do:
- Measure your replacement pole segment so that it matches the old one in length.
- Line where you need to cut the replacement segment with a pen or tape. I strongly suggest using tape around the part where you plan on cutting the pole, as it prevents cracking and splitting while you're cutting through it.
- Grab a hacksaw and start cutting. Be careful when using this tool, as you can hurt yourself if not careful. Keep a moderate pressure when gliding the hacksaw over the cutting line.
- Once done, grab a metal file or sandpaper and start smoothing out the edges of the new pole segment. You don't need to be very detailed, just make sure there are no sharp edges that could damage the shock cord.
And there you have it, good as new!
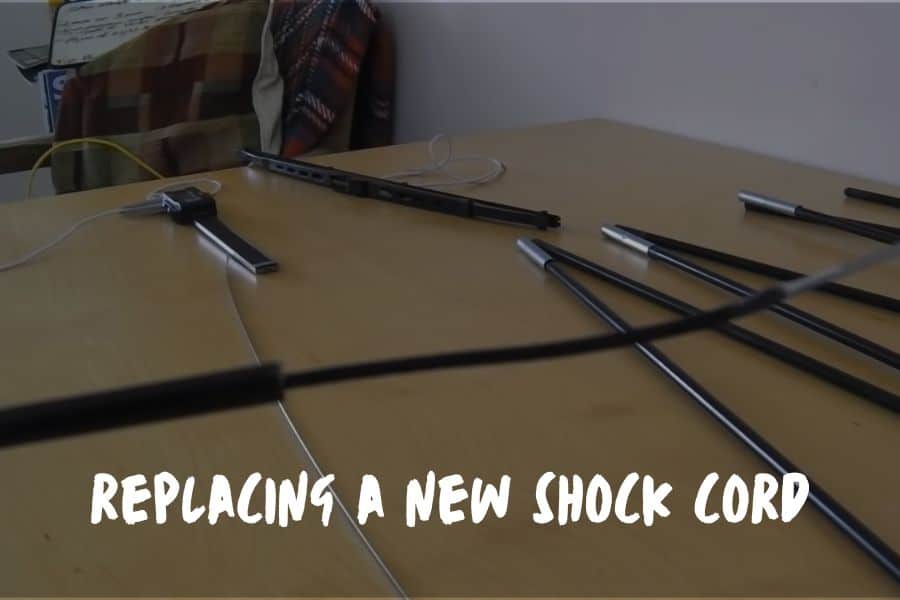
Installing a New Shock Cord
Finally, what if your pole shock cord snaps when you're camping?
Well, if you're careful, you might be able to put the tent pole segments together and keep the tent erect that way. But that's no real fix.
As soon as you get home, you need to replace the shock cord with a new one.
Now, this is something you might need to do every few years anyway, given that shock cords can lose elasticity over time from use.
And luckily for you, the process is quick and easy.
Supplies you need:
- Replacement shock cord
- Sharp knife or scissors
- Steel washer (optional)
- Replacement pole segment (optional)
- Hacksaw (optional)
- File or sandpaper (optional)
- Felt-tipped marker (optional)
As you see, many of these supplies are optional. You'll need all of them only if you're also replacing a pole segment while installing a new shock cord.
And now, let's get down to business. Here's what you need to do:
- Here's how to replace the shock cord:
- Lay down a tent pole on a flat surface.
- Grab a marker and label each section with numbers/letters to avoid mixing them up.
- Grab the scissors and snip the old shock cord on either end.
- If any pole segment needs replacing, this is when you want to do that. For instructions, follow the method above.
- Lay down the old shock cord next to the new one and cut it to match the length. If the old cord lost elasticity, cut the new one about 8 inches shorter.
- Tie one end of the shock cord to a pole tip, while feeding the other end through all pole sections aside from the last one.
- Stretch the cord to extend the length while feeding through the last pole section. Tie the end to the pole tip.
And there you have it! Very easy and quick to do.
FAQs
What are the parts of a tent pole called?
Parts of the tent pole are called segments. Each pole has four or more segments, depending on the size of the tent.
How do you reconnect tent poles?
The shock cord is what keeps the tent pole parts together. If your shock cord snaps or loses elasticity, you'll have to replace the shock cord to keep the poles working as they should.
How does a tent pole splint work?
You need to use a tent sleeve or something sturdy and straight like a stick or an extra tent stake to keep the pole parts in place while in use. If you don't have a repair sleeve, a sturdy stick or a tent stake will do the job.
How do you straighten a bent tent pole?
You need to be careful when doing this so that the pole doesn't break in half.
If it's only slightly bent, rolling a tent pole onto a flat surface should help with straightening it back.
If it's more creased, then you'll need to make a splint to keep it from bending back.
How tight should the tent pole shock cord be?
Tent pole shock cords need to be really tight. In general, the cord be 25% shorter than the total length of the pole in slack
To Sum Things Up
As you can see, a broken or bent tent pole is not the end of the world.
In most cases, you can figure out a quick fix while you're still out camping. Even with just duct tape and a stick!
And as you get home, you can easily replace the damaged part with just a few tools at your disposal.
More Tent Maintenance: