

If you've never experienced a tear in your tent, you're lucky!
That's why we're going over how to patch a tent and care for it when it gets damaged.
While pretty common, tears in the fabric of your tent can take a toll on its efficacy – and ruin your campout if you're not able to fix it.
Let's dive into how to patch a tent when the worst happens!
On-The-Trail Quick Fixes
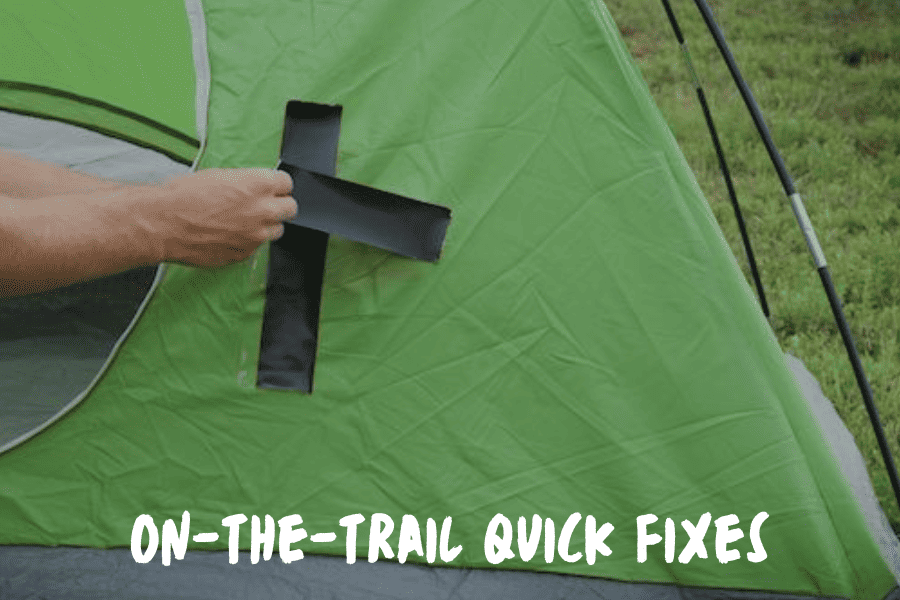
You would never want a tear or hole to mess up your campout or make you leave early.
When you're on the trail, it's best to have an option for repair tape with you.
When I'm out there, I generally bring duct tape because it has a multipurpose use.
If there's a hole you can't ignore, use repair tape or duct tape to seal it for the remainder of your campout.
If the hole or tear is small, this might be all the fixing you need, meaning you won't have to do an extensive repair when you get home.
However, if the hole is bigger, you can gently remove the tape when you get home and complete the repair method we detail below.
Pre-Patch Preparation
The process that we will describe below is for a tent repair that occurs after your trip is over, and you are back home.
This type of repair is reserved for more extensive tears that can't be fixed with tape on the trail.
Assessing The Damage
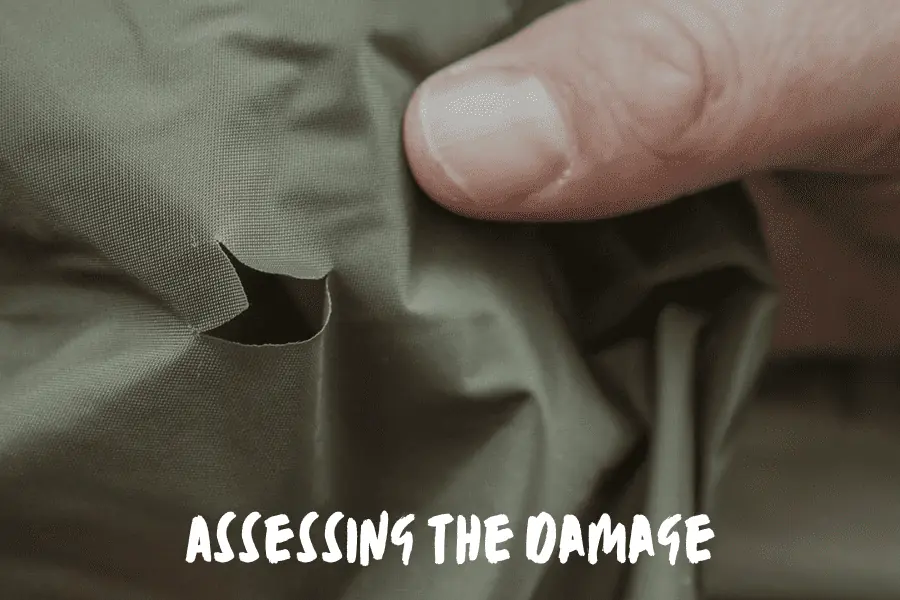
In any case, when you suspect (or see) damage on your tent, the first thing you should do is try to identify where the hole is, where it starts, what parts of the tent are involved, and how big it might be.
This will determine what kind of supplies you'll need to use to patch it up, and how extensive your repair may be.
Gathering The Right Patching Supplies
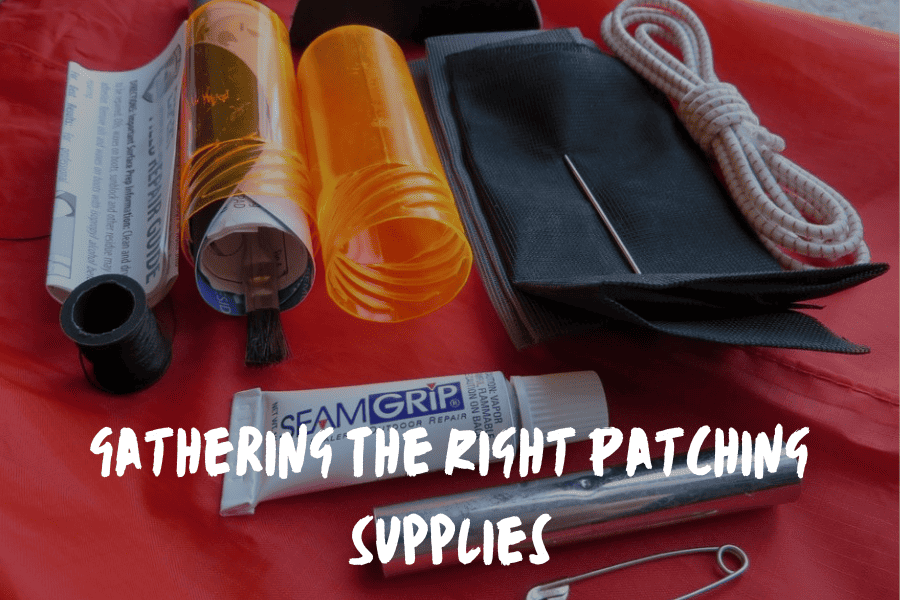
When you purchase a tent, it's important to also purchase a tent repair kit.
These kits will include nylon patches, nylon thread, a heavy-duty needle, and seam sealer – everything you need to fix up your tent if the fabric tears.
If you don't already have a tent repair kit, you can purchase one at your local outdoors store.
Tent repair kits are NOT the same as a regular sewing kit.
Instead of cotton materials, tent repair kits use fabrics similar materials to the tent's original fabric (like nylon).
Additionally, the needle in a tent repair kit should be large enough to handle nylon tent materials.
Needles included in a regular sewing kit will likely break if used on your tent.
Step-By-Step Guide To Patching A Tent
Preparing The Damaged Area
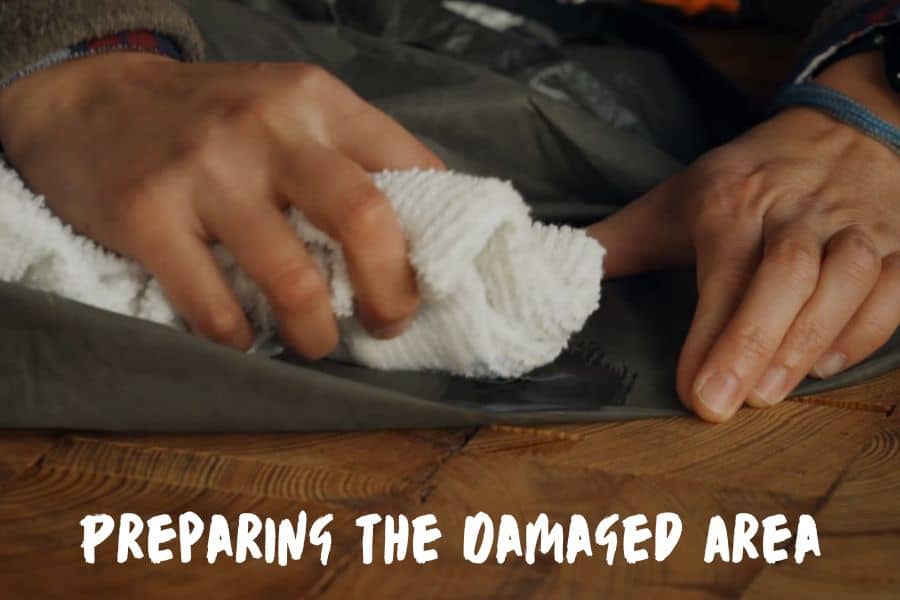
When you're going to fix the damaged area, the first thing you'll need to do is clean it.
Use rubbing alcohol to cleanse the area around the tear, as well as any parts of the tent involved in the damage.
Allow a few minutes for the rubbing alcohol to dry before moving on to the next step. If the area is not dry, the patch will not work as effectively.
Applying The Patch
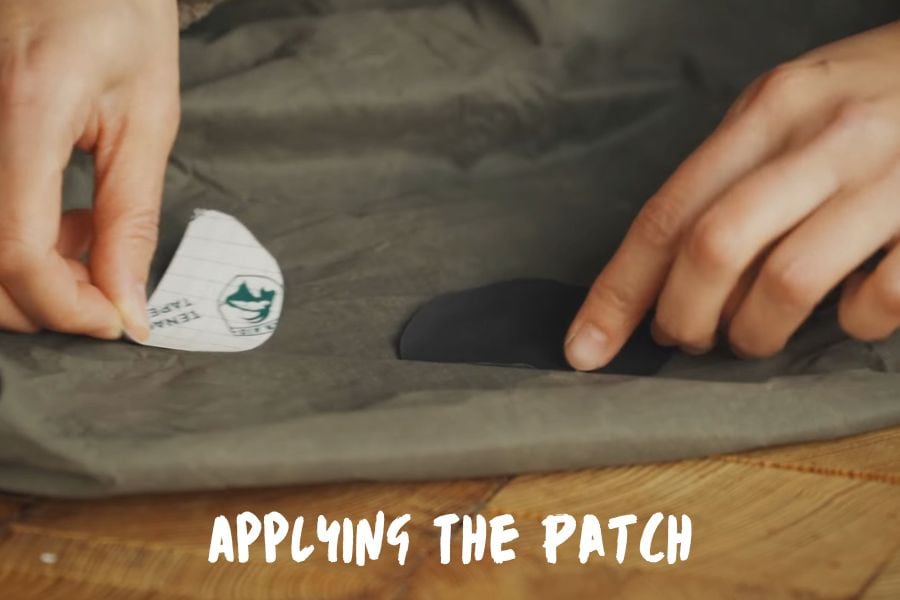
Once you've cleaned and dried the damaged area, apply a patch to the rip.
When creating the patch, it's best to make a patch that is slightly bigger than the rip itself.
This way, the patch will both cover the rip and support the area around it.
Sealing The Patch
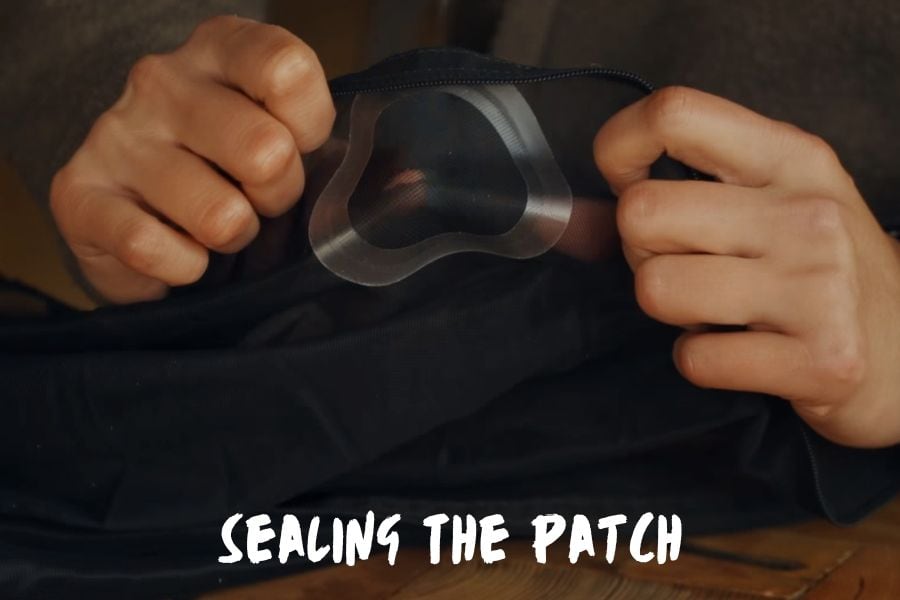
After you've placed the patch, you'll have to let it sit for a period of time – sometimes up to 24 hours – to fully cure.
When setting the tent out to cure, make sure that the tent fabric is loose, and the surrounding environment is cool and dry.
Wet and hot environments can delay or inhibit the curing process – as can tightly packing up the tent before it's dry.
Post-Patch Care & Maintenance
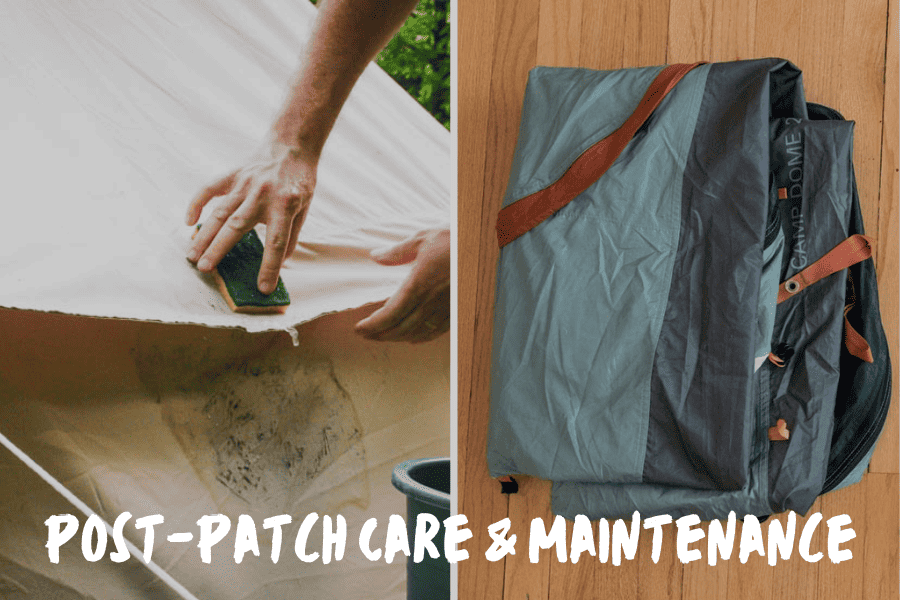
Caring For The Patched Area
Once you've cured the area, you should be able to use the tent just as you would have before.
However, make sure that you check on the patches every few months or so to ensure they are still in good condition.
Tent Longevity Tips
The best way to make your tent last a long time is to take good care of it!
Cleaning your tent when needed and storing it loosely folded in a cool, dry space when you're not using it is the best way to keep your tent from gaining too much unnecessary wear and tear.
Good maintenance, combined with tent repair when needed can really make a difference in keeping your tent in great condition.
Mistakes To Avoid When Patching A Tent
There are a few common mistakes people make when patching a tent.
In this section, we'll go over these mistakes, and how you can avoid them.
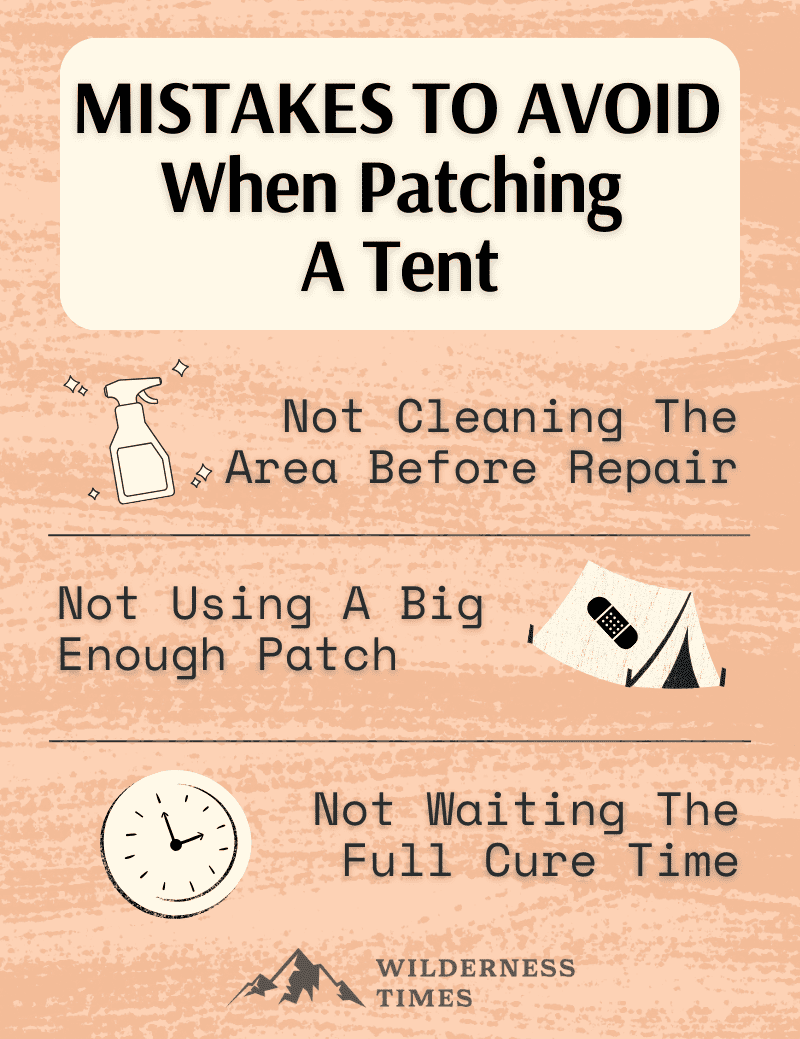
Not Cleaning The Area Before Repair
One of the mistakes people make when patching a tent is not cleaning and drying the damaged area before applying the patch.
If the area is still dirty (or clean and not dry yet), the adhesive of the patch will not work as effectively.
To avoid this, make sure that you clean the area with rubbing alcohol before extensive patch repairs and make sure that the area is totally dry.
Not Using A Big Enough Patch
When you're patching up your tent, it's important to use a patch that is slightly bigger than the hole itself.
Every part of a tent matters for its structural stability. When it gets a hole, that structural stability can be compromised in the affected area.
Therefore, using a patch that is just slightly bigger than the hole will patch up the hole and reinforce the area around the tear.
Not Waiting The Full Cure Time
The biggest mistake campers make when patching a tent is not allowing for the full curing time after the repair is completed.
Not waiting the full 24 hours can cause the patch to be weaker – meaning that your repair isn't quite as dependable as you need it to be for your next campout.
To avoid this mistake, make sure that you leave out your tent in a cool, dry space for at least 24 hours after patching.
Common Types Of Tent Damage
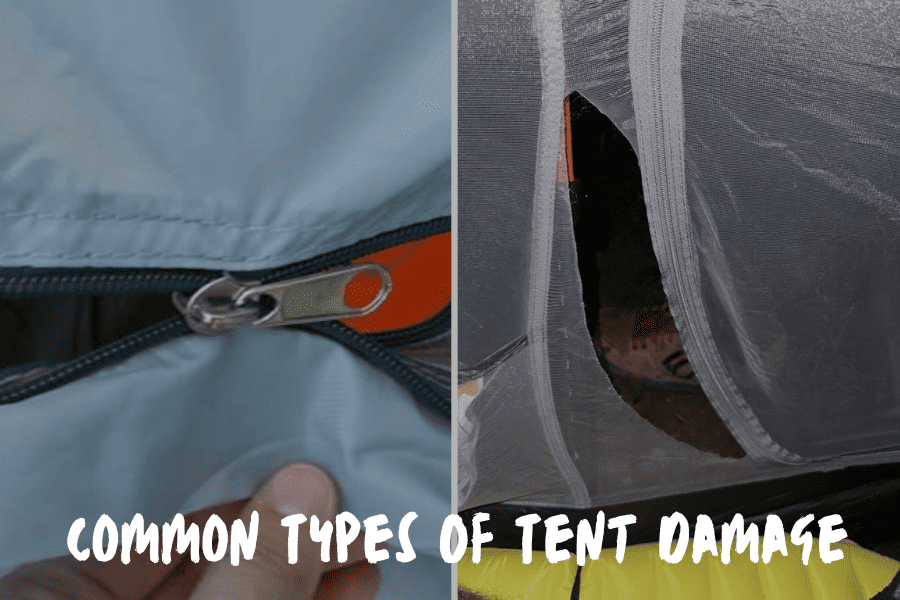
The most common tent damage is tearing around the zippers and pole shoots.
This is because these are the parts of the tent that get the most wear and tear.
However, holes in the sides of your tent can absolutely happen!
This type of damage likely occurs from exposure to the elements, as well as sticks and rocks in high winds.
FAQs
Can I Patch A Tent With Duct Tape?
You can! If you're on the trail and don't have your tent repair kit (or the conditions to fix your tent), you can use duct tape to mend any holes that occur.
However, duct tape is not quite as effective when compared to tent repair kits – especially for larger tears.
If the hole is more extensive, you should make sure that you treat the tear with a tent repair kit when you get home from your campout.
What Should I Do If My Tent Rips During A Camping Trip?
If your tent rips during your camping trip, I recommend using tape to patch up the hole until you get home.
If you're on a longer trek and need to fix the hole, I recommend you use a rest day to repair your tent and leave the fabric out to cure
While it might be frustrating to lose a day of hiking, it's more important to have a tent that works well and protects you from the elements.
How Can I Avoid Tent Damage In The First Place?
Tents are meant to be used, so there's no great way to avoid the regular wear and tear they experience through that use.
However, keeping your tent properly clean and stored will keep your tent in good condition for longer.
And, when you're out on the trail, avoiding pitching your tent under large branches or on rough ground can prevent any holes from occurring.
Can I Wash My Tent After Patching It?
Yes and no. Do not wash your tent directly after patching it. You'll need to wait at least 24 hours after patching before you can wash and pack up your tent.
However, once the 24-hour "curing" period is over, you should be able to wash and maintain your tent as you would normally.
What If The Damaged Area Is Near A Seam Or Zipper?
It's pretty common for a tent to get damaged near a seam or zipper since they are high use, and therefore, high wear and tear areas on the tent.
Here are some common damages and ways to fix them:
- Long and narrow tear (like near the zipper) – use tape along the tear to keep it together.
- Large tear/hole – patch it up with duct tape or a tent patch, as described above.
- Ripped/damaged tent seam – use seam sealer (a specific product that repairs seams that are coming apart).
- Stuck or damaged zipper – use candle wax to lubricate it.
This is a great way to fix a stuck zipper on the trail. Then when you get home you can always apply a zipper lubricant to the area as well to permanently fix the issue.
Can I Patch A Tent That's Been Burned Or Melted?
Yes! As long as the burn isn't too big, you can absolutely fix it with a tent repair kit as described above.
The important thing to remember with burns is that the waterproof coating likely melted off with the heat.
Because of this, you'll need to apply a waterproof coating after you repair the area.
Final Thoughts
Now that you know how to patch a tear or hole in your tent, it's no biggie if your tent gets a hole on the trail.
With the right tools and knowledge, you'll be able to fix tears – and use your tent for your next campout!