

Everyone loves a good fire to wrap up a camping trip, but it's always important to stay safe – even after you've gone to sleep.
In this article, we'll go over how to safely put out a fire pit, so that you can rest easy with no fear of accidental fires.
But before we get to it, the best way to safely put out a fire pit is by using water.
We'll go over how to put it out exactly below.
The Best Methods to Put Out A Fire Pit or Campfire
With any type of fire pit, it's important to put out all the embers in your firepit to prevent potential fires.
While embers don't have active flames on top of them, they still have the potential to create flames if there are high winds or debris placed on top of them.
Before you go to bed, the goal is to make the embers and ashes in your fire pit harmless to the surrounding area.
In the following sections, we'll review a few methods for putting out the embers in your firepit so you don't accidentally start any fires.
How To Put Out a Fire Pit Using Water
The best way to put out a fire pit is to cover active embers with water.
If you're going to use this method, it's important that you have enough water to completely put out the embers beneath you.
But first, let's go over the process as a whole.
Step 1: Let The Flames Die Down
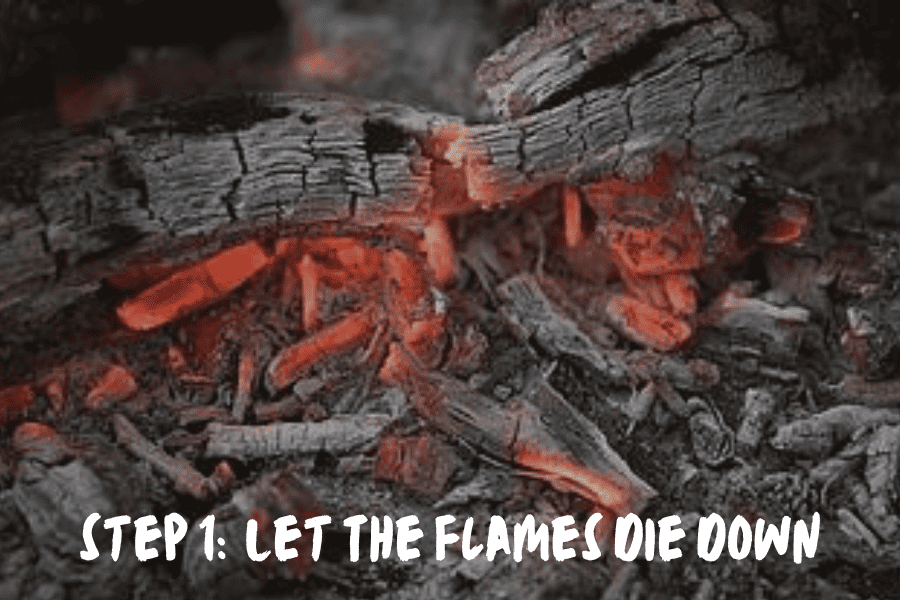
The first step in putting out the fire pit with any method is to let the fire die down on its own, until only embers are left.
From there, all extinguishing methods will target the remaining embers.
The main way to get a fire to die down is to stop adding fuel or additional logs to the fire.
If you've used a firestarter or firelog in your fire, we recommend that you separate it from the bulk of the fire to let the flames die down on their own.
Pro-tip: When removing a firestarter from the bulk of the fire, all you need to do is remove it from the bulk of the fire and to the edge of the fire pit.
You do not need to completely remove it from the fire pit.
If you need to accelerate this process, you can always separate the logs away from one another in the fire pit.
Creating space between the logs will ensure that they can't use each other's fuel to maintain their own flame and will make them die down faster.
Step 2: Gather Your Water
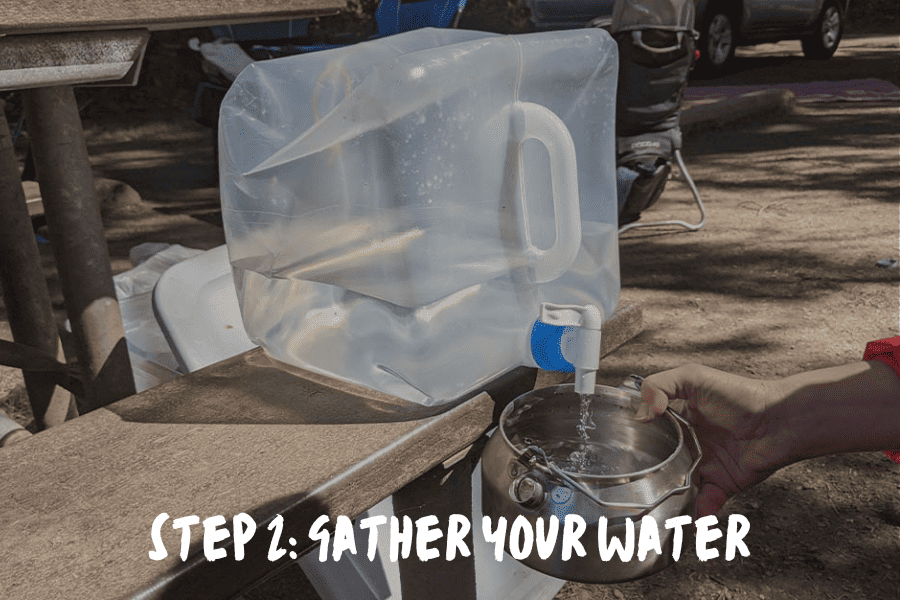
To start the extinguishing portion of this process, make sure you prepare at least a liter or two of water.
The good news is that finding a sufficient water source is fairly easy. You can use a bucket of water, a few water bottles, or a garden hose.
Step 3: Approach The Fire Pit Safely
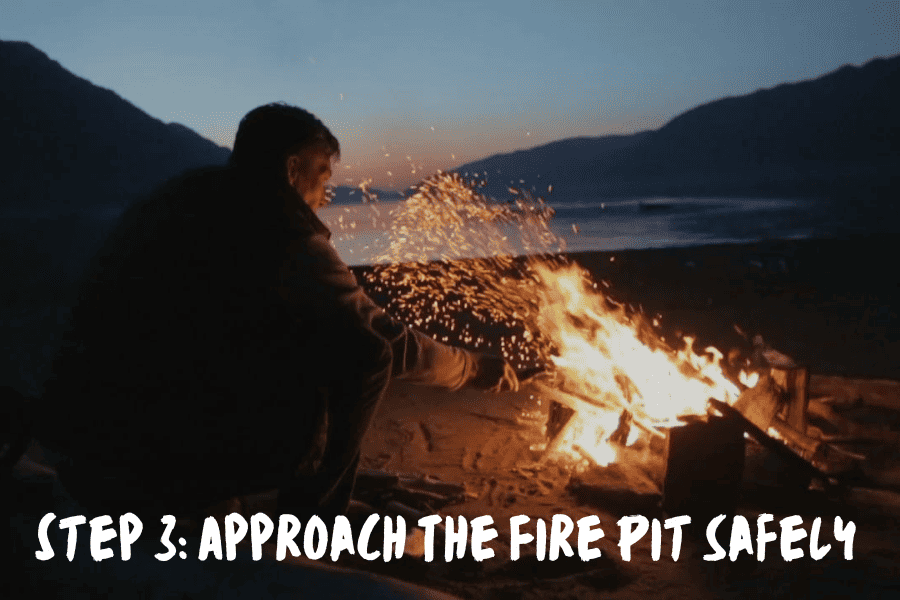
Make sure all of the flames have died down before you approach the firepit with the water.
Even though the flames are gone, any rocks or metal surrounding the pit may still be hot from the fire and can potentially cause burns if touched.
Step 4: Pour Water Over The Embers
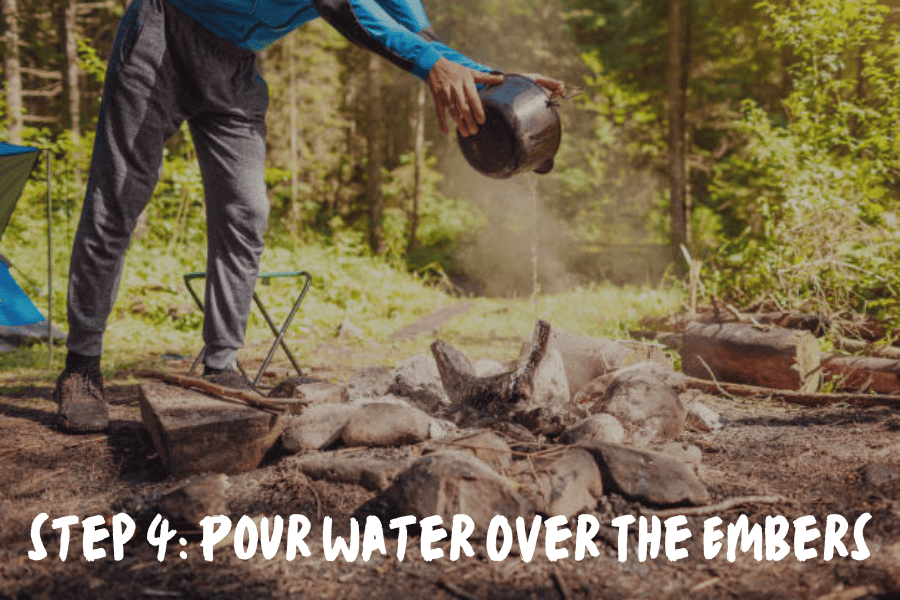
Next, slowly pour the water over the embers, making sure that you're covering each part of the embers with a bit of water. And be careful! When you pour water over hot embers it can create hot smoke.
If you pour the water too fast, you can create a large cloud of smoke that can hurt your eyes. Pouring the water more gradually is a sure way to make sure that the smoke is manageable – and all the embers are covered evenly with water.
If you still see active embers after you pour your first round of water over the embers, you can try again to put out the embers.
Step 5: Stir The Ashes
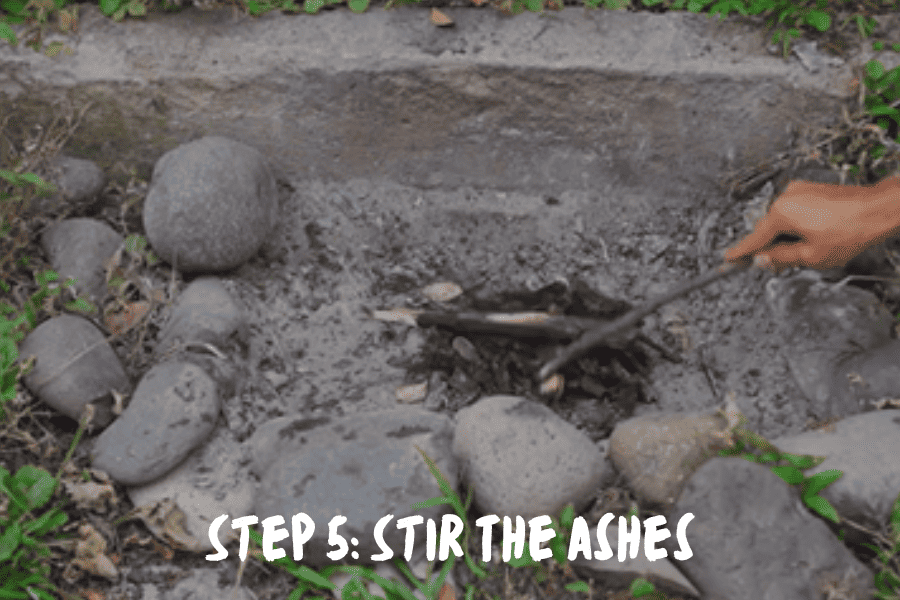
Once you've covered the embers in water, it's time to stir the ashes to ensure that all contents in the firepit have been thoroughly put out. You'll need a tool for this step: I generally use a long stick or a shovel.
Once you have your tool of choice, you can use it to stir up the ashes and make sure that all the contents have gotten exposed to the water you poured.
If you find a dry spot, pour more water on it and continue stirring until everything is wet.
How To Put Out a Fire Pit Using Sand or Dirt
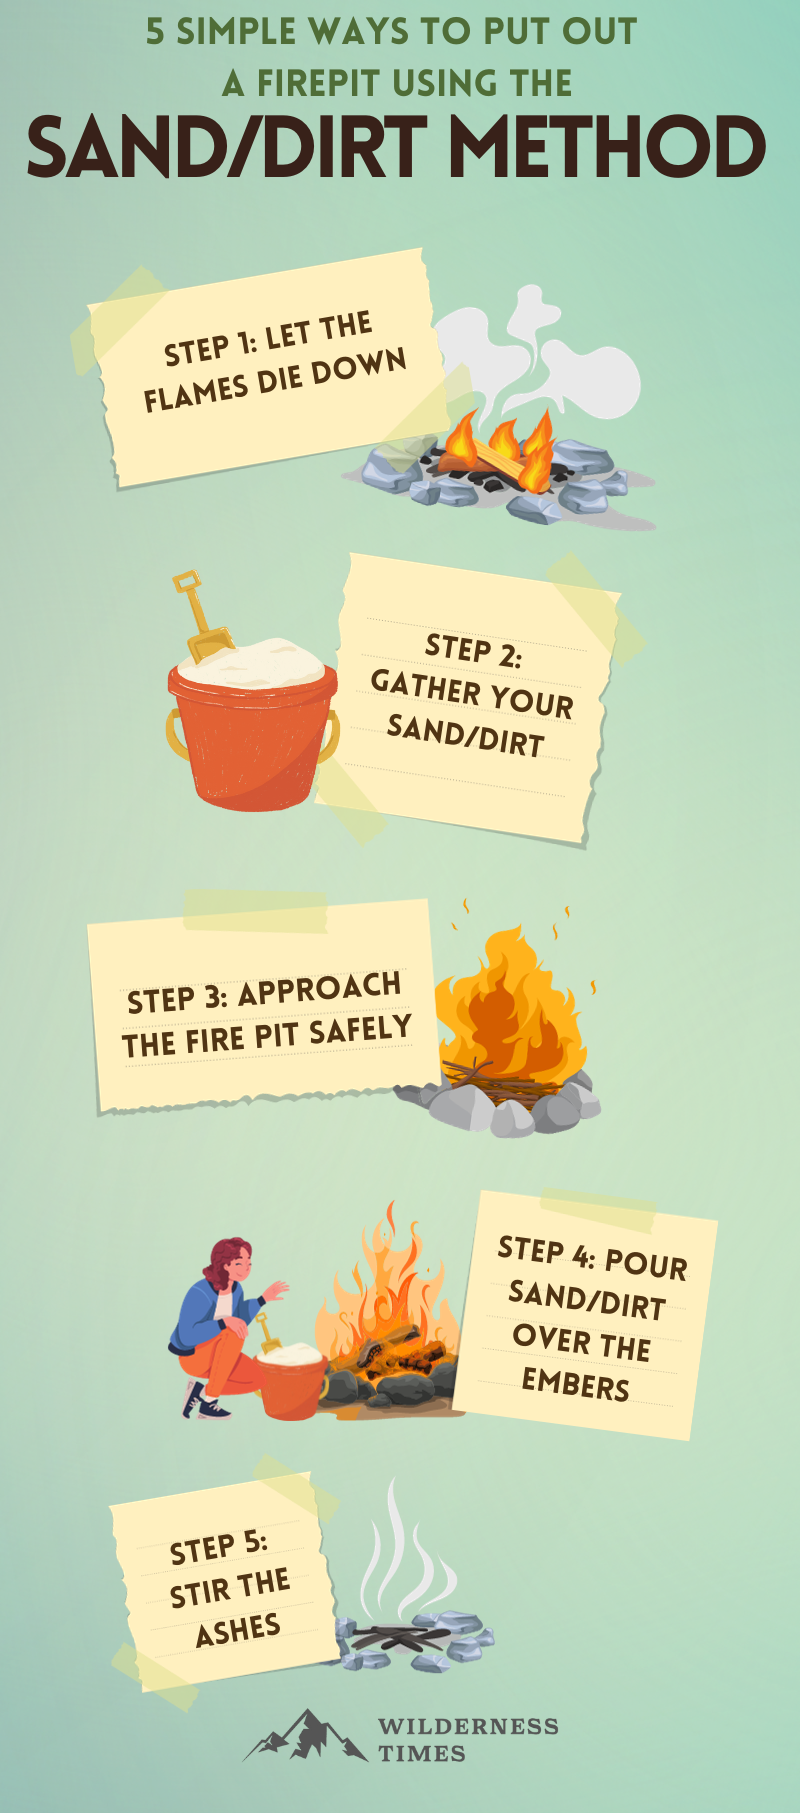
Sand or dirt can be a great option if you're low on water or trying to conserve water in your area.
However, it's worth noting that this method is less effective than using water.
It's important to keep an eye on the fire pit for a few minutes to ensure you've put out all the embers.
This method is similar to the process above, except for the use of sand and dirt as "the extinguisher".
Step 1: Let The Flames Die Down
Similar to the process above, the first step in the sand and dirt method is to let the flames die down on their own.
About an hour before you plan to turn in, stop adding fuel and separate any fire starters or fire logs from the rest of the fire.
If you need to accelerate this process, you can always separate all logs from one another. This way, each log will run out of fuel faster.
Step 2: Gather Your Sand/Dirt
For this step, you'll need to gather some sand or dirt in preparation for putting out the fire. If you're camping on the trail, try to gather your dirt and sand from an area away from the campsite.
This way, you'll still be able to get the amount of dirt you need without digging a hole in the campsite for the next group to find. If you're using this method at home, you can gather sand or dirt from your surrounding yard.
You could also purchase it from your local hardware store for this specific purpose.
Step 3: Approach The Fire Pit Safely
As with any fire, it's important to approach the fire pit area safely.
During this step it's important to remember that any surrounding stones or metal can get hot when they're in prolonged contact with fire.
This means that, even though the fire might be dying, there may still be hot materials around the firepit that can burn you.
Step 4: Pour Sand/Dirt Over The Embers
Once your fire has gone down to just embers and ashes, you can start pouring sand or dirt over the remaining embers to finish them off.
When you're pouring the sand and dirt, try to make an even layer over the embers and ashes.
During this process, your goal is to cover any remaining embers with the sand and dirt to extinguish it.
Step 5: Stir The Ashes
Once you've covered the contents of your fire pit with sand or dirt, it's time to stir it up to ensure all the embers are completely extinguished.
Using a shovel or long stick, stir the ashes and embers together with the sand and dirt.
If you see any remaining embers during this process, pour more dirt to smother them, and continue stirring.
You should complete this process until you can no longer see any remaining active embers.
How to Put Out a Fire Pit With a Fire Extinguisher
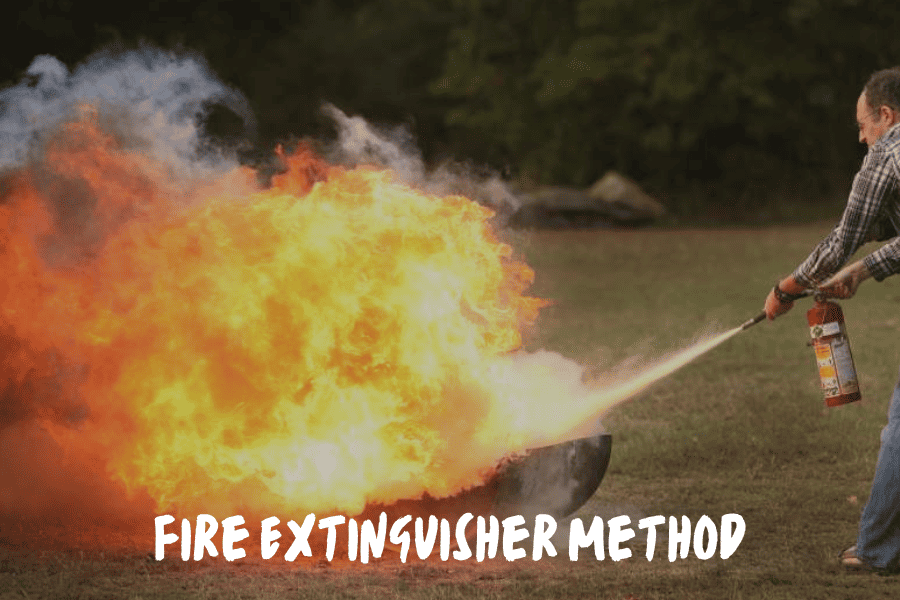
If you're in need of a more immediate or emergency extinguishing method, using a manufactured fire extinguisher can be a great approach.
However, we only recommend this strategy if you're in an emergency situation, or if other extinguishing methods aren't available to you.
They mark fire extinguishers with a few different classifications to communicate what kind of fires they're best suited for.
Here are the main classes to look out for.
Class A: Water-Containing Extinguishers
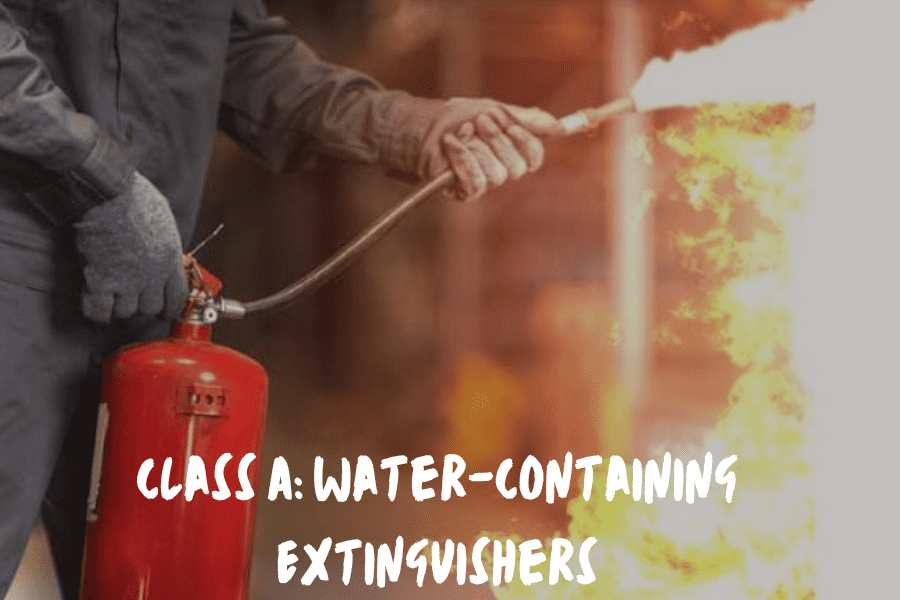
Class A fire extinguishers are meant for fires that started via common combustible materials: wood, cardboard, trash, plastic, etc..
Because these are caused by common materials, these fires are the types most frequently found on the trail.
Additionally, Class A fires are best put out with water, the main extinguishing agent in these extinguishers.
Use this fire extinguisher on your more typical backyard fires.
Class B: Foam Or Carbon Dioxide Extinguishers
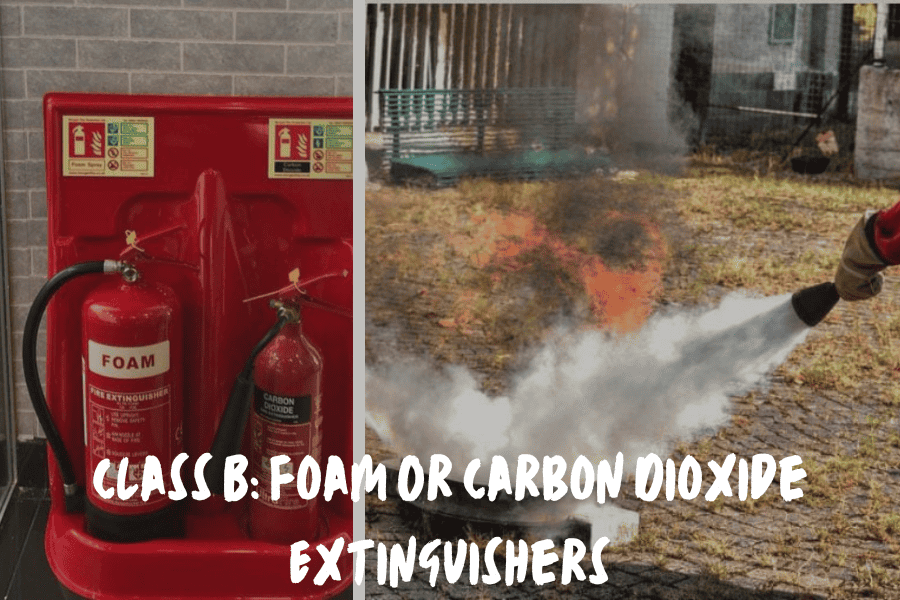
Class B fires are created using flammable liquids and gasses, including gasoline, paint, and kerosene.
Although less common on the trail, some campers use a small portion of lighter fluid to start their fires – which would designate them as a Class B fire.
When you create a fire with gas instead of natural materials, you should use a Class B extinguisher.
Instead of water, these extinguishers use flame-resistant foam or carbon dioxide to remove the fire's access to oxygen.
Class ABC: Multipurpose Dry Chemical Extinguishers
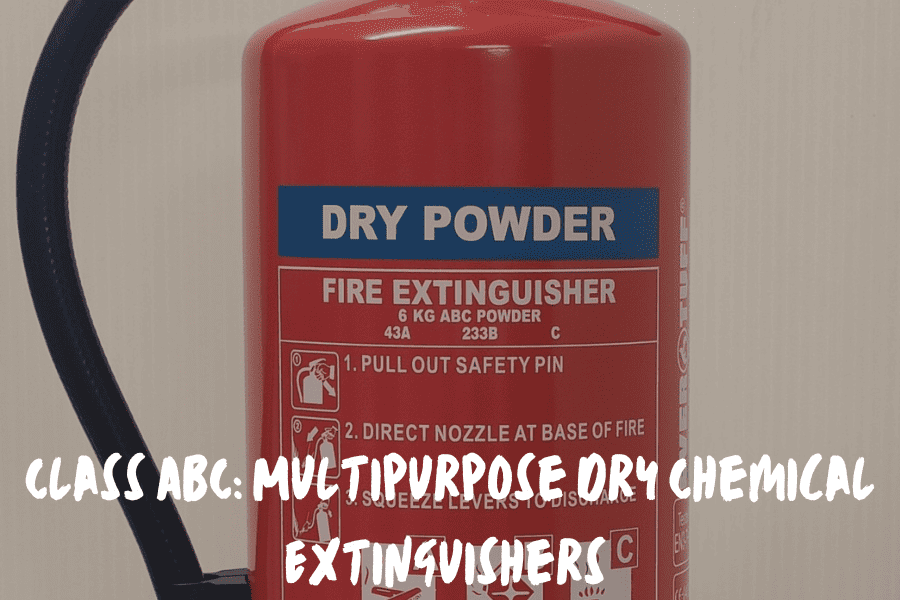
Class ABC fire extinguishers function against many types of fires – including Class A, Class B, and Class C (electrical fires).
Although you're unlikely to encounter an electrical fire at your fire pit, Class ABC extinguishers can be a great choice as a multipurpose tool.
They have the capacity to extinguish both Class A and Class B, which are both fairly common at campsites.
This type of fire extinguisher uses a combination of dry chemicals to put out various types of fires.
How To Use A Fire Extinguisher
At first glance fire extinguishers might be a bit intimidating!
Check out the video below to watch a tutorial on using a fire extinguisher, or read on as we outline the steps below.
Familiarize Yourself With The Fire Extinguishers Components
Even before there's a potential fire, you should take a moment to familiarize yourself with your fire extinguisher. There are a few different parts you should know about.
First, find the pin in the handle. When this pin is in place, it prevents the handle from moving, and ensures that there is no accidental use of the extinguisher.
Importantly, you will need to remove the pin before you use the extinguisher on a fire. Next, find the extinguisher's nozzle. This part will be connected by a moveable hose to the canister of the extinguisher.
When you're holding the extinguisher properly, you should have the nozzle in one hand, pointed at the fire, and the handle in your other hand.
Finally, take a look at the handle itself. After you squeeze the handle, the extinguishing agent will release through the nozzle towards the fire.
However, even though all fire extinguishers will have these three parts, they can sometimes vary in their designs. When you purchase an extinguisher, make sure to take a moment to find all of these parts on your model.
Remember The PASS Technique
When using a fire extinguisher, you should use the PASS Technique to most effectively put out the fire.
P – Pull
A – Aim
S – Squeeze
S – Sweep
The first step in the PASS technique is to pull the pin out from the handle. When in place, the pin is blocking any accidental use of the extinguisher.
However, when you need to use the extinguisher, you will need to pull the pin out to activate the extinguisher.
When you aim the extinguisher make sure you're pointing the nozzle at the base of the fire, not the bulk of it.
Extinguishers are meant to take out the source of the fire by covering it in water, foam, or dry chemicals. Pointing just at the flames will not help extinguish the fire as a whole.
Next, be sure to squeeze the handle down until the extinguishing agent comes out of the nozzle and onto the base of the fire.
For fire extinguishers, you will need to consistently squeeze to have a consistent amount of agent come out of the nozzle.
Finally, the most effective way to extinguish a fire is to distribute the extinguishing agent in a sweeping motion.
This application method ensures that every part of the base gets covered in the agent, and the fire is most likely to go out.
Understand The Effective Range Of The Extinguisher
It's not something most people are aware of, but different types of extinguishers have varying spray ranges they can reach.
Most Class ABC extinguishers will have a range of roughly 15 feet, which will help you reach a fire from farther away.
On the other hand, extinguishers using carbon dioxide, like for Class B fires, can only reach up to about 6 feet due to the nature of the fires it deals with.
Be sure to look at your extinguisher to make sure you know how to fully operate it before relying on it to terminate a fire.
Allowing The Fire To Burn Out Naturally
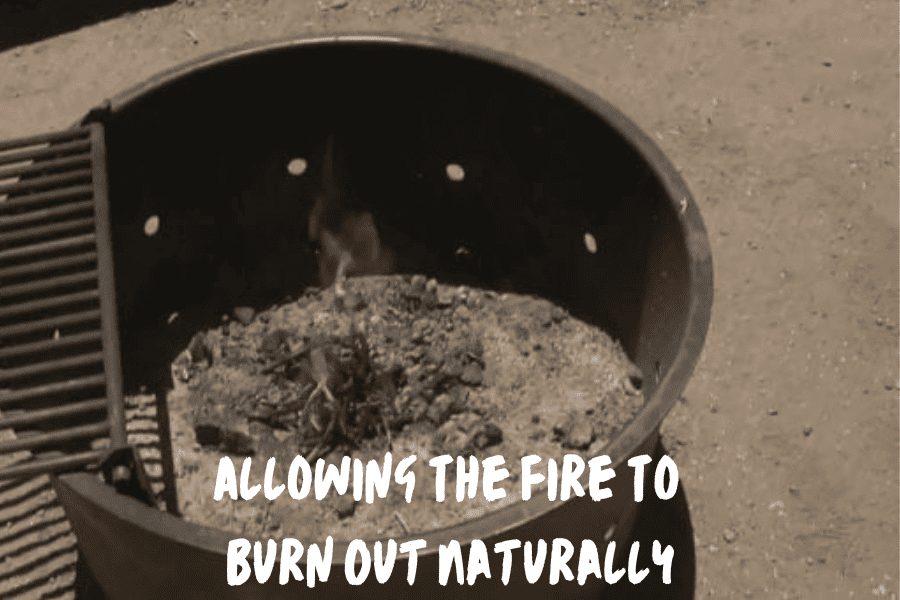
Allowing the fire to burn out naturally is a great approach if you have time to spend around the fire pit. In many cases, you put out a fire with water or sand/dirt because you want to move on from the fire.
Most of us aren't patient enough to wait to ensure the embers go out completely. All in all, this process can take hours. However, if you're enjoying your night, there's no harm in waiting!
The most important aspect in waiting for the fire to burn out naturally is ensuring that it's fully extinguished before you leave the area. By definition, this means that there are no remaining flames or active embers left in the fire pit.
The best part about this approach? You won't need to bring, find, or use any extra materials throughout the process. You just have to let nature take its course!
Just remember, fire pits should be attended at all times. If your plans change and you need to leave the fire pit area, it's best to use one of the methods covered above to extinguish the fire.
Keep A Safe Distance
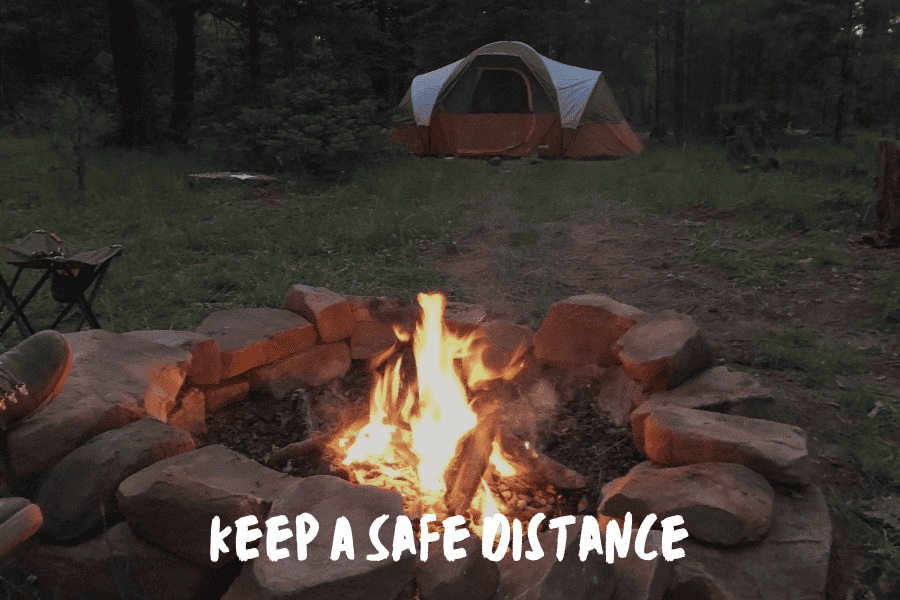
Whenever there's a contained fire near you, it's important to stay a safe distance away from the flames and their surrounding area.
Primarily, this is because there is potential for you to burn yourself by getting too close, even if you're just in the surrounding area.
Rocks on the fire pit can get really hot too! In addition, it's always important to tie back any clothing or hair that could hang down into the flames and catch on fire.
Prevent The Spread Of Flames
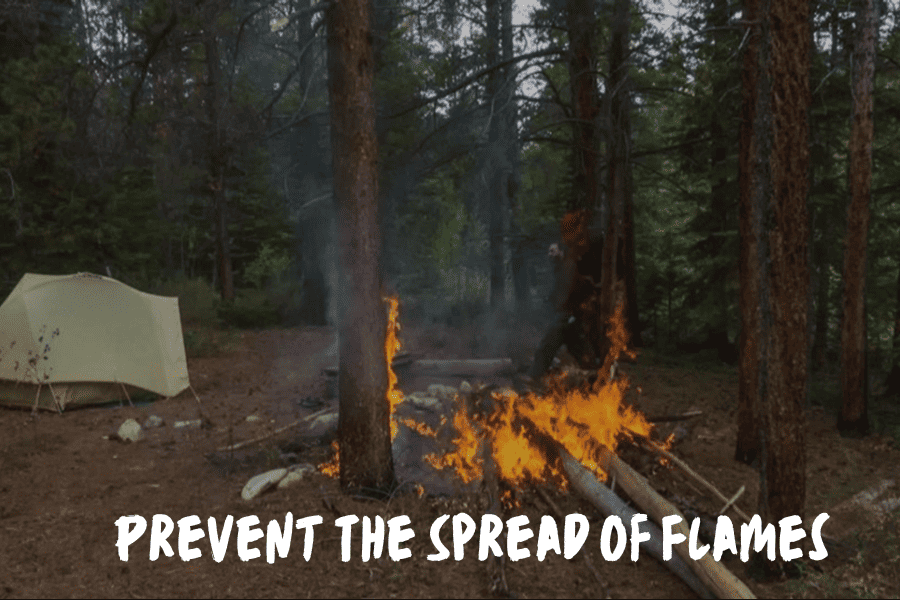
The goal of this process is to keep the fire contained and consistently decreasing. Part of this involves preventing the spread or creation of any new flames.
Whenever you're planning on letting a fire die out on its own, stop putting new wood on the fire an hour or so before you plan to go to bed. This way, the fire will continuously die down without any new fuel.
If you're planning on letting the fire go out on its own, stop putting new fuel on the fire even more hours beforehand. You want to give the fire the most amount of time to go out.
Additionally, make sure that there is nothing that can catch fire around the perimeter of the fire pit. You don't want any sparks or embers that "pop" out of the fire.
Ensure Proper Ventilation
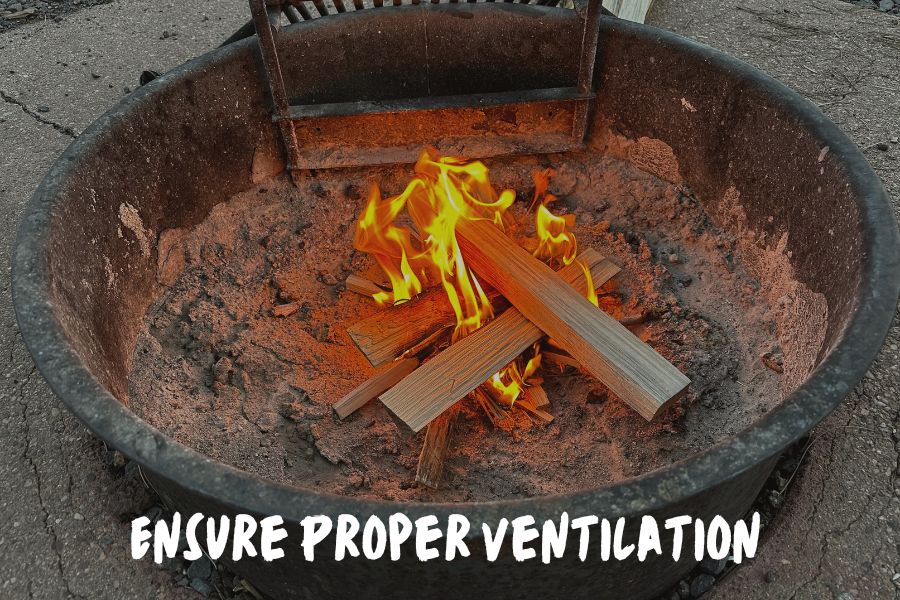
Air is an extremely important component in fire making and breaking down. This is because fires take in oxygen to create flames and give off carbon dioxide as a product.
If there's too much or too little air, you run the possibility of having an unsuccessful fire. Additionally, when you're enjoying a fire, it's important that you're in a space with lots of ventilation to ensure you have enough air to breathe.
Fires use oxygen as fuel and give off carbon dioxide as a product. Creating fires in small, non-ventilated spaces can create a space with little oxygen in the air.
This scenario is dangerous for humans, and any living creature, to be in. When making a fire, always make sure to build it outside and in a space with plenty of airflow.
Keep Extinguishing Materials Nearby
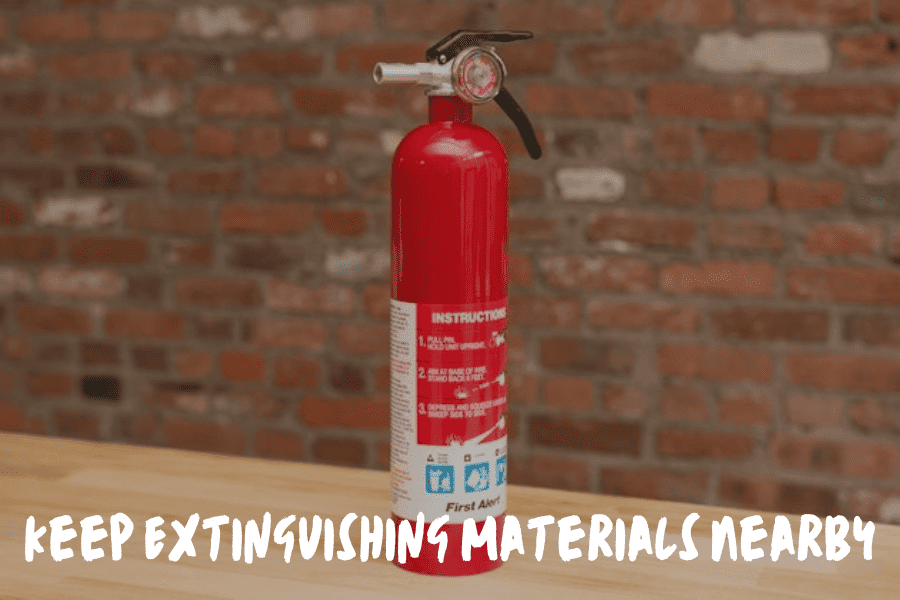
Even if you're waiting for the fire to go out on its own, it's important to have a form of extinguishing materials nearby.
If one gets out of control, or your plans change and you need to put it out sooner, you can have the materials to do so.
After Extinguishing The Fire Pit

Once you're done extinguishing the fire, there are a few quick steps to complete to ensure everything is well taken care of.
Ensure The Fire Is Completely Out
First, it's important to ensure that the fire is completely out. If you're still seeing active embers after you've stirred them in with the extinguishing agent, apply more water or sand/dirt. Continue this process until you no longer see any active embers.
Dispose Of The Ashes & Debris
If you're in an area where you can store your ashes, the best approach is to place your ashes in a metal bucket outside. Then, let them sit for at least a week to cool off.
Once they have sat for at least a week, you can transfer them to a trash bag and put them out for your neighborhood trash collection.
It's important to let them sit for at least a week before putting them in the trash. Active embers in the trash can set flammable pieces in the bag on fire.
You want to ensure that any remaining embers have gone out completely to avoid this. According to Leave No Trace principles, it's best to scatter the ashes over a large portion of the area you're camping in if you're on trail.
It's extremely important that all ashes and embers are completely out before completing this step. You don't want to accidentally start any forest fires.
When I'm camping, I generally use the water or sand/dirt method on my fires at night, then wait until the morning to scatter the ashes.
This way, I can make sure that there are no more active embers in the ashes before scattering them.
Fire Pit Maintenance & Inspection
Once you've taken care of the ashes, inspect the fire pit for any damage from enjoying or extinguishing your fire.
In some cases, drastic temperature changes (as may happen when water is poured on hot embers), can cause materials to crack or warp.
Damage like this can affect the effectiveness and safety of the fire pit itself, so it's important to fix any damage before the next fire.
Different Types Of Fire Pits
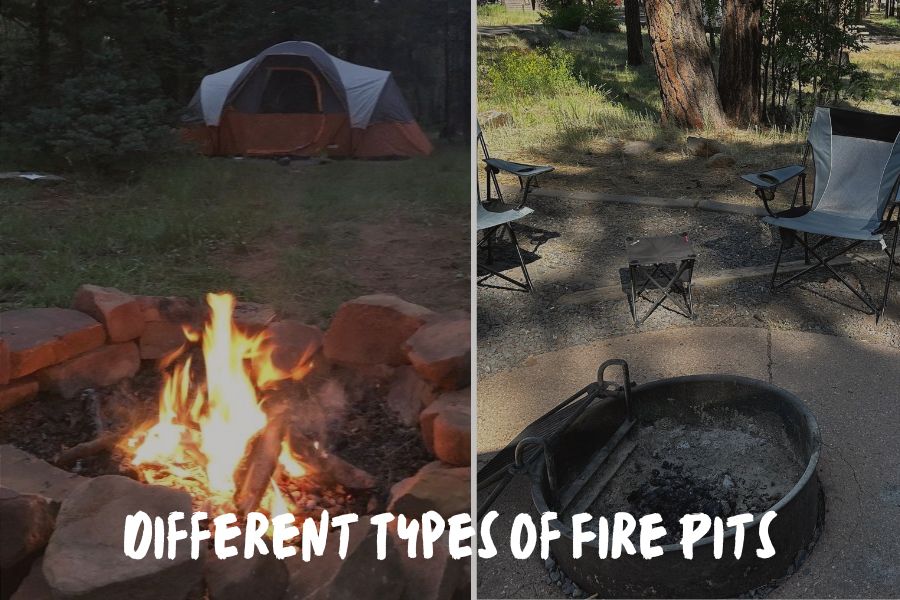
Fire pits are really important in keeping fire contained and preventing forest fires when you're out in the wilderness
On a camping trip, fire pits are generally made of a ring of rocks placed together to contain the fire. It is usually in a cleared-out space that is free from debris and other flammable objects.
Once you have your fire pit set up, you can build multiple fires in it throughout your camping trip.
If you're headed to a regularly used campground, there may already be a fire pit set up. As long as you're in an area that allows fires, feel free to use this throughout your stay.
If you're setting up a fire pit at home, there are multiple approaches you can take.
You can always set up a traditional fire pit like you would when you're out on the trail, or you could also purchase a premade fire pit.
This type of fire pit is generally made out of metal and elevated from the ground.
No matter where you are, it's important to set up your fire at least 30 feet away from any structures or flammable objects.
FAQs
Can You Leave A Fire Pit To Burn Out?
Yes, although it can take quite a few hours for the fire pit to go out completely. Even if you have the time, I still recommend using the water or sand/dirt method to finish out the process and ensure the fire is completely out.
What Is The Most Effective Way To Put Out A Fire?
It depends on the fire. If you have a fire that has gotten out of control, the best way to extinguish is with a fire extinguisher.
However, make sure that the extinguisher is the right type or class to properly put out the fire in question.
If your fire is going out on its own, the water or sand/dirt methods will be the best approach.
How Long Can A Fire Pit Last?
If properly maintained, a fire pit can last you anywhere from five years to a decade – sometimes, even longer!
Is It Okay To Leave A Fire Pit Burning Overnight?
I do not recommend leaving a fire pit burning overnight. While it can be tempting, even the smallest ember can turn into a larger fire if exposed to flammable objects or high wind conditions.
Always put out the fire in your fire pit before turning in for the night.
Are There Any Natural Alternatives To Water Or Sand For Extinguishing A Campfire?
When you're on the trail, the best (and most natural) way to extinguish a fire is with water or sand/dirt.
However, if you have a man-made fire pit in your backyard, another natural way to extinguish your fire is by using a fire snuffer.
This method involves using a snuffer, or a large piece of metal that will cover the opening of your fire pit, to eliminate the fire's access to oxygen.
Using a snuffer and getting rid of any oxygen in the fire will easily put the fire out.
Can I Use A Leaf Blower Or Fan To Accelerate The Extinguishing Process?
Absolutely not. Oxygen actually acts as fuel for any given fire, so blowing more air on top of a fire or embers will only create more fire.
Conclusion
A roaring fire can be a great way to end a full day of adventuring.
Whether you're on the trail or in your own backyard, it's important to know how to properly extinguish your fire pit to keep everyone safe.
Happy campfire-ing!