

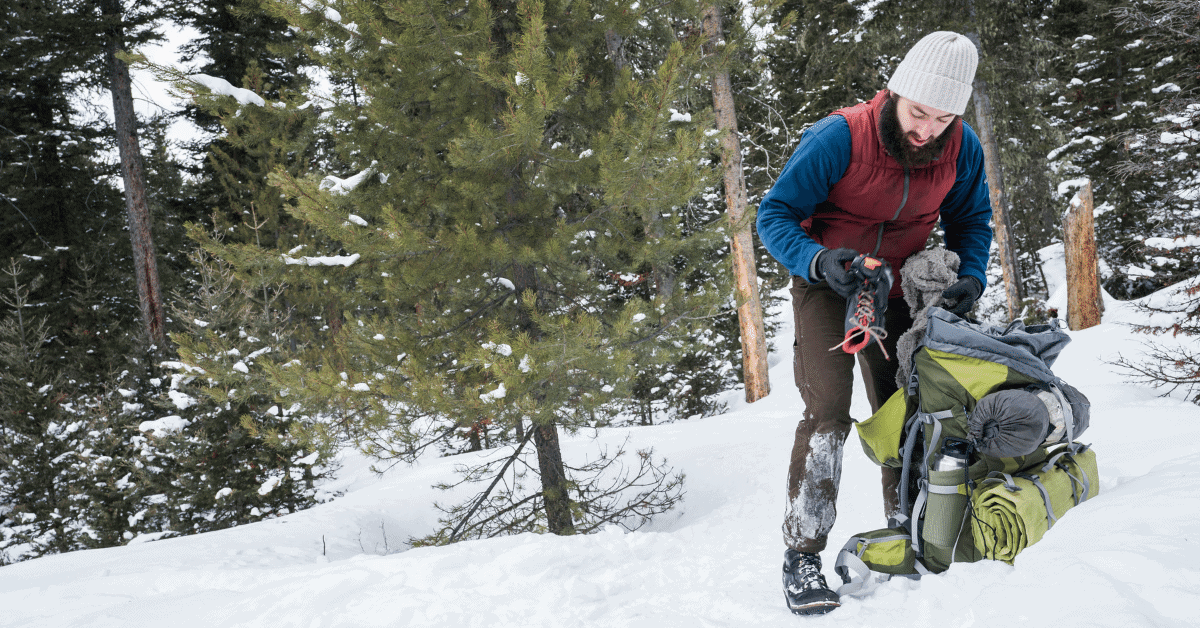
Does your hype for an upcoming hiking trip dwindle as soon as you start packing?
I feel you.
I struggled with backpack packing for a very long time. It was always either light and missing essential things, or it was heavy as an elephant and I could barely even lift it.
That was until I discovered that I've simply been packing wrong!
To save you from wasting precious time on trial and error, I'm going to share with you some tips on how to pack a backpack like a pro.
Keep reading!
Choosing A Backpack
When you're choosing a hiking backpack, the most important things to keep in mind are capacity and fit. In other words, functionality and comfort should be your main focus.
Capacity
First, you need a pack that's big enough to hold all your equipment.
But, it can't be too large, or else you'll be carrying around more weight than necessary.
Backpack capacity is measured in liters, and you should aim for a 40-70 liter pack, depending on the length of your trip.
For a weekend trip, 40 to 50 liters will be more than sufficient. For a 3 to 5 day long backpacking trip, you probably need a hiking backpack of 50 liters or more. Finally, if you're going away for a whole week, or it's a winter trip, a 65 to 70 liter pack is your best bet.
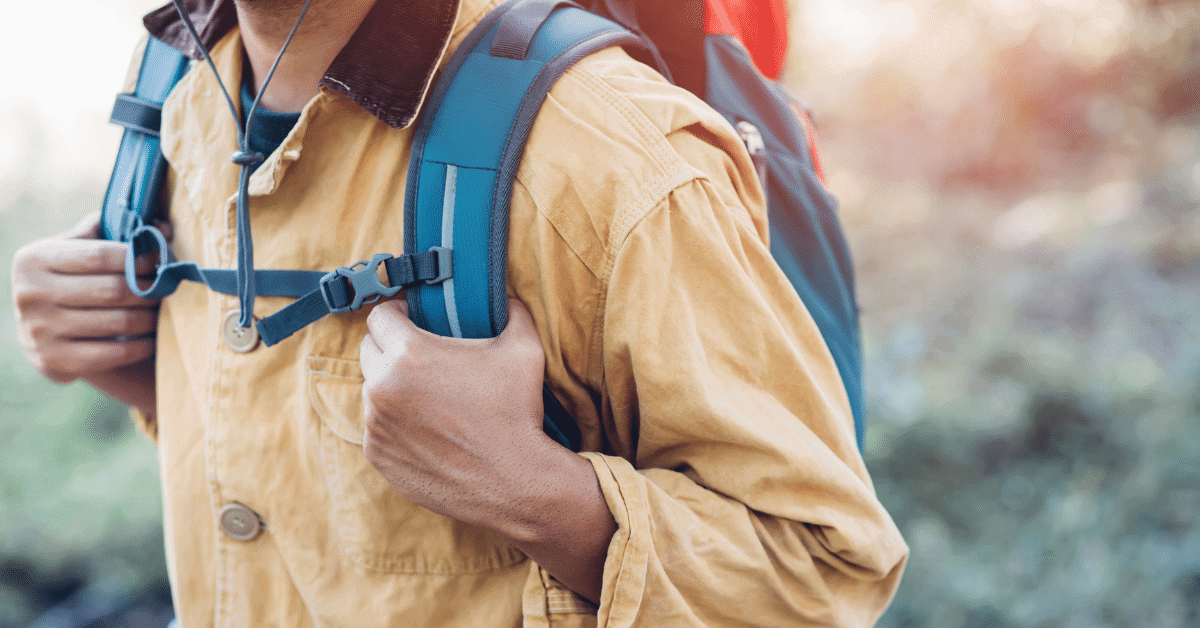
Fit
As for the fit, you want a backpack that sits well on your back and is comfortable to wear.
A hip belt and sternum strap are essential. Without these, your backpack will start to feel heavy and uncomfortable pretty quickly.
Nowadays, most brands make packs in both male and female versions. But don't let the label fool you. Female backpacks have a slightly shorter back length, but they can be worn by both men and women who are on a shorter side.
To find a fitting backpack, you need to measure your torso length.
To do so, tilt your head backwards. Feel that bump where your shoulders meet your neck?
That's the top of your torso.
The bottom part of your torso ends at the point where the top of your hip bones meet. Now get someone to help you measure this length.
And that's it!
Now you can find the right rucksack for your body.
Features
We can't forget about the features!
Nowadays, choosing a backpack is like choosing a car. They are pretty similar, yet it's the tiny features that set them apart – in the same price range category, of course.
The first and most important feature of every backpack is its ventilation system. Make sure to get one that has a good back panel that allows your skin to breathe.
The second most important feature is pockets. I prefer having a lot of outer pockets, for both things I need on the road and the things I collect along the way. My favorite hiking backpack also has an external pocket on the hip belt, which is great for stashing souvenirs from the trail.
It's important to make sure that the water bottle pocket on the bag you go for is big enough to hold a large bottle.
Finally, look for a backpacking pack with plenty of attachment points. That way, if you end up short of storage space, you can attach bulky things on the outside of the pack.
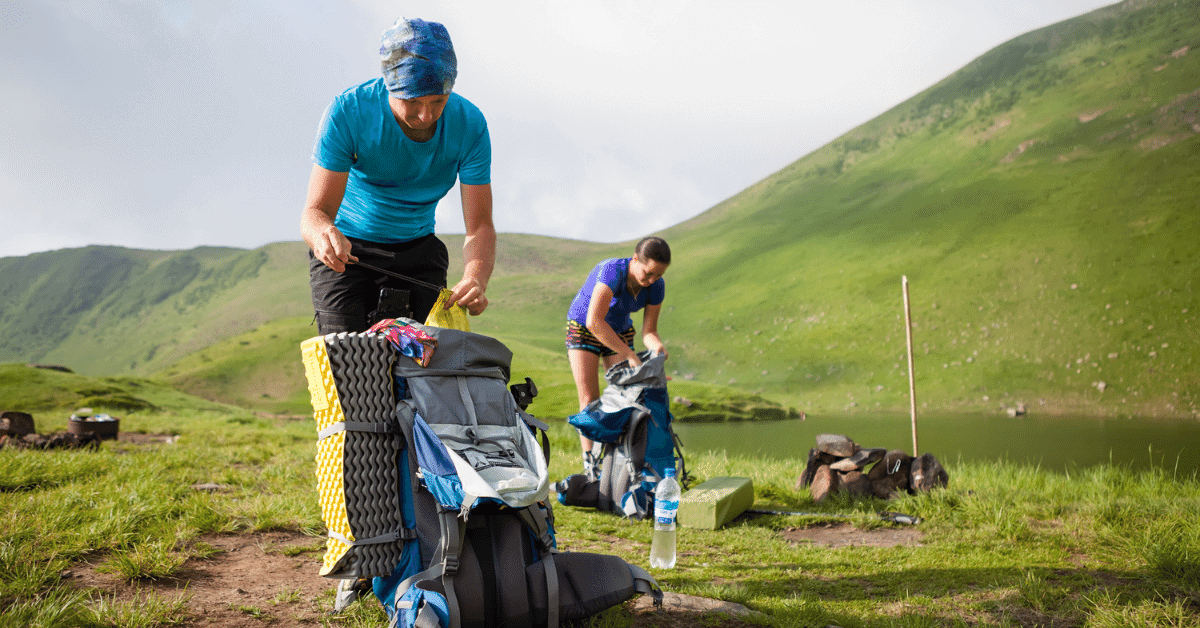
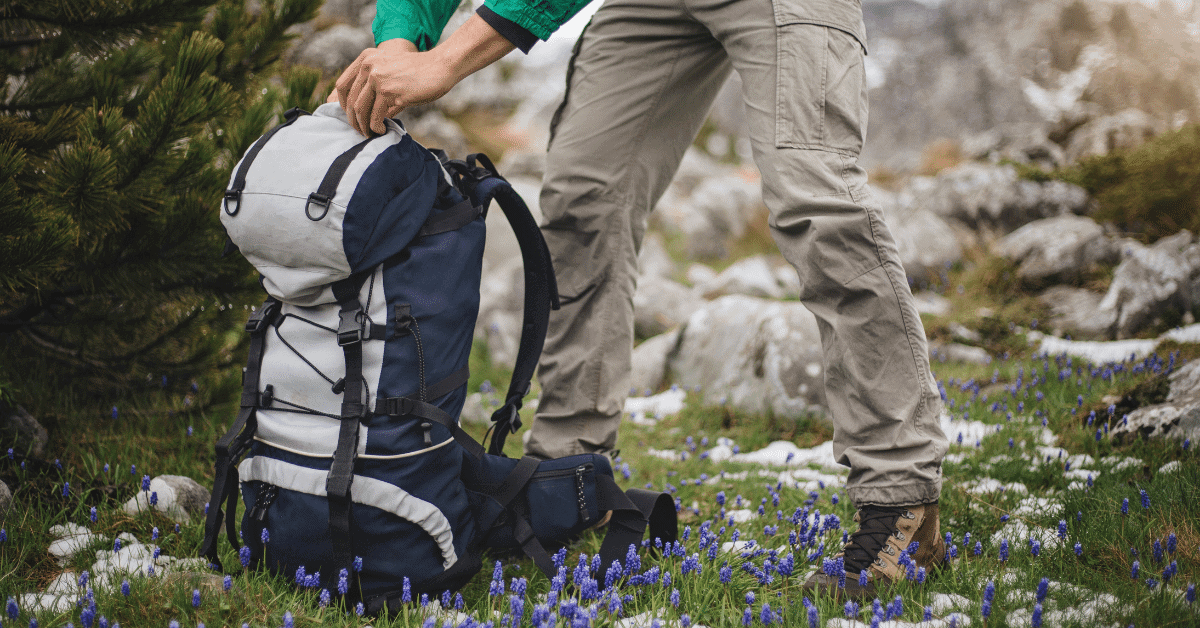
How To Pack A Backpack
Packing a backpack is somewhat of a science.
Basically, you should break down your backpack into several zones, each designated for specific pieces of gear. You need to have two things in mind when packing – weight distribution and easy access to things you might need.
What I like to do is divide a backpack into four zones – bottom, middle back, middle front and top.
Step 1. Starting With The Bottom
Is there any other way to start?
All jokes aside, I believe that this is the most important step when packing a backpack. This is where you want your bulky but not-too-heavy items to go.
Why not the heaviest things?
Because they will cause a backpack to sag, which is the last thing you need on a hike.
Instead, pack things like a small 2-person tent, sleeping bag, sleeping pad, pillow, hiking clothes and anything else you won't need until you get to your campsite.
Step 2. Things That Go In The Middle Back
This part of the backpack is closest to your back, where your center of gravity is.
Things you pack in this zone will lean against your spine and will stay stable as you walk or move. That's why this part is ideal for packing your heaviest pieces of equipment.
Things like a stove, cookware and food stash should go here. Just make sure you're packing efficiently. Your cooking pot might be large and heavy, but there's space inside of it to store more things. If nothing else, your socks can fit in there.
As you know, many backpacks have a designated pocket for your hydration bladder. It's no coincidence it's located closest to your back. Water is probably the heaviest item you'll be carrying.
Step 3. Moving On To The Middle Front
Imagine what would happen if you'd pack your heaviest piece of gear in the middle front?
Being away from your center of gravity, that thing would pull you backwards and make you overall unstable.
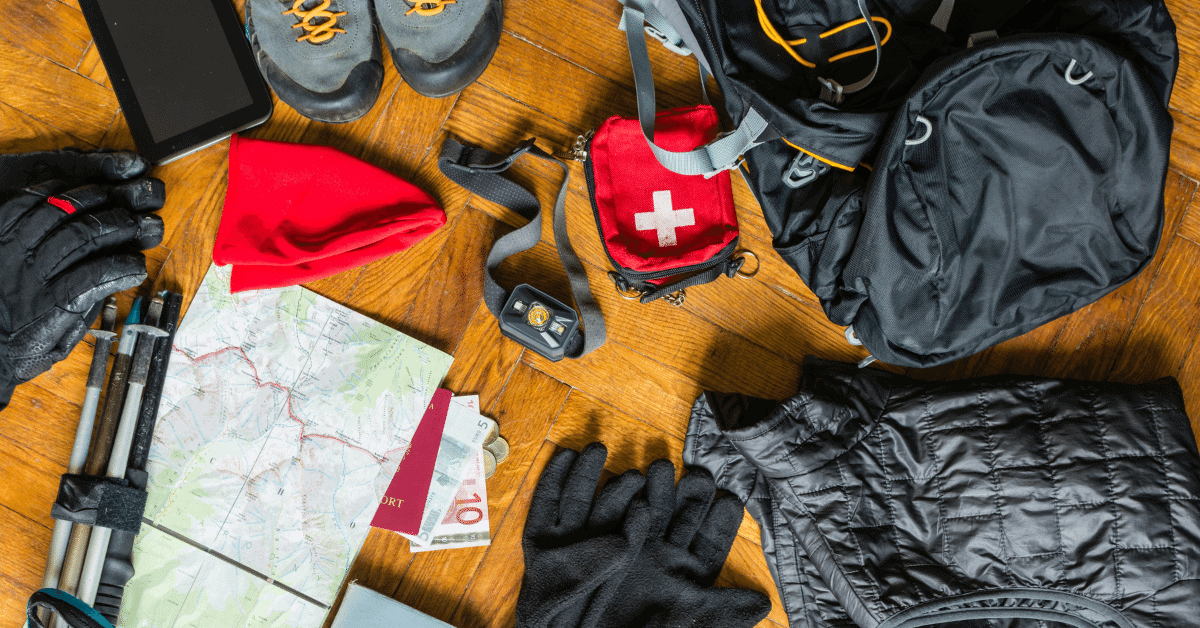
That's why the middle front is reserved for your lighter items. Clothes, towels, toiletry bags and your first aid kit should go here.
Keep in mind that you're going to pack some more stuff above, so the order of importance matters.
What do I mean by that?
Let's say it's drizzling every so often while you're on a trail. There's no point in keeping your rain jacket and other rain gear in the middle part of your backpack, since you'll have to dig it out every time it starts raining.
A first aid kit, on the other hand, probably won't be needed on your way to the campsite, so packing it in the middle front section is suitable.
Step 4. The Top Of The Pack
Nowadays, most backpacks have a lid pocket, otherwise known as a brain.
This is where you want to pack everything you need close at hand. Things like a knife, sunglasses or a compass should be stored here.
As for the top of the main compartment, this is where you'd want to keep your rain jacket, toilet supplies like a trowel and a zip bag, water filters (if you're using them) etc.
Basically, this is where you pack things that you might need while on the road.
Tips To Avoid Overpacking
I'm a "just in case" type of person, so deciding on what I absolutely need for a trip seems like a nightmare to me. Not going to lie, it took me several backpacking trips to finally learn that certain things I used to pack – I will simply never need.
For instance, I used to always pack a book. What's better than reading in nature?
Well, the answer is – exploring that nature. As it turned out, I always ended up being too busy to sit down, let alone spend time reading books while hiking.
One way you can avoid overpacking is to lay out on the floor all the things you plan on packing. Then, make two piles. One would be for the essentials and the other for luxury items.
Once you've separated your stuff into those two piles, focus on the one with luxury items. You can only bring half of that pile.
So, what's it going to be?
How To Protect Your Backpack From The Rain
If there's even the slightest chance of rain, make sure to protect your gear.
This can be done in three ways.
Rain Cover – Nowadays, most brands sell a rain cover for specific backpack models, so you can probably find one that fits yours perfectly.
Compression Sack – Get water-resistant compression sacks so even if your backpack gets wet, your stuff will stay dry.
Trash Bag – If you don't have compression sacks, trash bags will do. Load them up, then push the air out so they take up as little space as possible.
How To Hoist A Backpack
Let me tell you – hoisting a fully loaded backpack is no walk in the park.
This is something you probably hadn't given a second thought until it was time to put it on your back.
Contrary to popular opinion, there is a way to properly hoist a backpack.
Here's how:
- Loosen up your straps a little bit so that you can put the pack on more easily.
- Have your backpack on the floor in an upright position.
- Stand with your back facing the back side of your backpack.
- Your feet should be wide apart with bent knees for more support. Imagine a basic basketball stance.
- Grab the haul loop and bring the backpack from the floor to the height of your thigh.
- While in that position, the arm that's not holding the backpack should go through the shoulder strap.
- Hinge from the waist and swing the backpack across your back to the other side, and put the other arm through the shoulder strap.a
- That's it. The only thing that's left is to adjust the straps.
To Sum Things Up
Regardless of the length of your trip, knowing how to pack a backpack is a crucial skill.
Choosing a good pack is just the tip of the iceberg. You need to know how to evenly distribute pack weight, calculate your base weight, avoid packing unnecessary things, and keep your stuff safe and dry in case of rain.
As long as you follow the steps in this article, you can rest assured you'll have everything you need at your disposal.