

There aren't many things as frustrating as a "well-tied" knot you can't undo.
The more you try, the more irritated you become and yet, the knot simply doesn't budge.
Seems like the scissors are your only way out.
The only reason why you've found yourself in such a situation is because you don't know proper camping knots. But, not being a member of a Scouting organization as a kid is no excuse, because these knots are super simple.
The good thing is, it's never too late to learn.
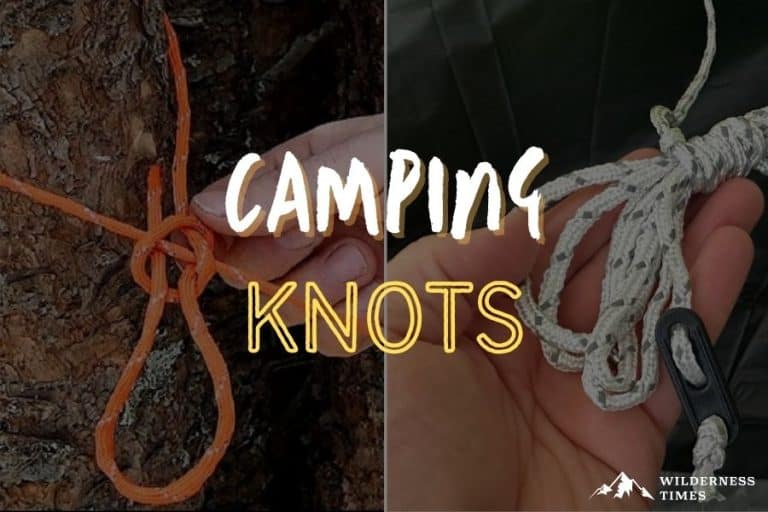
In this article, I'll show you eleven simple yet effective knots every camper should know.
Read on!
Knot Tying Terminology
Before we get into different camping knots, there are a few terms you should know.
First, you need to understand the difference between a "knot" and other terms used when it comes to tying a rope.
Knot – a rope tied to itself; a necktie is a good example
Hitch – a hitch ties a rope to another object, like a post, ring or fence; like when you tie a washing line to the post
Bend – a knot that ties two different pieces of rope together
Now let's discuss different parts of the rope.
Working End – the active part of the rope, the one we're using to make a knot, otherwise known as a tag end
Standing End – the inactive part, the one that we would send down to the ground if we were descending from a cliff, for instance
Standing Part – the part of the rope between the knot being tied and the standing end
Bight – the curved section of the rope; a bight is a length of rope that does not cross itself
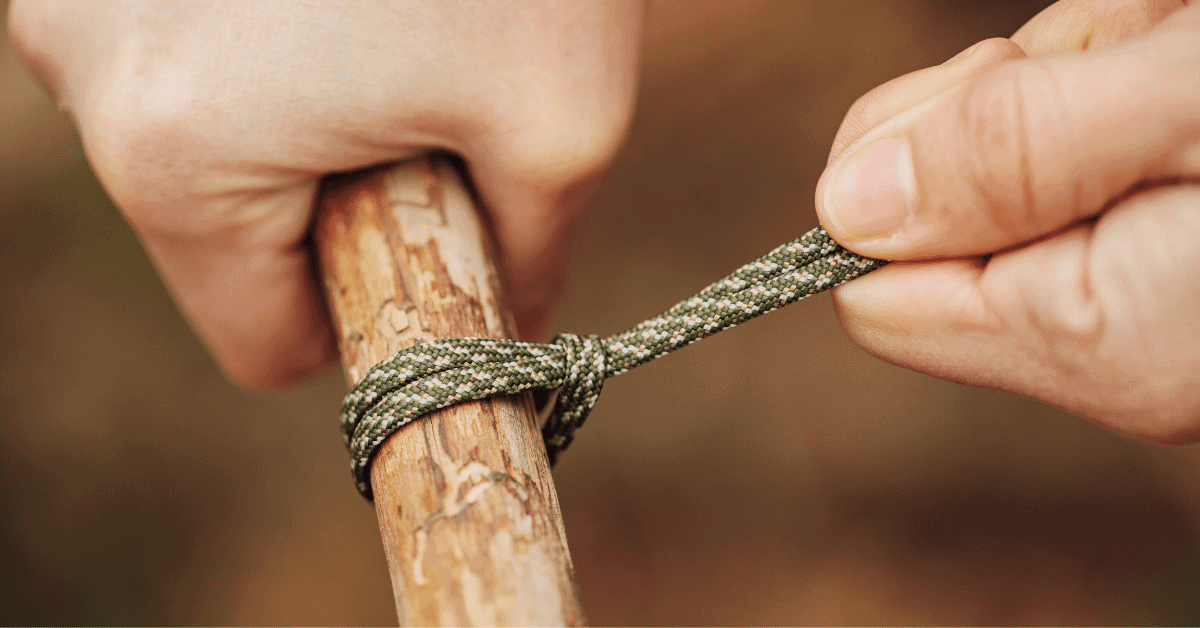
Camping Rope Anatomy
Rope is one of your most important pieces of camping equipment.
You need it for so many things, from pitching tents to hanging hammocks and whatnot. But not just any rope will do.
In general, polyester ropes are overall the best camping rope. They're very strong, but not stretchy like nylon.
What's more, polyester rope is resistant to abrasion, mildew and rot. Plus, it's almost unaffected by water.
What more can you ask for in a camping rope?
With that being said, if you plan on going mountain climbing, don't use polyester rope. It doesn't have that shock-resistance nylon has, which is a necessary feature of a climbing rope.
For everything else on your camping trip, polyester rope will do.
11 Different Knots Every Camper Should Know
Now that you know different "knotting" terms, here are the eleven knots and hitches that are the most useful in the wilderness.
Overhand Knot
Before we get into all the fancy knots, you need to know how to tie the most basic knot: the overhand knot.
This is one of the simplest single strand knots out there, used as the beginning part of many of the knots in this article.
It's a permanent and secure knot, which also means it can be difficult to untie.
The instructions are pretty simple:
Pass the tag end over the standing part, forming a loop. Tuck it inside the loop, and pull it out. Then, pull both ends again to tighten the knot.
Bowline
The bowline knot is an old sailing knot. It was first mentioned by John Smith, an English explorer and colonial governor in his book A Sea Grammar, back in the 17th century.
This knot is often called "the most useful knot to know," and for a good reason. It's used as a rescue knot in several situations, like when saving people who have fallen off a cliff or into a river.
This knot doesn't slip or bind under load, and it's relatively easy to tie and untie. In fact, you can do it single-handedly.
Here's how to make the bowline knot:
Take a rope and form a small loop, large enough for the rope to go through. Pass the tag end of the rope through that loop, as if you were making an overhand knot. Pass the tag end behind the standing part and through the loop again. Hold the loop and tag end, and pull to tighten.
That's it.
Both Boy and Girl Scouts are taught this essential knot, and there's a mnemonic that helps them learn how to do it.
It goes like this:
"Up through the rabbit hole, round the big tree; down through the rabbit hole and off goes he."
The rabbit hole refers to the small loop you've made in the first step. The big tree is the standing part, while the rabbit represents the tag end.
If you're using this knot for mountain climbing, there's one thing you should keep in mind:
Always finish it with a stopper knot, which is basically a double overhand. Even though a bowline knot is pretty secure, you can't be too careful when it comes to life-threatening situations.
Square Knot
Otherwise known as a reef knot, this knot is quick and easy to tie. It's a simple way of joining two cords together.
However, it's not super reliable and shouldn't be used as a bend. While theoretically it is a bend, since you're tying two pieces together, it's one that doesn't hold well and it's not suitable for critical situations.
Instead, use it for light duty tasks, like extending the rope on a washing line or tying things together.
Even though the square knot isn't the strongest knot you could use, it's a basis for more complicated knots and hitches you might learn later on.
Tying this knot is simple. Take two ropes you want to join. For the sake of explanation, we'll name them A and B.
Take two ropes, A in your left and B in your right hand. Pass the B over and under the A rope. This step is the same as tying your shoes. Then, pass the A over and under the B rope. Tighten by pulling both ends at the same time.
Make sure both tag ends are parallel. If they're diagonally opposite each other, what you got is the thief's knot, which isn't as strong as the square knot.
It's the friction that makes this knot hold. That's why it's not a good idea to use nylon ropes.
Sheet Bend
A sheet bend is used for joining two ropes of different diameters or harshness.
This is a great bend to use when you need to extend a guy line or fix snapped boot laces with a piece of cord you have laying around.
Once again, we'll name two ropes for the sake of explanation. Let's call the thicker rope A while the thinner one is B.
Take the A rope, form a bight and hold it in one hand. Then, pass the tag end of the B rope through that bight, around the tail and standing ends of the A rope, and back through the bight the other way.
When doing this bend, it's crucial that you use the thicker rope as the bight. Otherwise, it might come loose, which can be disastrous.
Two Half Hitches
This type of knot is basically an overhand knot made around a pole, with a half hitch (a little extra loop) for added security.
Two half hitches are great for tying guy lines to a dining fly, or setting up a tent. It's also useful when you want to secure your dog to a pole or tree at night.
If you're a fishing enthusiast, then you've probably used this hitch for fly tying.
This hitch is quick and easy to tie, but difficult to untie.
To make two half hitches, make a clockwise loop around the pole, with the tag end at the top. This is a classic overhand knot. Now, bring the tag end down and to the left and loop it under the standing end. Pull it through the loop you've just made and tighten.
Taut Line Hitch
The taut line hitch shouldn't be confused with the two half hitches. They look pretty similar, but they have a different method of tying.
This hitch is non-slipping and adjustable, and it's great for tying up hammocks and guy lines, as well as securing loads on trucks.
You can tie a taut line hitch in just a few steps.
First, loop the rope around the support, then wrap the tag end around the standing part. Wrap it again, then bring it out of the loop. Make one additional loop around the standing part. Tighten it by holding and pulling.
You can adjust the tension by sliding it.
Alpine Butterfly Knot
This knot is otherwise known as a lineman's loop. To make this knot, you don't need to have access to either end of the rope. Use this knot whenever you need a secure loop in the middle of a rope.
This is an important climbing knot, but can also be used whenever you want to hang something off a tied rope, like a lantern, for instance.
It's also a great method of isolating a damaged portion of the rope.
It takes practice perfecting this knot, but once it's done correctly, it doesn't slip. What's also great is that it's easy to untie.
Here's a step-by-step explanation:
Placer the rope over your palm, and wrap it around your hand three times. Then, take the loop that's closest to your thumb, and place it in the center, making it the middle loop.
Now take the new loop that's closest to your thumb, bring it over both loops, and pull it back underneath. Pull tight until you're left with a nice knot.
And that's it.
It might look simple, but you can easily make a "false" butterfly knot, which is not as sturdy.
Take a look at the loops around the standing parts. We'll call them "wings." If they're on the opposing sides or not interlocked, you've done it wrong. This "false" knot can easily come undone, which you wouldn't want.
Double Fisherman's Knot
Even though the name suggests otherwise, this is a classic climbing knot. It's actually a bend, since you're joining two cords together.
You've probably seen this knot used for tying friendship bracelets. When camping, you can use it to make a neck holder for a compass or a lamp.
It's a very reliable way of joining two climbing ropes together. And since it's almost impossible to untie after it gets weighed down, it's ideal for Prusik loops, which we'll mention in a little bit.
It's an easy knot to make. Nevertheless, when tied wrong it won't hold. What's more, it can slip when tied with a nylon rope.
Here's how you can tie the double fisherman's knot.
Once again, we'll refer to the first rope as A, and the second as B.
Overlap two tag ends. Take the tag end of the A rope and wrap it around both ropes for two turns. Then, pass it back through these loops, and pull it tightly.
Next, take the tag end of the B rope and wrap it around both ropes twice. Pass the tag end back through the loops and pull tight.
Now, pull on both ropes to tighten the knots against each other.
And there you have it.
Prusik Knot
This knot is usually used to secure a loop cord to a rope in such a way that you can easily adjust it.
This climbing knot is great for hanging stuff off of a ridgeline. You can use it to hang a lantern or a tarp, or just about anything you need.
Here's a step-by-step explanation of tying the Prusik knot:
First, make the loop by tying the ends together with a double fisherman's knot.
Then, take the junction point to the left side of the central rope. Pass it through the right side through that loop you just formed. Now, wrap it around the central rope three times.
Trucker's Hitch
This type of knot looks complicated, but it's pretty easy to both tie and untie. It's a great knot for tying plastic tarps' ridgelines, securing loads on trucks, climbing and hammock suspension.
To make it, just follow these simple steps:
First, make a loop and pass the rope through it. Hold and pull to tighten the loop.
Now, pass one end through a carabiner, then pass through the same loop. Wrap it around the standing part twice. Tighten to finish the knot.
Figure 8 Knot
Last but not least, this knot is used as a stopper knot at the end of a rope that's under load. It's also a foundation of some complex knots you'll use if you take on professional climbing.
Here's how you can tie this knot:
Pass the tag end over itself and make a loop. Now pass the end under the standing part and through the loop. Pull both sides to adjust the knot.
At this point, it should resemble the number eight.
To Tie Things Up
A few knots from this list require some practice, but in general, they're all simple to do.
If you need to join two rope pieces together, the double fisherman's knot, square knot and sheet bend are a simple way to do it.
For hanging stuff, the alpine butterfly and prusik knots are the way to go.
Finally, both taut line and trucker's hitches are irreplaceable for hanging a hammock.
Once you get the hang of these knots, setting up camp will be a piece of cake. And, you can have peace of mind knowing your stuff will stay in place.
1 thought on "11 Camping Knots You Need To Know For Your Next Trip"
I am going Camping in Tucker County West Virginia, And I am going by myself . My point is.. While I am there I want to prepare my self, especially with rain in the forecast. I only learned a few knots growing up, being 54 I have learned a lot in the last 10 minutes. Thank you for showing me STEP by STEP on how to make a knot. And with a little more practice I will have it .