


We've all seen it before. Newbie campers fumbling around the campsite, trying to get their tent set up and failing miserably. It's painful to watch, and a lot of the time someone will be kind enough to step in and help them out.
The thing is, setting up a tent can seem like a complicated process if you've never done it before. In reality though, it's actually quite a simple task. All you have to do for things to run smoothly is take the time to learn how it's done before you get to your destination.
This step-by-step guide will teach you everything you need to know about pitching a tent. By understanding why each step is important, the process will automatically become more intuitive. Equipped with these simple instructions, you'll be able to get your tent set up in no time at all.
So, are you ready? Let's go!
Tent Setup: A Step-By-Step Guide
Once you've found a nice, flat spot, you're ready to begin setting up your tent. Here's how you're going to do it.
Step 1: Remove any rocks or sticks from the area
The first thing you'll want to do is make sure you get rid of any pointy rocks or large sticks that are in the area that'll be underneath your tent.
This is so that you don't end up with anything poking you when you roll over in your sleep. Plus, it'll protect your footprint and tent from getting damaged.
Step 2: Lay down your footprint or tarp
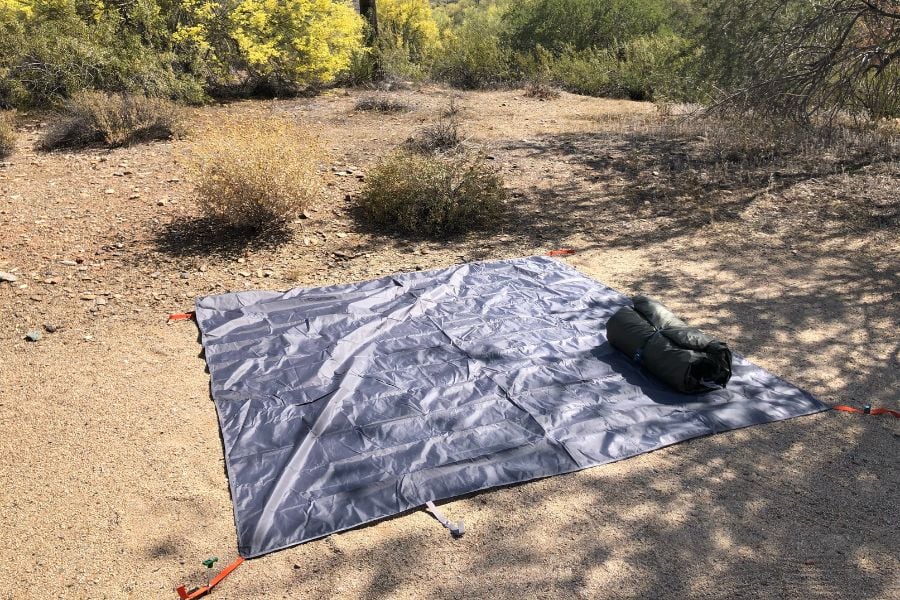
Once you've cleared the area, you can lay down your footprint or tarp. Lay it out flat where you're going to put your tent up.
If you're using a tarp that's larger than the base of your tent, make sure to fold the edges in to prevent water from collecting and getting into your tent.
Note: this step is optional, so if you don't have a tent footprint or tarp you can skip straight ahead to step 3. While it isn't absolutely necessary, using a footprint or tarp will protect your tent from wear and tear, ultimately making it last longer. So, it's a good idea to consider using one.
Step 3: Lay the tent out flat
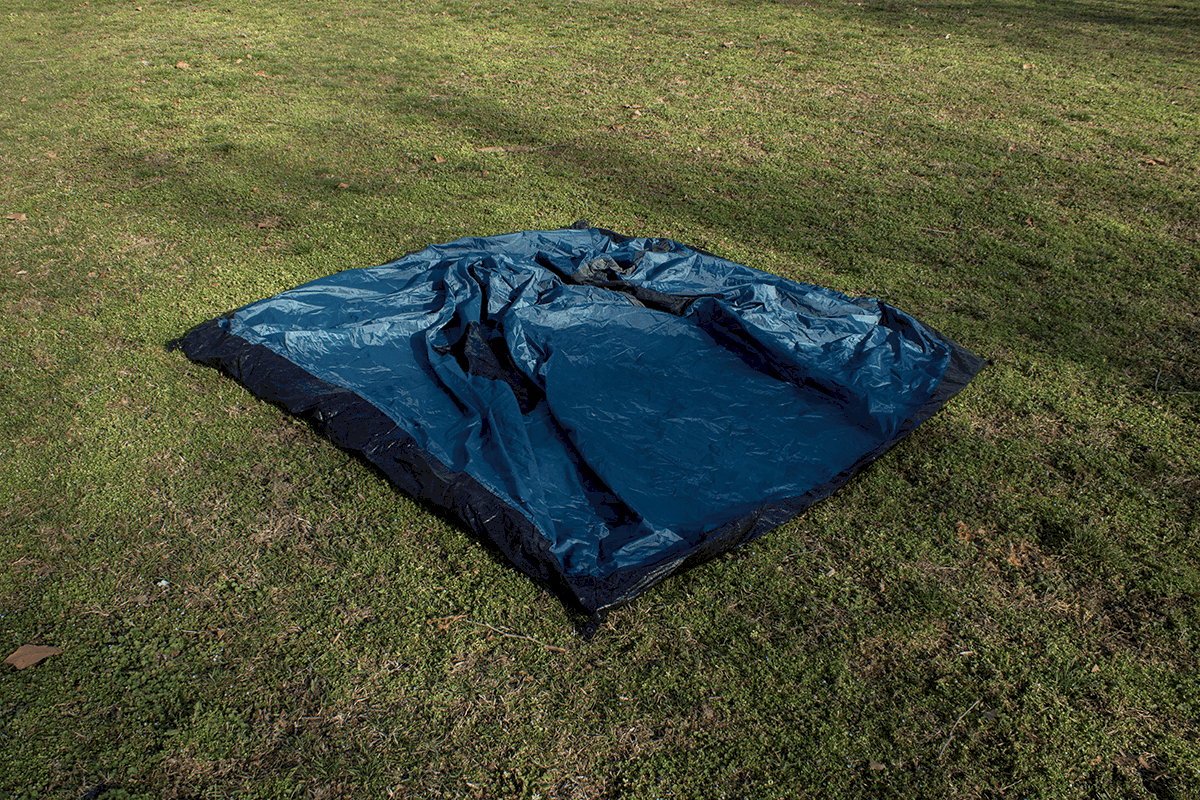
Next, lay your tent out flat in the position it's going to be in. Make sure it's facing in the direction you want it facing.
This is also a good time to make sure the edges of your tarp (if you're using one) are tucked in so that they're in line with the base of the tent.
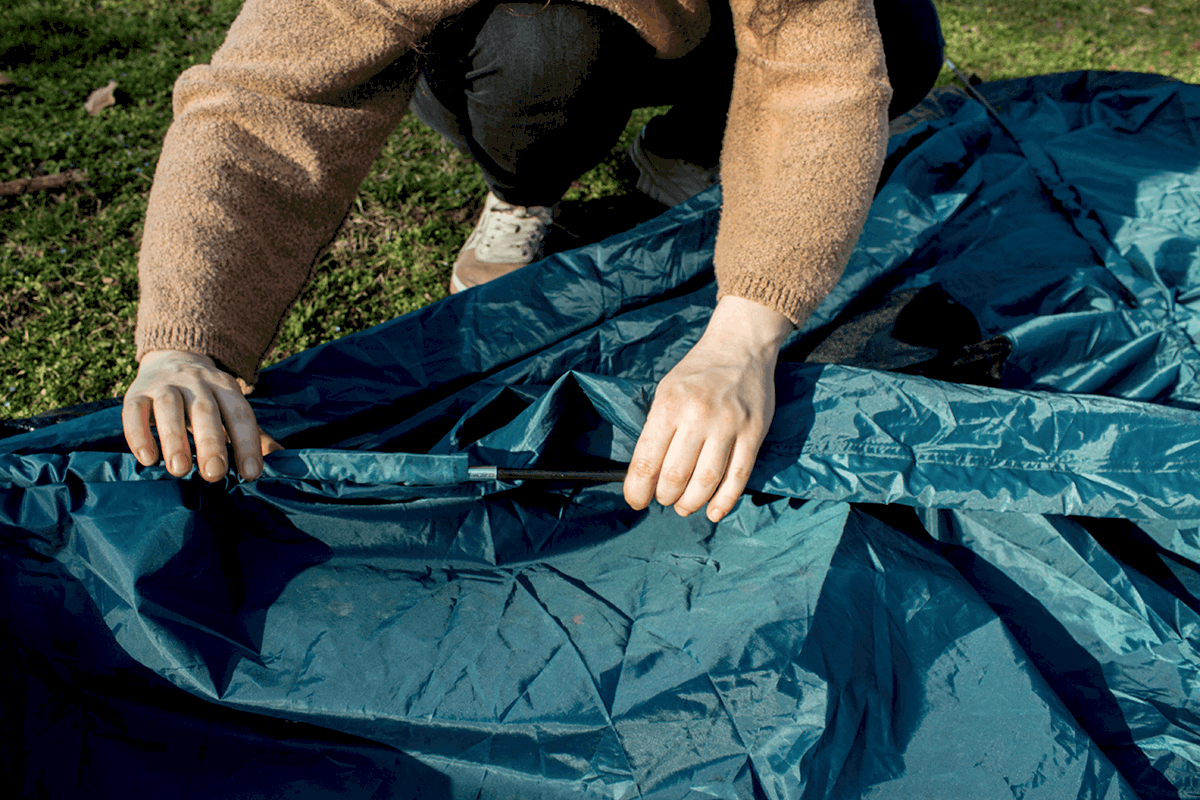
Step 4: Connect the poles
When you've got your tent laid out flat in front of you, it's time to take your poles out and put them together.
It doesn't matter if you have aluminum or fiberglass, this step the same.
Slide the pieces together to connect them, and lay the connected poles across the tent where they're going to be attached.
A classic dome tent will usually have 2 poles in an X shape with the ends of the poles on the corners of the tent.
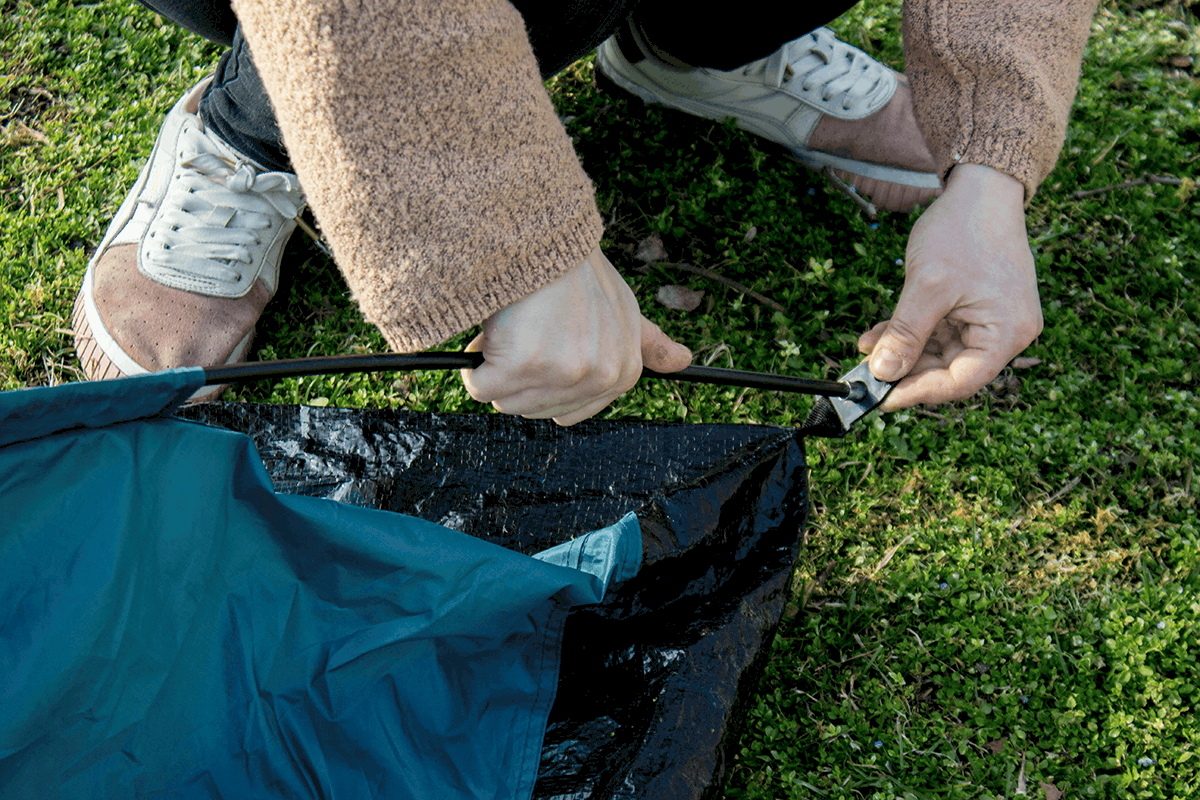
Step 5: Attach the poles to the tent
The next thing you want to do is attach your poles to your tent.
Depending on the particular model of tent, you'll have either pole sleeves, loops, hooks or something along those lines. Thread your poles through these one at a time.
Don't get frustrated if the poles detach while you're threading them through. You should be able to reattach them without having to start over. Just take this part nice and slow, and try to be as gentle as you can.
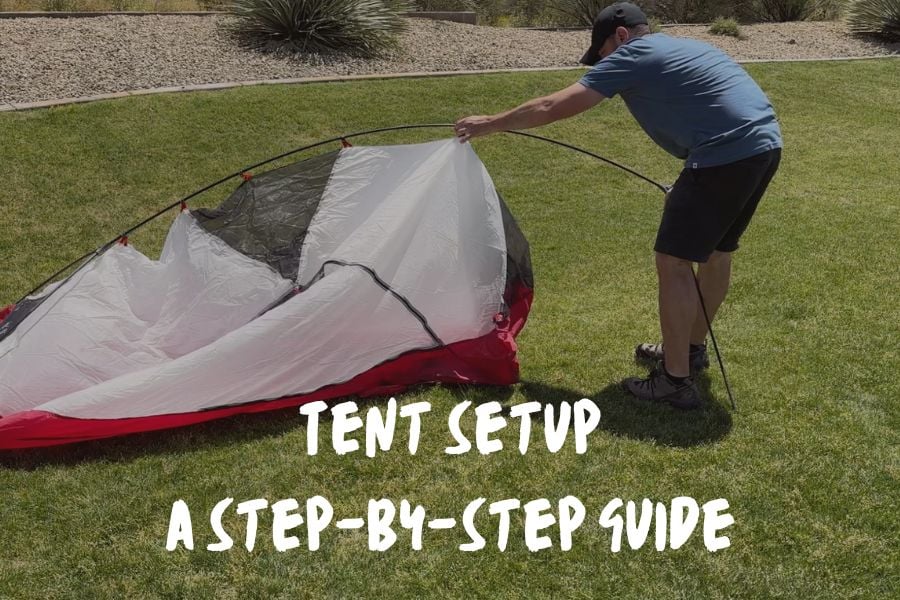
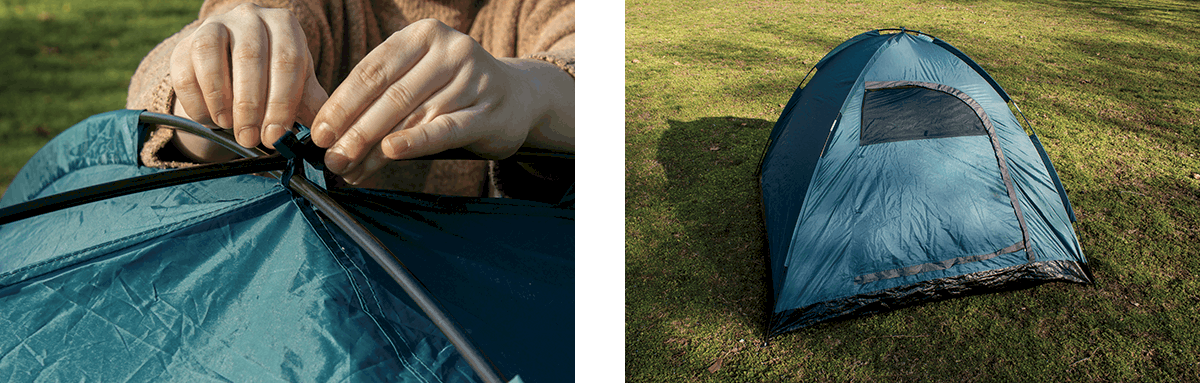
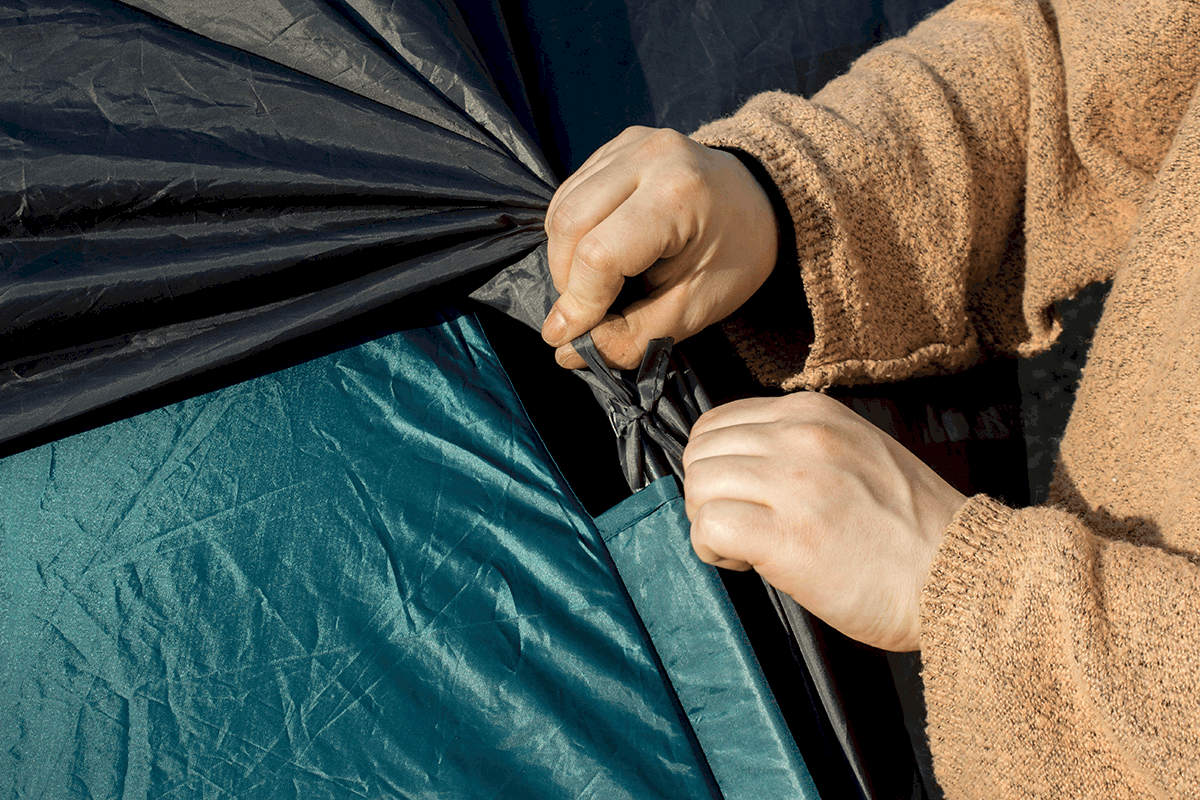
Step 6: Raise the tent
Now, this is the moment of truth. Once you've attached your poles to your tent, secure the ends of each pole to the holes on the corners of the tent's base. This will lift the tent and bring it up into a dome shaped structure.
This part can be a bit tricky, because everything needs to line up in order for the tent to come together.
If you've got someone to give you a hand, you can hold down one corner while the other person secures the other end. This makes things easier, because the poles can pop out of the holes when you're doing it by yourself.
If you're solo camping though, don't worry, you can still get this step done without any help. It might take a minute or two longer, but it's still totally doable.
Once you've raised the tent, tie it to the point where the poles meet at the top.
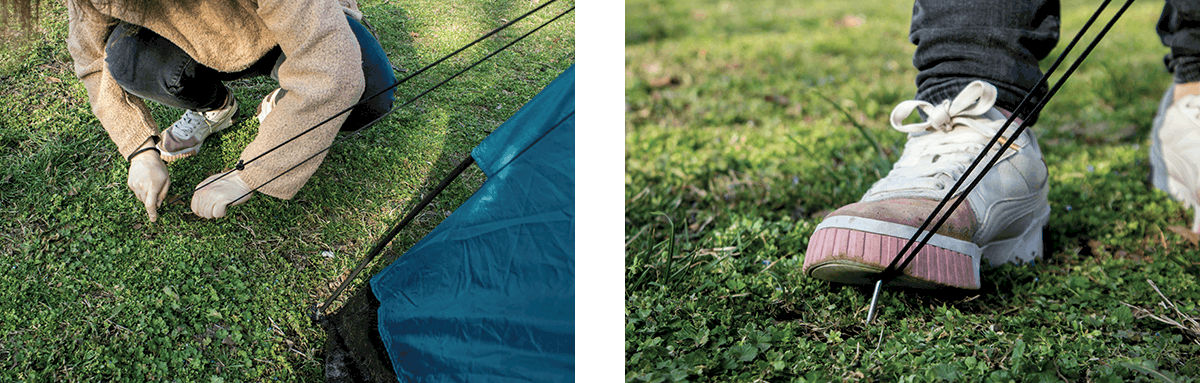
Step 7: Staking your tent
Once you've got your tent up and you're happy with how it's looking, there's one more thing you have left to take care of: securing your tent to the ground.
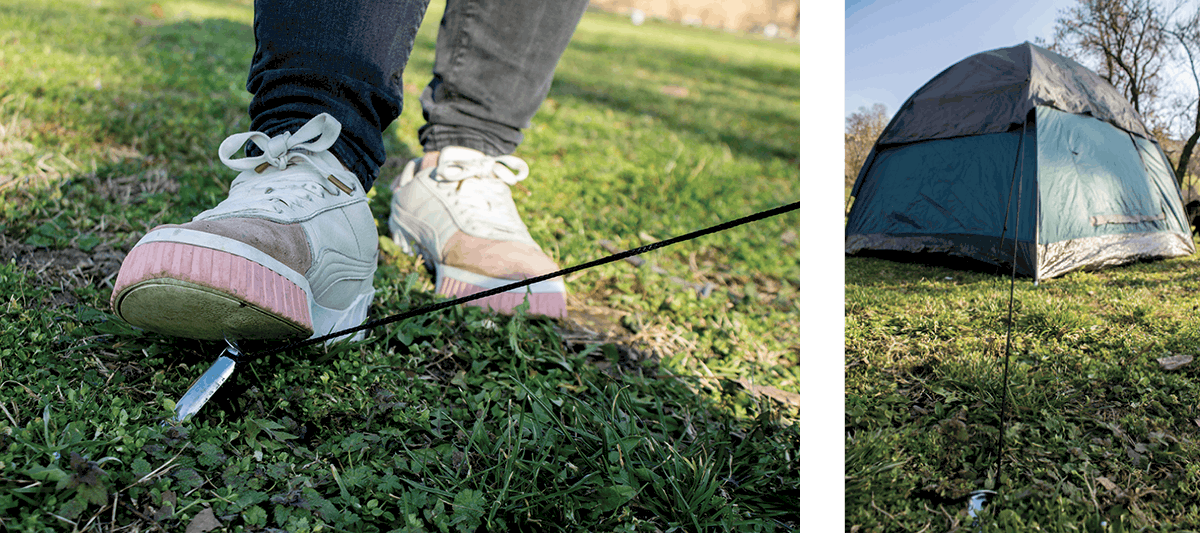
This is done in 2 steps, the first of which is staking the tent down. Push each stake all the way down into the ground, through the holes on the corners of the tent. Each stake should be inserted at around a 45 degree angle.
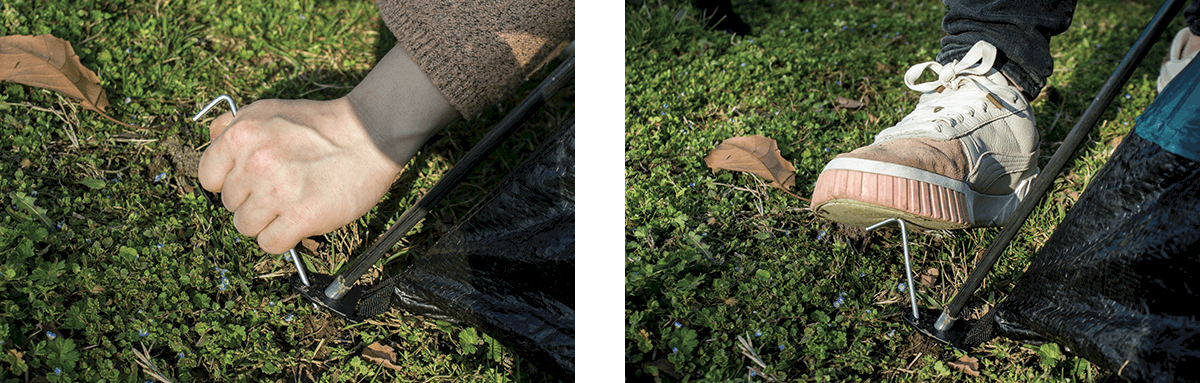
If you remembered to bring a mallet, this part is going to be much easier. If you haven't got a mallet, try pushing down on the stakes with the heel of your foot, to drive it as far into the ground as you can.
Step 8: Attach the rain fly
Before you can proceed to the second and final phase of securing your tent with guylines, you'll want to take care of waterproofing your tent. This is best done with the use of a rain fly.
Unfold the rain fly and place it over your tent, making sure the door on the rain fly aligns with the tent's door. Secure the rain fly to the poles on the tent using the available loops, hooks or tabs.
Finally, pull the loops on the bottom of the rain fly down as far away from the base of the tent as you can. Secure them to the ground using stakes, as you did in the previous step.
Note: this step is optional. If you're camping in fine weather, you can get away with not putting up a rain fly.
As we all know though, the weather can be unpredictable, especially in the mountains. So, if you want to make sure the contents of your tent stay dry, covering your tent with a rain fly will give you peace of mind.
Step 9: Guying out your tent
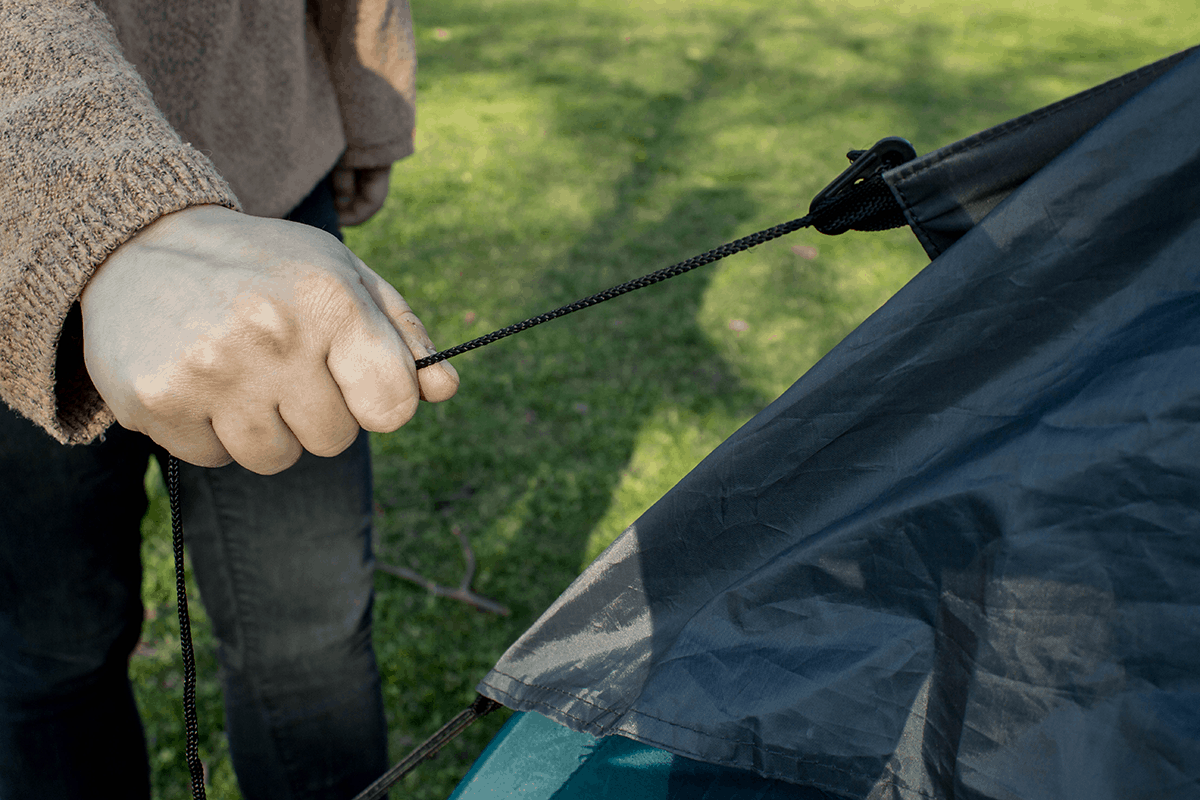
The second step in securing your tent is guying it out.
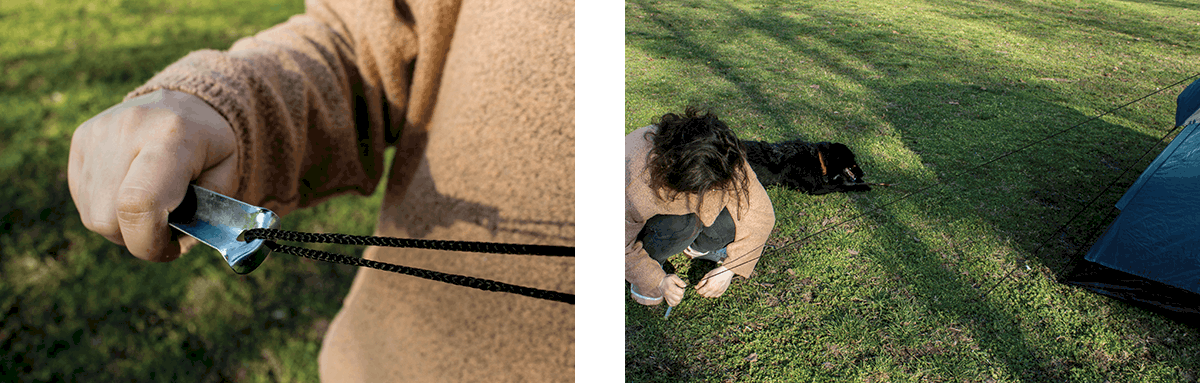
Attach your guylines to the guyout points on your tent, and pull them out tightly before tying them to surrounding trees, rocks, logs or the ground.
If you're securing them to the ground, tie the ends of your guylines to stakes using a bowline knot or a trucker's hitch. Then, push the stakes into the ground in the same way you did in step 7.
Pull the guylines out tight before tying them down to make sure there isn't any slack. Once secured, they should bounce back when you pull down on them with your finger, kind of like the strings on a guitar.
Note: this step is optional. If you don't encounter any strong winds, your tent should be able to stay up just fine without guylines. A lot of the time, staking the tent down will be enough to keep it in place.
Aside from added stability, guying out your tent will also help separate the rain fly from the rest of the tent, improving ventilation. For this reason, guying your tent out is a good move even if you aren't anticipating windy weather.
How to Set Up and Take Down a Tent
Now let's put it all together, so you can see how to fully set up and take down your tent. Here is our quick video:
Setting Up Other Types of Tents
Up to this point, this guide has focused on a classic dome tent setup. Of course, there are various other kinds of tents and some of them require a different kind of setup.
These are some other types of tents and how they differ:
Teepee tent
- With a teepee tent, you stake it out before you raise it.
- You raise the tent by inserting the center tent pole, then you tighten the corners again.
- At the end, you add the inner tent and groundsheet
Backpacking tent
- These might look quite different to a classic dome tent, but the setup procedure is actually pretty much exactly the same.
A-frame tent
- Like a teepee tent, you stake this kind of tent out before raising it.
- It's also raised just like a teepee tent, except for the fact that there are 2 poles (1 on either end) rather than 1 in the middle.
- At the end, you attach the guylines and rain fly.
Freestanding tent
- With freestanding tents, you connect the poles and set up the tent frame first.
- Next, you attach the inner tent to the frame.
- Finally, you attach the tent fly.
- No staking or guylines are needed with a freestanding tent. This makes them easy to set up on a platform, where you'd have difficulty setting up a regular tent.
Pop-up tent
- A pop-up tent doesn't require any setup at all. You just throw it out into an open space and it pops right into shape.
- They have their advantages, but a few disadvantages compared to regular tents as well.
Pre-Trip Preparation
Before we get started, there are a couple of things you'll need to prepare before you get to the campground.
If you're the newbie camper from the intro and you're already at the campsite trying to figure out how to get your tent up, skip to the next section. Otherwise, I strongly suggest you take the time to get acquainted with your tent in the comfort of your home environment.
Take all the poles and stakes and guylines out and get a feel for how they work. It's a good idea to have a go at pitching the tent at home, to familiarize yourself with the process before you get to your campsite.
If you anticipate windy weather on your camping trip, you might want to consider buying some good-quality stakes and guylines. Those that come with your tent aren't always the best quality. So, it's a good idea to equip yourself with some better stakes and guylines when camping in rough weather.
Even if you have a good idea of the kind of terrain you can expect at your destination, you never know how tough the ground is going to be at the camping spot you pick. For this reason, it's a great idea to get yourself a mallet if you haven't already got one. This will make staking your tent much easier if the ground underneath is tougher.
Campsite Selection
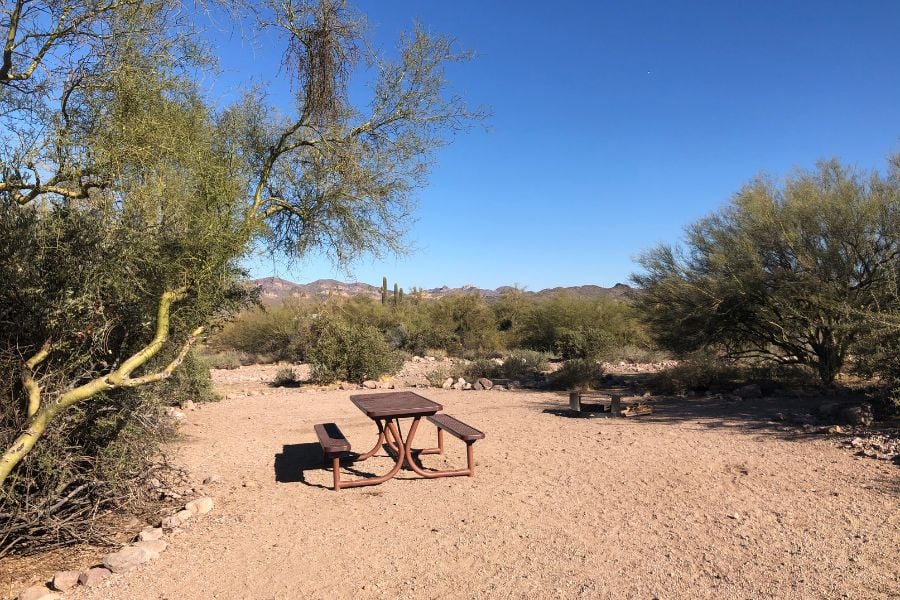
When you arrive at your destination, the first thing you're going to have to do is find the ideal spot to set up your tent.
You'll want to look for a nice, flat surface, but that's not all. There are several other factors you should keep in mind when choosing a campsite.
First of all, it's a good idea to go for a campsite on higher ground. This is because you'll be less likely to experience trouble with condensation, which tends to occur in places at lower altitudes.
Consider how well you'll be protected from the elements. If you're camping in windy conditions, try and find a natural windbreak.
If it's summertime, make sure you pick a spot with as much shade as possible. Natural shade from trees will not only protect you from the sun, but also minimize condensation.
Watch out for trees that are damaged or unhealthy, though. The last thing you want is a tree branch falling down onto your tent while you're asleep.
Another thing to be careful of is how far away your tent is from the campfire. Make sure it isn't too close, or a gust of wind could end up blowing embers straight onto it. If this happens, best case scenario is your tent gets damaged, worst case scenario is it goes up in flames.
Believe it or not, the orientation of your tent is also important. So, listen up, because this part could actually make all the difference.
If you're camping in hot weather conditions, make sure you have the door of the tent facing the wind. This will allow the wind to blow directly into your tent, keeping you nice and cool.
If you're camping in windy weather conditions, make sure the tent's strongest poles are facing the wind. This will provide you with the best possible stability.
Be sure to adhere to Leave No Trace principles, in order to minimize interference with your surroundings. These principles include the following:
- Seeking out existing campsites when camping in well-traveled areas
- Setting up camp no less than 200 ft from lakes and streams
- Keeping campsites small and sticking to areas where vegetation is absent
- Dispersing to prevent the creation of new campsites and avoiding places where impacts are just beginning
Also See: The ULTIMATE Guide to Campsites, Campgrounds & Camping Amenities
FAQ
How long does it take to set up a tent?
Tents can take anywhere from 60 seconds to 30 minutes to set up depending on the size and type of the tent, and the amount of people setting up the tent.
The smaller the tent, the quicker it is to set up since there will be less fabric and poles.
Quick pitch tents like instant tents and pop-up tents, are both made to set up in just a few minutes, and the longest part of your setup will be tying down guylines.
On average, a standard tent will take between 10 and 20 minutes to set up.
What is the quickest tent to set up?
The fastest tent type to set up are pop-up tents. With built-in pole systems, they will literally spring open. You can have this tent setup in just a few seconds.
However, instant tents aren't far behind. They come with a built-in hub pole system that will rise as you pull the poles apart. Then you lock them into place with the locking mechanism.
What is the hardest tent to set up?
Canvas tents are going to be some of the hardest tents to set up.
They are much heavier than standard tents and sometimes require a bit more practice to get down.
Is it easier to set up a small or large tent?
Smaller tents are by far and away easier to set up than larger tents. They have fewer poles, and less fabric, making it an all-around shorter set up.
Of course this will vary by tent type and model, but on average a small tent will be faster to put up than a large tent.
Summary
That's everything you need to know about how to set up a tent. Over to you now. Get out there, find the perfect spot and have a go at setting up a tent for yourself.
Go on, you can do it. Just follow the steps and you can't go wrong.
Good luck, and now you can set up the rest of the campsite!