Ahh, to wake up in the great outdoors.
There’s nothing more satisfying than enjoying your morning rituals in nature.
Like drinking coffee, for example.
And just because you’re in the middle of nowhere doesn’t mean you can’t enjoy the same quality coffee you would at home.
Today, I’ll share with you 8 ways you can make the perfect camping coffee anywhere you go.
Let’s get down to the nitty-gritty!
8 Ways To Make Coffee While Camping
Even if you’re backpacking, there’s no reason to sacrifice enjoying your favorite breakfast beverage. There are plenty of methods that don’t involve heavy or bulky items, so you don’t have to worry about losing a lot of storage space.
If you’re a coffee lover, there are several ways you can make camp coffee, with or without electricity and fancy devices.
Instant Coffee
Let’s start with the simplest coffee-making method.
Sure, it’s not the best tasting option, but there are times when you simply can’t be bothered.
It’s 5 AM, the sun is rising but it’s awfully cold and you just don’t want to spend more than a minute outside of your sleeping bag.
You want coffee, and you want it now.
Here’s how.
- Put a pot or kettle onto a heat source like a camping stove, or a campfire, until it boils.
- Pour the water into a mug.
- Add instant coffee and stir.
It doesn’t get any easier than that.
Cowboy Coffee
What’s one thing cowboys couldn’t go without?
Hats?
Guns?
Lassos?
This might come as a surprise, but the right answer is – coffee.
Cowboys pretty much lived on coffee. They served it with every meal, be it breakfast or dinner.
And they liked it hot.
Like, searing hot.
The cowboy brew method lost popularity with the advancement of technology. Nowadays, coffee machines make our coffee from start to finish, and all we have to do is drink it.
Which is a shame, really. There’s something special about the whole process of making coffee this way.
To make a classic cowboy coffee, you’ll need a large coffee pot or kettle.
- Pour water into a pot or a kettle, and put it on a heat source like a campfire or a camp stove. Let it boil.
- Once it’s boiling, remove the pot from the heat, and let it settle for around 30 seconds. That’s enough time for the water temperature to drop a few degrees, and reach the sweet spot for coffee brewing.
- It’s time to add coffee. For every 8 ounces of water, add 2 tablespoons of grounds. Stir well, and let it sit for 2 minutes.
- Then, you stir again and leave it for another 2 minutes. This is the key to great cowboy coffee. Many people skip this step, and their coffee simply doesn’t brew well.
- After the coffee’s been brewing for 4 minutes total, pour a little bit of cold water into it. This way, the grounds will settle on the bottom.
- Pour it into a camp mug, and enjoy.
Yeehaw!
Single Pour-Over Filters
Coffee portables – the most convenient way to brew a real cup of delicious coffee while camping.
They’re designed with backpackers in mind, and they take the coffee-making process to a whole ‘nother level in terms of practicality.
One-cup filters with pre-ground coffee come in individual paper packaging. You just need a cup and something to boil water in.
- Open the packaging and take the coffee filter out. Tear the top part along the perforated edge.
- You’ll notice there are little wings on both sides of the filter bag. Pull them apart. The filter bag will open up, resembling a cooking pot.
- Those wings, otherwise called anchors, allow you to attach the filter to the rim of your cup.
- Now, boil some water and leave it for 30 seconds to cool down a bit.
- Then, pour the hot water over the coffee filter. Let it sit for a few minutes. If you prefer stronger coffee, wait for 3 to 5 minutes.
Pour-Over Drips
Pour-over coffee seems to be a popular brewing option these days.
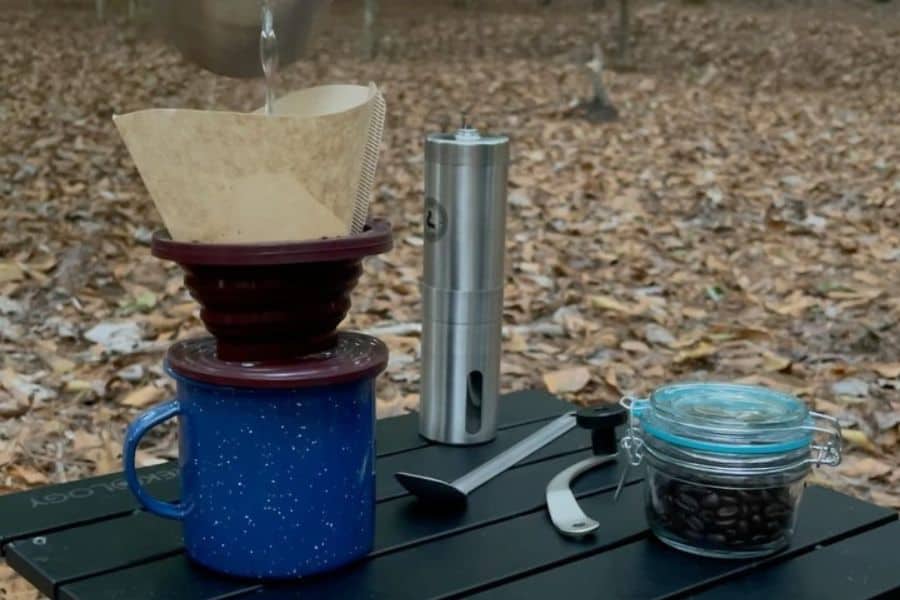
If you enjoy this kind of coffee, just skip those single-serving filters and get a drip instead. That’s also a great way to minimize waste.
Pour-over drips come in all kinds of styles and shapes. From simple-looking to sophisticated designs, you can definitely find some unique models.
In most cases, a dripper is compact and lightweight, and unless it’s made of fragile materials, you can safely bring one camping. But, there are also models specially designed for outdoor activities, made of materials like silicone or steel.
Drips are used in pretty much the same manner as the single-serving filters.
- Put the drip over your cup. Place a paper or cloth filter inside and fill it with coffee grounds.
- Heat water until it reaches boiling point. Then, let it cool for half a minute.
- Pour it over the filter in a circular motion, trying to cover all the grounds.
- The longer you keep the filter in, the stronger your coffee will be.
Moka Pot
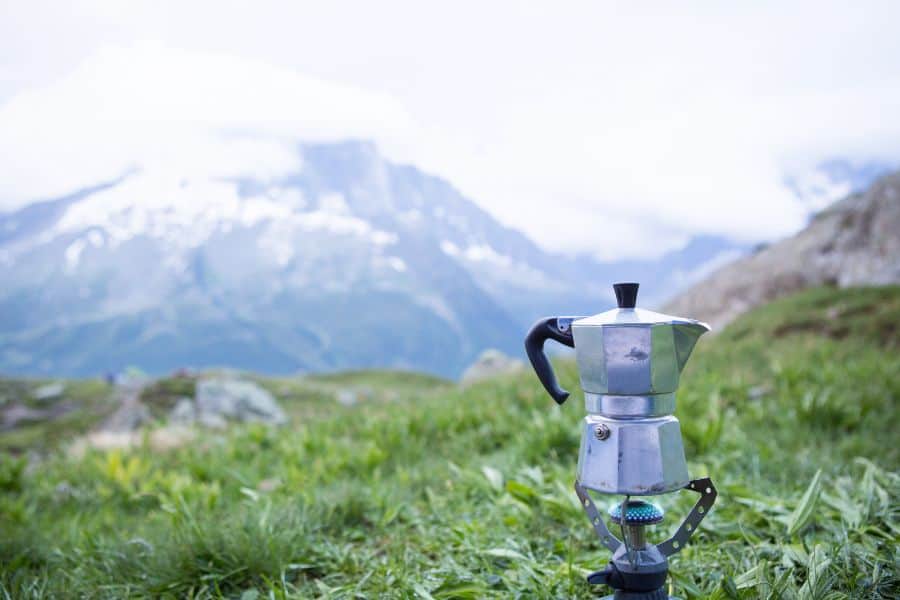
This is, hands down, my favorite camping coffee-making method. Unless I’m backpacking and really can’t afford to carry any extra weight, a moka pot is a staple in my backpack.
There’s nothing better than a cup of strong Italian coffee to wake me up in the morning.
Moka pots are great. There’s no fuss around buying and disposing of coffee filters, for one.
They come in different sizes, but I usually take my single-cup pot on camping trips. It weighs around a pound, but fits perfectly in my backpack’s side pocket.
The coffee pot consists of three parts. The bottom reservoir, the middle funnel, and the coffee collector at the top.
And the brewing method?
A piece of cake.
- Put water in the bottom reservoir. See that tiny hole? Fill it up to that point.
- Put the funnel in its place and fill it with coffee grounds.
- Screw on the coffee collector and put the whole thing onto your heat source.
- Let it boil. Once it does, a stream of coffee will start coming out the small column in the upper chamber. It will start as dark brown, but gradually, the stream will come out lighter in color. And when you hear the hissing sound, you know it’s done.
If moka pot coffee is too strong for your taste, you can make an Americano by adding some more hot water to your cup.
Percolator
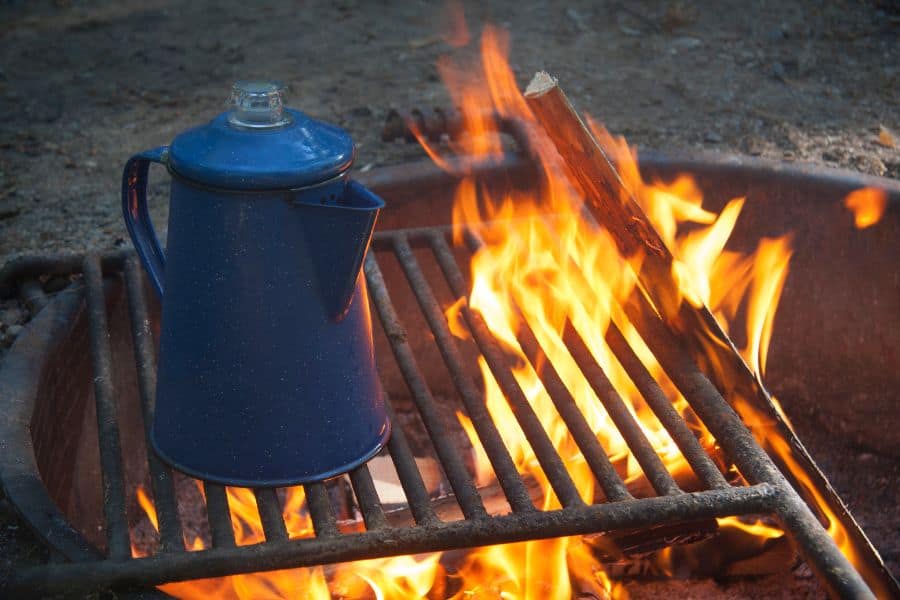
Coffee percolators have been around since the 19th century. Before drip coffee machines were invented, this was the way coffee was made.
Just ask your grandparents.
While a coffee connoisseur would never make such a mistake, to an untrained eye, a percolator and a moka pot might appear to be similar. But, they use a completely different brewing method.
With steam pressure, a moka pot pushes the water through coffee grounds, resulting in a strong drink, almost espresso-style.
A percolator, on the other hand, uses gravity to pedal the water through the coffee. The drink you end up with is similar to drip coffee.
Here’s how you can make your favorite hot beverage using a percolator:
- Fill the pot with water, depending on how many cups you plan on making. There’s a fill line inside that shows you the upper limit.
- Add coffee to the strainer basket. A rule of thumb is 2 tablespoons of ground coffee for each cup of water in the pot.
- Put the top on the strainer basket, and then the lid on the pot.
- Place the pot on your heat source like a camping stove or a campfire, and let it boil. You should watch the process carefully, as it can easily overboil, leaving you with nasty tasting coffee.
- When it starts to boil, move it onto the indirect heat. Leave it for 10 to 15 minutes. Again, the longer you leave it, the stronger it’ll be.
French Press
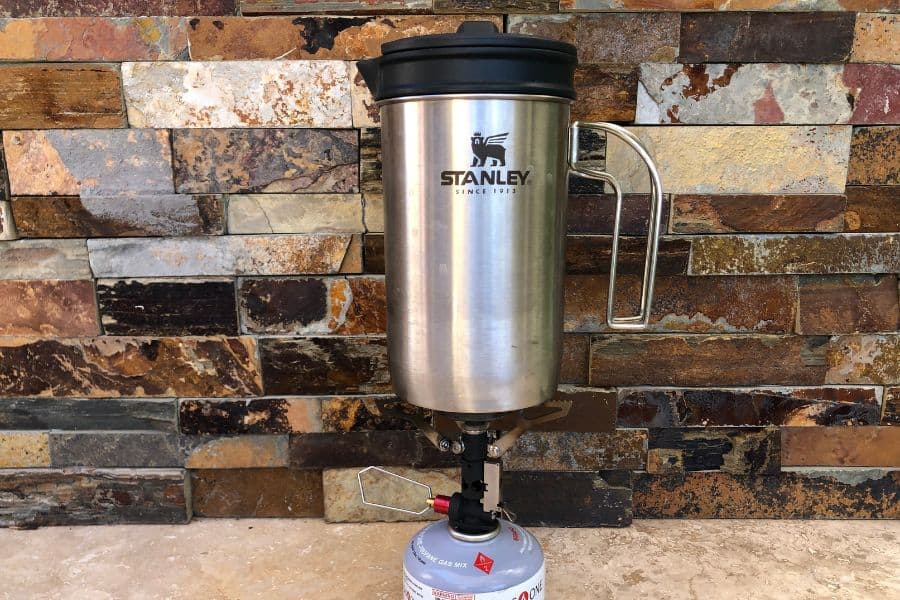
Brewing french press coffee is pretty quick and easy. And the result is rich and delicious.
But I won’t lie, it’s a little bit tedious to clean. You’ll need a stream of water to rinse out the press. If you have access to running water though, this won’t be an issue.
And if you’re making coffee for several people, a french press coffee is a great option. You can make up to 30 ounces of the hot stuff at a time.
But don’t make more than you can drink. Reheating coffee makes it turn bitter and gross, so ditch whatever’s left over.
- Start by boiling water in a separate pot. Once it reaches boiling point, remove it from the heat and let it cool for a minute.
- Add a heaping tablespoon of coffee grounds to the pot for every 7 ounces of water.
- Pour hot water into the pot and stir vigorously. Go wild, you want to mix it the best you can.
- Let it steep for 4 to 5 minutes.
- Slowly press down the plunger until it reaches the bottom of the pot.
- Turn the arrow on the lid in alignment with the pour spout, and pour your coffee into a camping mug.
Portable Espresso Maker
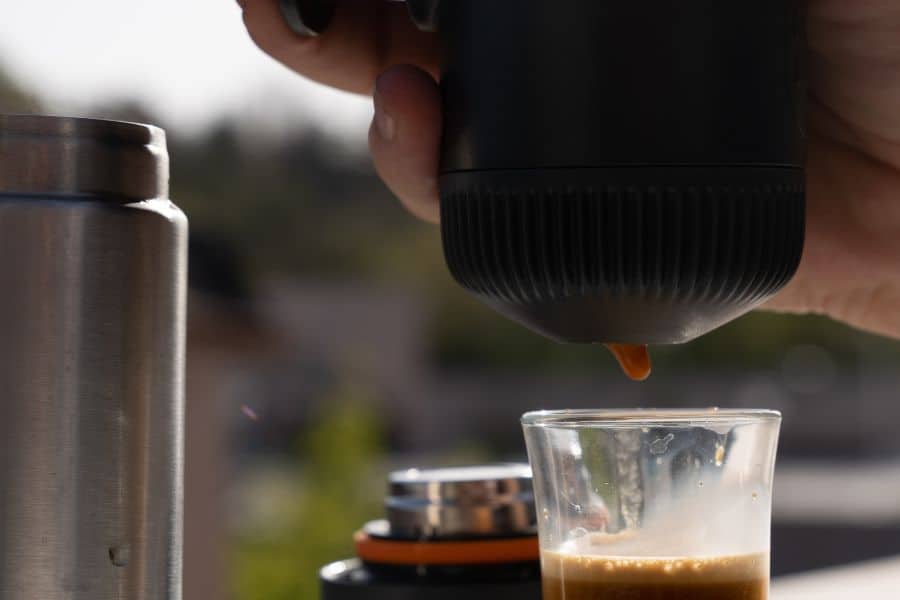
When it comes to technological advancement, can we ask for more than this?
It’s a portable replacement for your 20-pound espresso maker at home.
And there’s no better way to start a day hike than with a shot of strong espresso as soon as you open your eyes.
There’s a variety of models on the market, and to be honest, the prices are rather high. But, the final result is well worth it.
The exact instructions vary with each model, but this is the basic principle they work on:
- Add ground coffee to the filter. Pressure slightly to even the grind level.
- Boil water in a pot, then leave it to cool for one minute.
- Add the water to the tank.
- Screw back on both the filter and the tank. Again, where each part goes depends on the model, so check your product’s manual for precise instructions.
- Start brewing. Some models work at the push of a button, others have a pump that you have to press for the espresso to come out.
Wrapping Things Up
If you’re a coffee drinker, there are a bunch of ways you can make coffee while camping.
And the best thing is – you don’t have to sacrifice taste for practicality.
From instant coffee to a portable espresso maker, there are options for different budgets and types of camping trips. So pick the one that suits your needs best, and enjoy your favorite beverage even when you’re on the trail.
Next up: Best Camping Coffee Maker: Brew Your Perfect Cup in the Great Outdoors


