


A hatchet is one of the best camping tools out there. But only if you know how to use it.
Luckily, proper handling doesn't require breaking your back and having cramps. Well, not if you know the right way to do it.
This brings us here today. In this article, we'll talk about different ways of splitting wood with a hatchet, so that you'll have your campfire going in no time.
Let's jump straight in!
When You Should Split Wood with a Hatchet?
First things first – you should know that a hatchet isn't exactly a primary tool for splitting wood.
Generally, an axe is more suitable for this task, as its handle length and weight make the job a piece of cake.
A hatchet, on the other hand, usually features a handle that's between 12 and 18 inches long. It's used for small wood chopping, like breaking apart branches and making kindling.
With that being said, you can use a hatchet to split wood – and it will do a decent job at that. But only if you're using smaller pieces. Don't expect a hatchet to cut down a tree, especially not in a few swings.
Because of its size and weight, a hatchet is perfect for camping. If you need to make kindling or tent stakes, then a hatchet is the tool for the job.
How to Split Wood With a Hatchet
Let's put the hatchet to use. Here's what you need to do, step by step:
Step 1: Make Sure You Have the Right Equipment
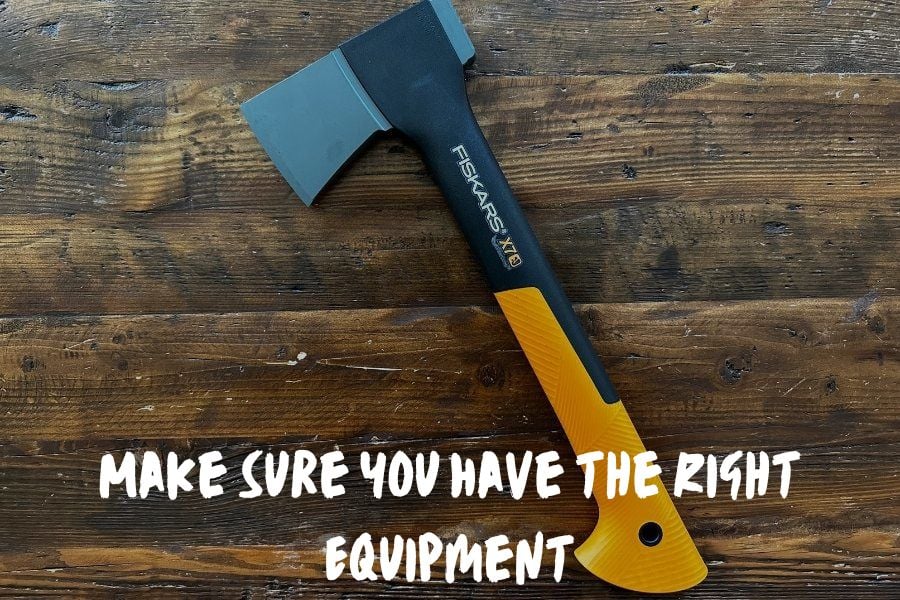
First off, you'll want to make sure to get a proper hatchet.
You might be tempted to split some wood while you're still wearing flip-flops and a swimsuit from the day at the beach. But there are tons of ways things can go wrong as a result.
A hatchet, like any other tool, requires careful handling. If it cuts through wood, it can easily cut through the skin as well. To avoid any accidents, it's critical that you wear adequate equipment.
Starting with your face, safety glasses can prevent chunks of wood from ending up in your eyes.
They're quite cheap and you can get them at any local hardware store. While not necessary, a hat can also be useful as it blocks the sun.
When it comes to your feet, avoid wearing slippery shoes – you need to be as stable as possible when splitting wood. Ideally, you should wear boots with protected toe reinforcement, which would prevent falling logs from hurting your toes.
Finally, let's talk about hands. You absolutely should wear gloves while chopping wood. First, they protect your hands from splinter cuts. Second, they prevent blisters by using a hatchet.
Third, they help you maintain a good grip. Your hands can get sweaty, especially on a hot day. As you know, sweaty means slippery – and you definitely don't want to accidentally drop a sharp tool.
Step 2: Choosing the Right Logs to Split
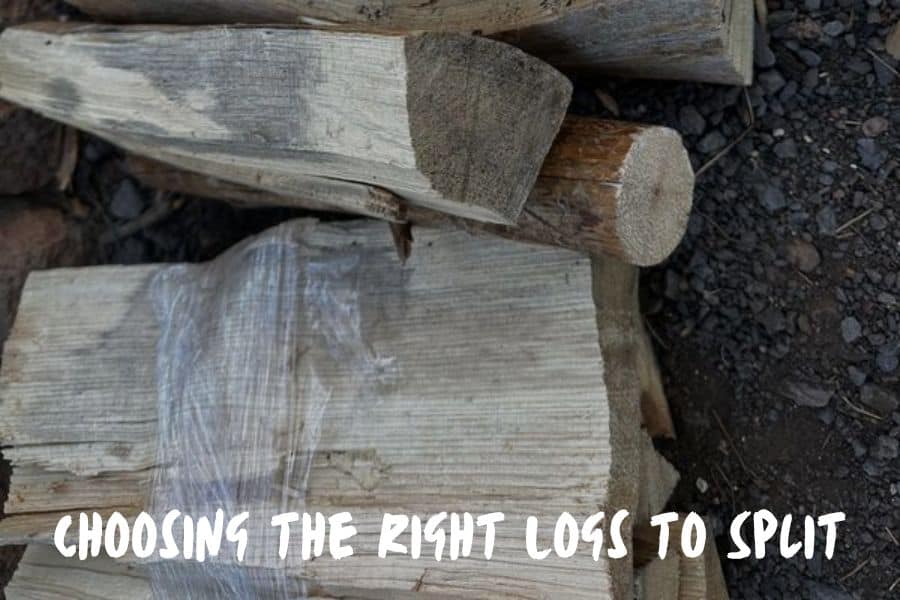
Now, don't just grab any log you find along the way. Certain logs are simply much easier to split.
The drier the log is, the easier your task will be. So look for branches that have been laying around for some time. Green logs are hell to cut through, just as much as they are to burn.
Ash, hard maple, pine and cedar are some of the best tree species for splitting, as their bark is less dense.
Look for logs that are straight-grained and without knots.
Finally, you should keep in mind that the longer the wood, the harder it is to split.
Ideally, you want to use logs that are 12 to 14 inches long, as you don't need to swing too much.
Step 3: Prepare the Splitting Surface
Technically, you could split wood directly on the ground, but there's really no need to break your back like that.
Using a splitting surface is not just much more comfortable, but also much safer.
First and foremost, it keeps the hatchet away from your feet. And secondly, it prevents you from hitting rocks that could break your tool.
With a traditional axe, a splitting surface is set at knee height.
But since the hatchet has a much shorter handle, using such a low stump would require you to bend quite a lot every time you swing.
Instead, you want a splitting stump to be about the same height as your waist.
The splitting surface needs to be large enough to fit a log, heavy and stable. Cut tree trunks, as well as stone and concrete, are your best options.
Step 4: Determine the Axis of Cutting
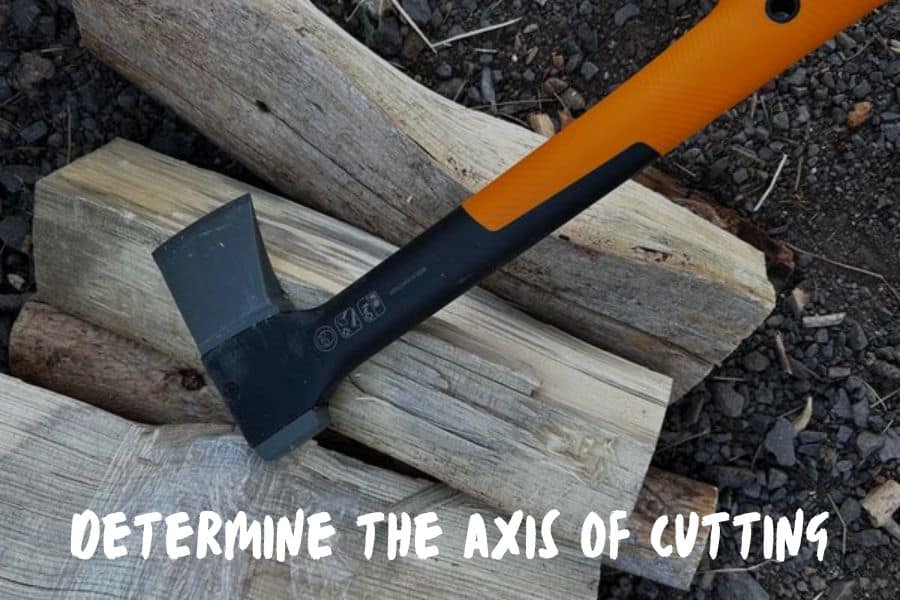
Splitting is much easier if you follow the wood grain, as the tree naturally wants to split into those points.
Remember how I said you should avoid knots? That's because the knots change the direction of the wood grain. That, naturally, makes your task a bit harder.
Always inspect the log before striking, to find the best spot to hit first. It's always best to start at the edge and slowly work your way towards the middle.
The middle is much denser than the edges, and by slowly chopping off the sides, you're weakening wood fibers.
Step 5: Start Splitting with the Hatchet
There are a few different techniques you can use for splitting wood with a hatchet. But before we get into details, let's talk about proper technique first.
Kneeling is the best position for splitting wood – it brings you closer so that you can be more precise with your hand movement.
Your feet should be little more than shoulder apart, so that you're stable while swinging.
A hatchet should always be in your dominant hand, holding right below the blade. Your other hand needs to be no more than 2 inches above the end of the handle.
Hold the hatchet in front of you at waist height, then raise it from above your head and swing it directly into the wood.
As you sway down with the hatchet, the hand below the blade should slide down the handle to meet your other hand. This will give you more control over the swing.
Hatchet Wood Splitting Techniques
Now that you know how to sway the hatchet, let's talk about different techniques.
Standard Stump Splitting
This is the traditional method of splitting wood, which we already mentioned in the section above. It's best done on a sturdy surface that's up to your waist.
Since the swing is short, there's no need to put your whole strength into a swinging motion. You don't need force to split wood, just a fast motion. The weight of your hatchet and gravity will do the most work.
The key to success lies in having a focus point, which is where you aim to hit with the hatchet. That's why you shouldn't aim for the top of the log, but the bottom part of it.
Why is that, you might ask? Well, our brain is programmed in such a way that it will automatically start to slow down your hand movement as soon as you reach the point you were focused on hitting.
So if you aim for the top, you probably won't use enough force to split the log. But, if you focus on the bottom part, you'll keep your momentum until you go through the log.
Upright Bash
Seems easy so far? Not so fast.
Most logs you find will probably have knots and branches that won't allow you to cut through them in a single swing. In fact, there's a pretty good chance your hatchet will get stuck somewhere along the way.
Don't panic, that's pretty common. What's more, it's also a very simple situation to fix.
Once the blade gets stuck inside the log, lift the hatchet above your head with the log positioned vertically. Your motion should be the same as in the standard technique.
Sway the hatchet down into the stump, hitting it with the bottom part of the log. It might take a few tries, but you'll be able to get through some tough knots on wood.
The upside-down technique can also be used to make very fine splitting. It's practically impossible to make a strong swing and be "surgically" precise with hitting a point on the log. Instead, we'll hit the log onto the stump.
Here's how: Take the log you want to split, and hold it upright. Pat it gently with your hatchet, piercing it just enough for it to stick to it.
Then, swing the hatchet with the attached log above your head, and hit the splitting surface with it. This will bring the blade through the log to make fine kindling.
Upside-Down Bash
If you encounter some pretty tough logs, it's time for an alternative strategy. Large logs are pretty problematic, as they require a stronger force in order to split. With a small tool such as a hatchet, that's a rather hard thing to achieve.
If you remember middle school physics, force equals mass times acceleration. You might not have a larger blade around, but you can use the wedge side of the hatchet.
This method is pretty straightforward. What you should do is flip the hatchet around when bashing, so that the head is the part that strikes first, followed by the force created by the weight of the log.
Keep in mind that you can use this method only until the head of the hatchet gets all the way inside the log. After it gets buried completely, you need to go back to the previous technique.
Baton the Hatchet
This is another great method for splitting fine kindling. What you need is a stick, which takes the role of the blade, while the hatchet serves as a wedge.
Put the log on the stump in an upright position. Grab a stick that won't break from bashing – it should be at least a few inches thick. Position the stick on top of the log, then grab a hatchet with your dominant hand and hit the top of the stick.
Keep banging until you drive the stick into the wood – a few inches are sufficient in most cases. Then, remove the stick and bury your blade into the crack. From this point, you can continue to do an upright bash until you split the log.
Parallel Splitting
Finally, we have parallel splitting. This method is used for small logs, and it's especially great if you don't have a decent splitting surface available. You can use pretty much anything that won't move easily under pressure, like stones or large logs.
Grab a log in your non-dominant hand and a hatchet in the other one. Bring the hatchet parallel to the log and push the blade into it.
Then, grab together the log and the handle with both hands. The log should be facing the splitting surface, while the hatchet is above. As you hold both things in your hands, swing them onto the stump.
The force of gravity, together with the swiftness of your hand motion will bring the blade into the log, ultimately splitting it in half.
This is quite an easy method that gets you fast kindling. Just watch your fingers!
Hatchet Safety 101
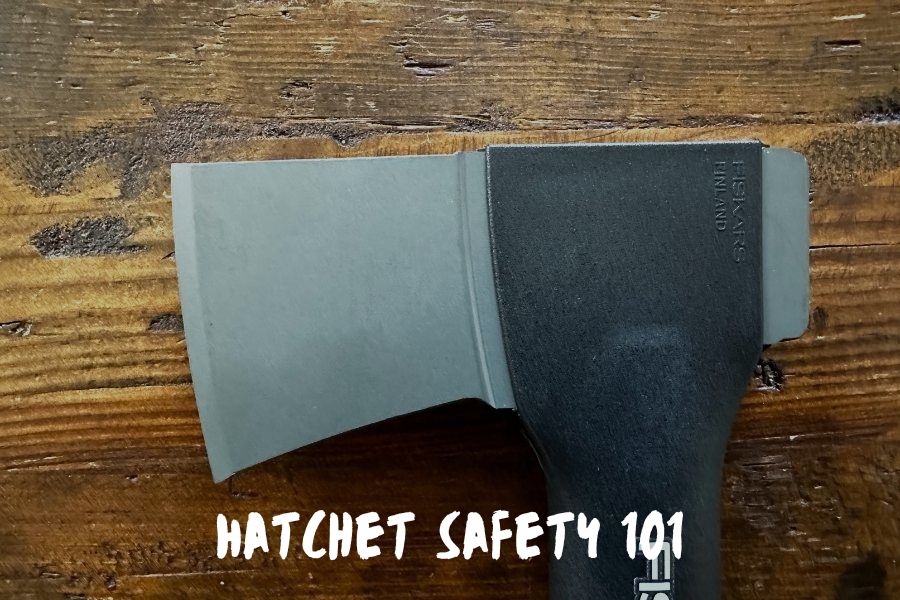
I know, I've already spoken about wearing proper equipment when splitting wood. Since a hatchet is a sharp tool, it's always better to be safe than sorry.
I've also mentioned that kneeling makes it easier to execute a quick and precise blow. But what it also does is prevent accidents.
With your feet out of the way, if you miss, you'll hit the ground. Much better than your toes, no?
Of course, this goes without saying – you should always make sure there are no people or things around you that you can accidentally hit while swinging.
If you're walking around while carrying a hatchet, hold it with the blade pointing down and away from your body.
Forget about throwing it over the shoulder, even though it seems so cool. If you accidentally stumble, you can easily hurt yourself with it.
How to Care for a Hatchet
First things first, always keep your hatchet sheathed when you're not using it. No matter what material it's made of, it should never be left exposed to moisture. The blade will rust, while the handle can deviate – if made of wood.
To keep the moisture away, oil the blade after every use. Gun oil is great, but you can use any type of oil you have at hand – even cooking oil. Apply it thoroughly onto the blade, then use a cloth to wipe away the excess.
It goes without saying that you should clean the blade before applying a protective layer. Wipe away any dirt and wood particles. Tough grime can be removed with vinegar.
Hatchet FAQ
Still have questions? In this section, we'll briefly go over some common confusion on this matter.
What is a Hatchet?
A hatchet is a one-handed tool used for smaller wood cutting projects, such as splitting firewood. This type of ax features a blade on one side and a wedge on the other side of the head.
This two-in-one tool is great for camping, since it's small in size and rather lightweight. It's useful in many different situations, like making tent pegs or staking them down.
What is the Difference Between a Hatchet and an Axe?
An is a large, two-handed tool used for chopping down logs and trees.
A hatchet, on the other hand, is much smaller in size and is primarily held in your dominant hand.
Because of that, a hatchet is more suitable for splitting smaller logs.
What Else Can You Use a Hatchet for?
Aside from splitting kindling, there are tons of other uses for this practical tool. As we already established, the hatchet doubles as a hammer.
If necessary, it can also work as a knife. If you keep it sharp, it can easily cut through meat and veggies.
A hatchet is also useful for limbing branches off fallen trees. Since it's lightweight, you can easily swing it around without much effort.
Forgot your shovel at home? That's right, a hatchet can be used instead. Just make sure to clean it thoroughly once you're done.
To Sum Things Up
Splitting wood with a hatchet is no rocket science.
It does require a bit of practice and precision, but as long as you follow these steps, you'll do great.
Remember to switch between different techniques depending on the shape of the log.
Next up: How Much Firewood Do I Need For Camping? – And Where To Buy It