Instant tents are an easy and effective tool to use on a backyard or car camping adventure, so you need to know how to set up an instant tent if you want to give it a try.
These tents are easier to set up than traditional tents and can make a fun night under the stars just a little bit less complicated.
In this article is a step-by-step guide for how to set up an instant tent, but we’ve also put together this video as well.
Step-By-Step Guide To Setting Up An Instant Tent
1. Unpacking & Layout
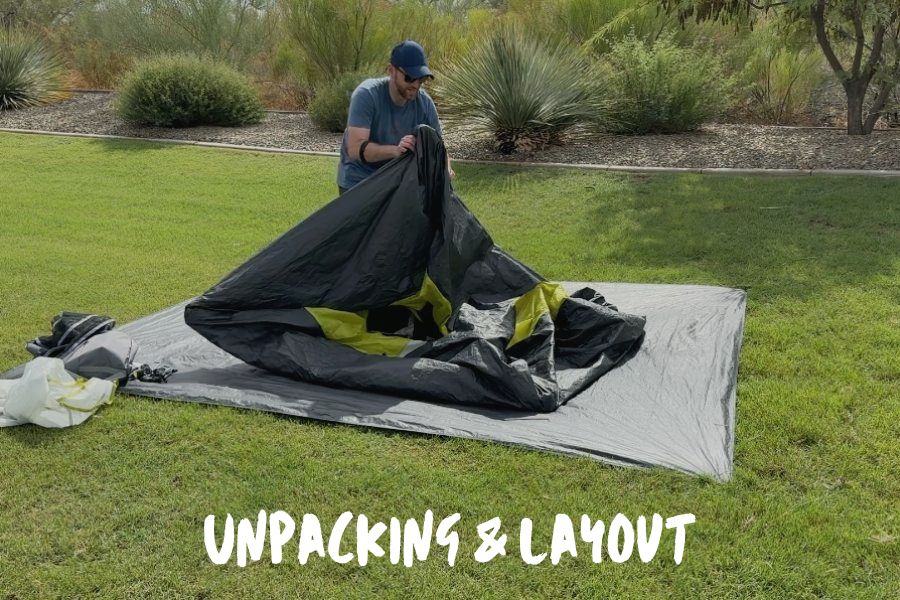
The first thing you should do is unpack the tent and pick your camping spot.
At this point, you can also double check that there aren’t any large rocks or obstacles on the ground that might make sleeping uncomfortable.
Once you’ve taken your tent out of its carry bag and laid the structure on the ground, you can decide on the tent’s orientation.
Do you want your main opening to be facing the main firepit, or would you like it facing away from other tents for more privacy?
There’s no right answer here. It’s all about personal preference.
No matter what you decide, it’s best to orient your main opening during this step, so you’re not stuck trying to move the tent around once it’s all set up.
2. Assembling The Frame
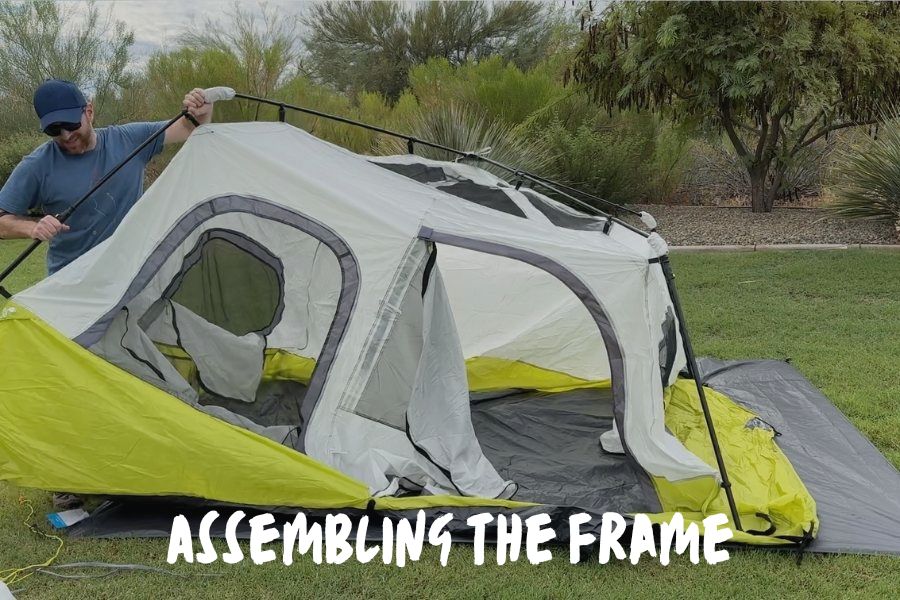
By definition, instant tents will already have the poles set up in the body of the tent.
Many instant tents come with a “hub system” where all of the poles connect. The idea is that you simply pull at this hub and the tent will erect with that movement.
In a few tent models, you may need to attach large pole pieces from one side of the tent together with other large pieces.
This step may vary depending on the design and model of your tent. However, it is usually intuitive when you see the set up and structure of the tent itself.
When in doubt, your tent’s manual can help you understand the official set up of your specific model.
But with most instant tents, you should be able to pull down the four corners of the tents, then pull the frame vertically to get the basic structure erect.
3. Raising The Tent
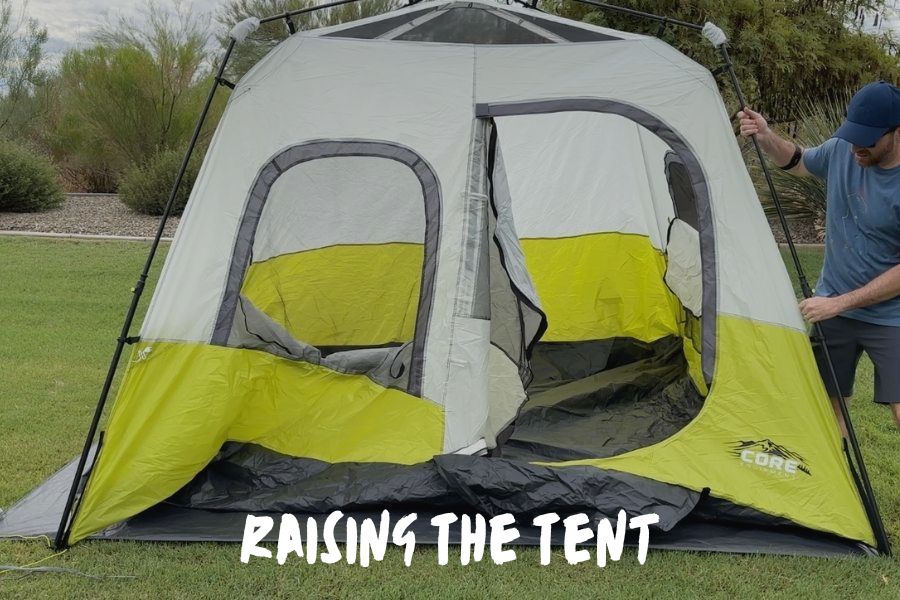
Once your tent’s hub is spread out, start extending the poles out to their full position.
Instant tents are known for their telescopic pole extension. This is handy for packing down taller tents, as the longer poles don’t take up as much room as when they’re not extended.
To fully extend the pole, you simply pull at the end until you hear the poles “click” into place once they’ve reached the correct placement.
Make sure that all poles have been extended throughout the tent structure. Not doing this will result in an uneven and ineffective tent structure.
4. Securing The Tent
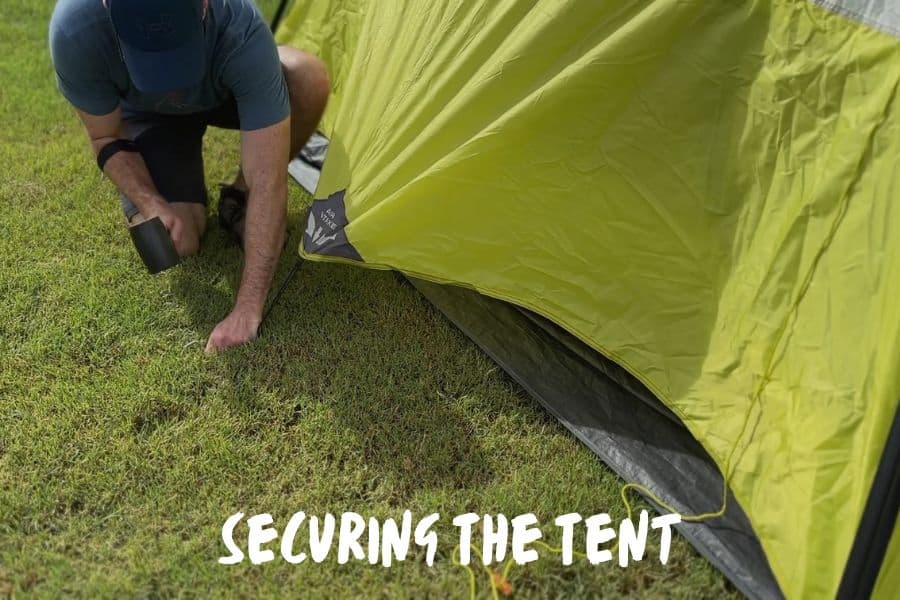
With all the poles extended and clicked into place, it’s time to secure the tent to the ground. This is where the tent stakes come in!
Your tent should have come with a number of tent stakes included in the tent bag.
As you walk around the tent, you’ll notice small loops at the edge of each corner around the bottom of the tent.
You’ll want to start by staking down these loops to secure the tent to the ground.
Be sure to tug the tent base a little as you stake each corner to make sure the floor is flat.
Then, take a look at the guylines that are already attached to your tent and hanging down to the ground.
You’ll want to stake these down as well, at least two feet away from the base of your tent.
5. Attaching Rain Fly (If Applicable)
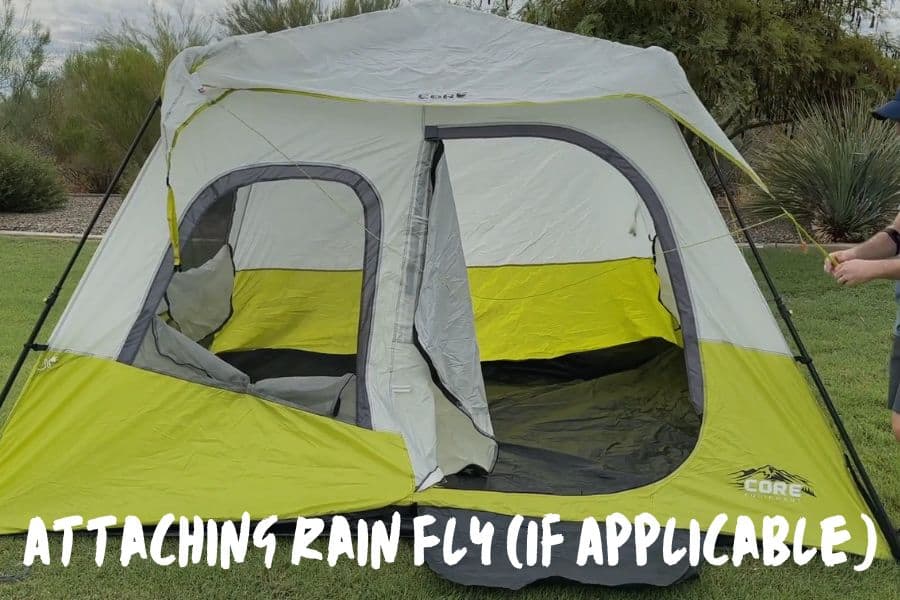
Whether or not the rain fly is included in the larger tent packaging will depend on the manufacturer.
If not, I again recommend you purchase one from the manufacturer. It’s better to have one than risk accidentally getting caught in a sudden rainstorm with no cover.
Even if the rain fly is included, it will most likely not be automatically attached to the instant tent.
It’s always a good idea to make sure it’s in there before you head out for your trip.
When putting on a rain fly, the first thing to do is align the design of the rain fly with the design of the tent.
The two should mirror each other. When in doubt, try to line up the corners of each piece with one another.
Once you’ve draped the rain fly over the tent, you’ll connect the rain fly lines to the hooks at the bottom of each tent corner.
Depending on the design of your instant tent, there may also be other, smaller hooks along the rain fly that can attach to nearby poles.
If you see any additional hooks like this, make sure you secure them.
6. Final Adjustments
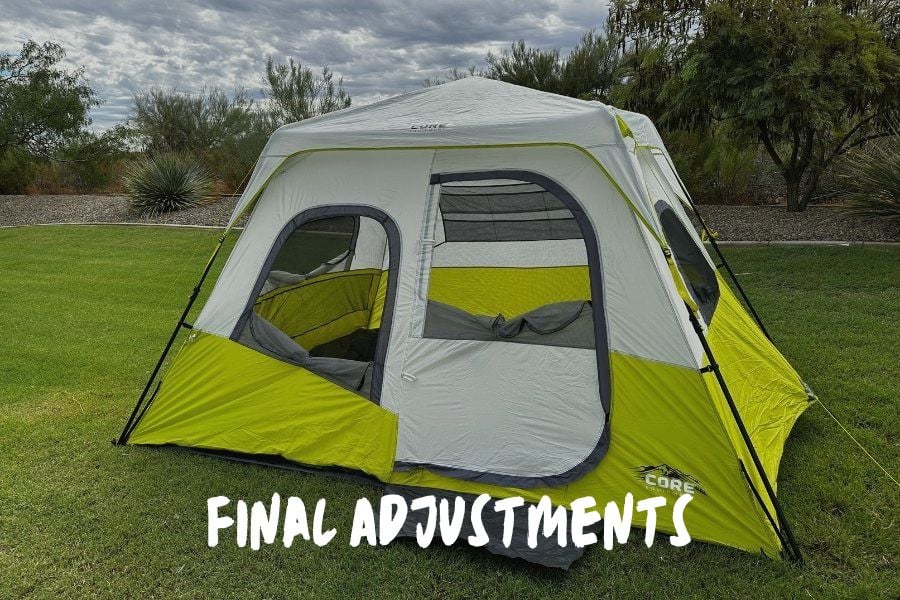
Depending on the design of your instant tent, there may be a few final adjustments you’ll need to make before everything is set up.
The most likely final adjustment is setting up the door. In instant tents, this spot will be the one area where you will actually need to insert a pole into the tent structure.
This pole will most likely be smaller and rounded in shape when compared to the rest of the poles in the structure.
You’ll insert it into a tube of fabric above the main door of the tent in order to provide structure and stabilize the entrance of the tent.
Tips For Efficient Tent Set-Up

Practice Makes Perfect
Sometimes, setting up an instant tent can be tricky to get used to. Don’t worry about it if it takes a little practice. After all, practice makes perfect!
If you’re worried about setting up, take your instant tent into an open area and do a practice round.
This way, you’ll be able to make sure that all the parts were included in the original packaging and that you know any quirks of setting up before it’s go-time.
Teamwork & Communication
One of your biggest assets for setting up an instant tent is teamwork! It’s always easier to set up a tent when you grab a buddy to help you.
Especially since instant tents can be larger in scale, having another person on the other side of the tent when you’re setting up can be a huge asset.
With these tents, teamwork and good communication can go a long way.
Troubleshooting Tips
Dealing With Wind & inclement Weather
When dealing with wind and unfavorable weather, I highly recommend you use a rain fly to protect you and your gear from storm damage.
The rain fly will prevent you from being exposed to inclement rain and wind and help keep you as warm as possible inside the tent structure. They are a must-have in bad weather.
Additionally, when you find yourself in high winds and rain, make sure that you have securely staked down your tent in all potential spots.
While it’s imperative that you stake down your tent in any event, it’s especially important in high winds where tents can act like a kite and fly away!
Repairing Common Issues
The main issue campers run into with instant tents is broken pole joints.
This means that the joint where the extended poles click into place has been damaged in some way and will no longer extend to its full length.
This issue can compromise the structure of the tent itself.
If this happens on the trail, it’s best to use duct tape to keep the extended poles in the correct position. Once you get home, you can order the new part and replace it.
In addition, duct tape will also come in handy if you find yourself faced with any fabric tears throughout your camping adventure.
Many holes or tears can be patched up on the trail with a well-placed piece of duct tape.
What Is An Instant Tent?
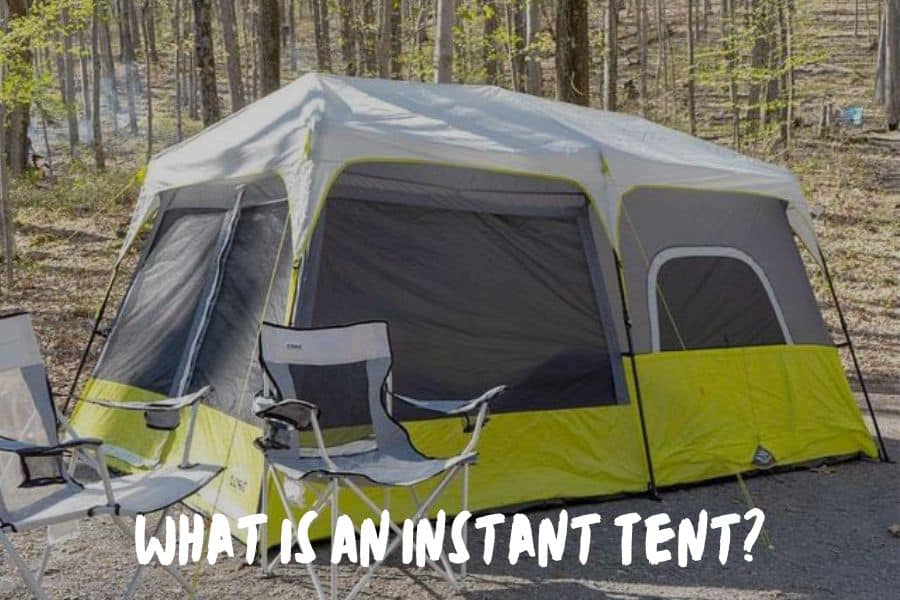
An instant tent is a tent that contains built-in poles and guylines for an easier and faster set-up process.
When you’re setting up an instant tent, it should take about a minute for you to extend the poles to their correct placement and set up the tent as a whole.
These tents are more bulky than other tents that can be completely broken down with poles removed.
Because of this, it’s better to use instant tents for backyard or car camping trips.
They are best when you won’t need to carry the tent materials an especially far distance.
Preparing For Set-Up
Selecting A Suitable Campsite
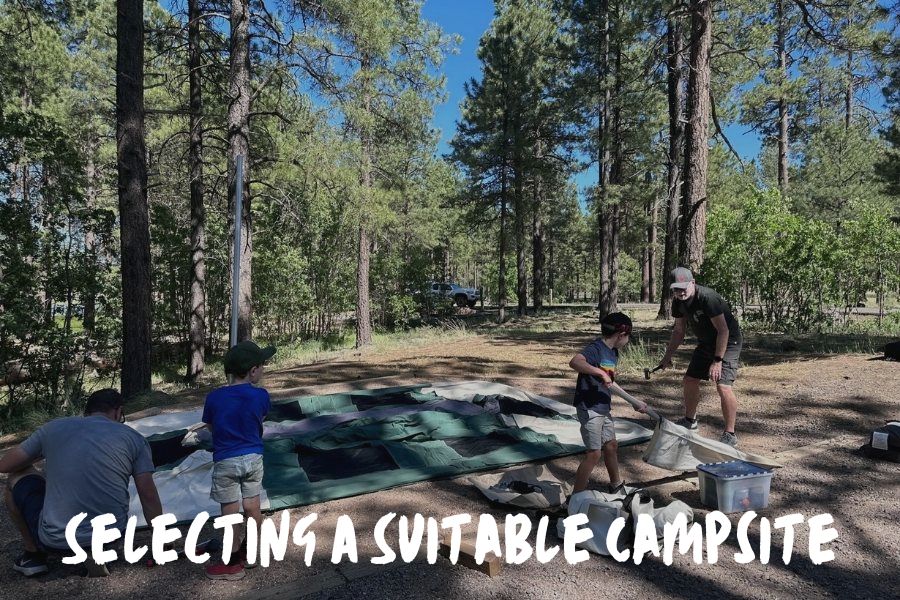
Before you start the set-up process, make sure to check the area around you to ensure that the area will be conducive for pitching your tent.
The best camping spots are flat and a safe distance away from running water. Try to avoid any especially rocky or root-heavy areas.
Even on the flattest areas, there will likely be rocks and other “bumps” on the ground.
Before you lay out your tent, scan the ground and move any rocks or other obstacles out of the way.
For safety purposes, also try to avoid camping under large trees with branches that stretch out over your tent area.
In the case of unfortunate weather and storms, these branches can fall and damage any tent that’s underneath them.
Note: In most cases when camping at a campground there will already be a tent pad. It is always best to pitch your tent at the tent pad location as that is already a safe and well-worn location typically with packed sand and some gravel to make it easier to stake your tent and generally less lumpy to step on when inside of your tent.
Gathering Your Equipment
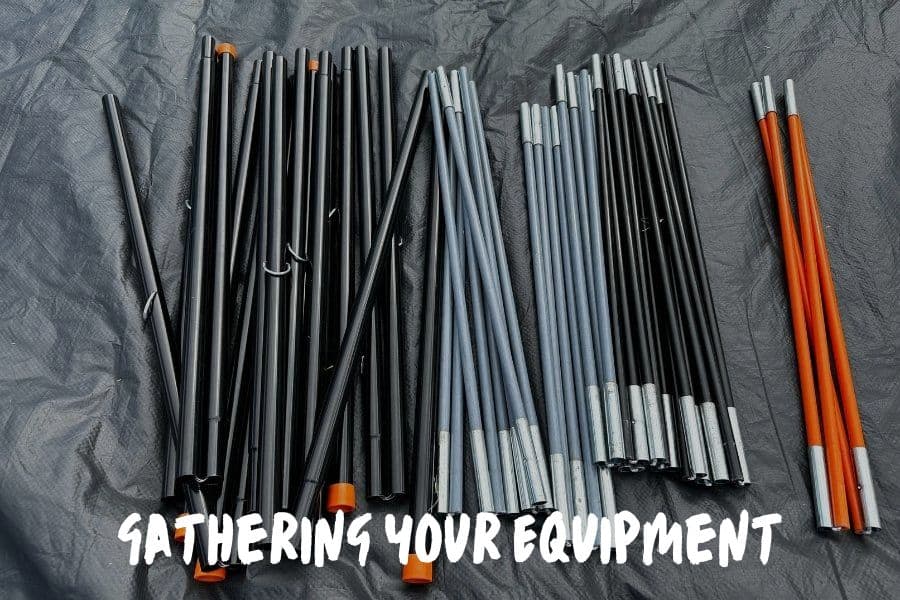
Before you start pitching your tent, make sure you have all the equipment to properly set up and secure your tent for your whole stay.
While the majority of instant tent materials are within the structure of the tent, you want to make sure you’ve located the tent’s stakes and rain fly.
Some instant tents don’t automatically come with a rain fly.
If this is the case for you, I highly recommend that you purchase one from the manufacturer before you head out on your camping trip.
FAQs
What Is The Difference Between Instant Tents & Traditional Tents?
Instant tents have the poles and guylines already included in the tent structure. This makes it easy to set up the tent quickly and efficiently.
This does mean they can be bulky, so they are best used during backyard or car camping trips.
In comparison, traditional tents do not have built-in poles. Meaning, they can be a bit more complicated to set up.
But because traditional tents can be completely broken down, they’re better to take on longer backpacking treks.
Can One Person Set Up An Instant Tent?
Yes! Although it might be slightly more difficult, one person can absolutely set up an instant tent on their own.
How Long Does It Typically Take To Set Up An Instant Tent?
Instant tents are named as such because they’re super easy and fast to set up.
Most instant tents are designed to be set up in anywhere from 1 to 5 minutes. It just depends on the number of people helping with the process.
Are Instant Tents Suitable For All Weather Conditions?
As long as you use a rain fly, instant tents can stand up to most mild wind and rain conditions.
Because of their design and size, instant tents are not going to be the most effective insulators, though.
They may struggle to maintain heat inside the structure.
I do not recommend you use an instant tent in especially windy or cold conditions. In these moments, it’s best to opt for a traditional tent.
What Should I Do If I Lose The Tent Set-Up Instructions?
If you lose the tent set-up instructions, never fear! You should be able to find a new copy on the manufacturer’s website.
In addition, you can always find instructional videos on YouTube that can help you with the set-up process.
In all cases, the set-up process is fairly intuitive for instant tents.
If you’re out on the trail with no service, extend some of the poles and the shape will fall into place.
Final Thoughts On How To Set Up An Instant Tent
If you’re an avid backyard or car camper, an instant tent might be just the thing for you!
They’re quick, beginner-friendly, and overall easy to understand.
Because they are so easy to set up, these tents are a great addition to any gear collection.
Let us know if you have any questions!


