

It's fascinating how even a short downpour can destroy a camping trip.
Unless you're prepared, that is.
Does that mean you need to pack a bunch of extra camping equipment, just in case the weather changes? No.
You just need one simple, versatile item – a waterproof camping tarp.
In this article, I'll show you how to put a tarp over a tent in order to stay safe and dry.
So let's jump straight in!
3 Basic Tarp Configurations
One thing I like about tarps is that you can use them a bunch of different ways. Tarps are to camping what scarves are to clothing – suitable for all kinds of situations.
In fact, just add stakes and guy lines, and you can make yourself a nice shelter to protect you from the elements.
Here are three tarp configurations you're most likely to use on your average camping trip. If you are looking for a more comprehensive breakdown, check out our full tarp shelter configurations guide.
A-Frame
This is the most common way you'll see anyone use a camping tarp. Not just because it's the simplest, but also because it's the overall most effective method.
In terms of flavors, A-frame is vanilla.
And what's wrong with vanilla?
Further below, I'll go into detail on how to set up an A-frame tarp over your camping tent. But for now, I'll just mention that you just need a ridgeline, a cord or rope and pegs.
What you get is a traditional tent-type shelter, ideal for rainy weather. You can even make an A-frame shelter to use as the tent itself.
Lean-To Tarp
This is basically an A-frame tarp configuration cut in half.
You need a ridgeline, just like in the previous method, but only one side of the tarp goes to the ground, while the other folds over the ridgeline and stays taut with guy lines.
A lean-to tarp is very situational. You can use it, for instance, to protect the side of your tent with windows during the rain.
Arrowhead Tarp
This configuration is triangle-shaped and pointed towards the top, hence the name.
It's perfect for storing extra camping gear so that you can make better use of your tent space.
For this setup, you need to stake three corners of your tarp, while the fourth is raised. You can achieve that by either tying it to a tree or staking it with a tent pole or trekking pole.
3 Useful Knots To Know
Do you think you can properly set up a tarp without knowing some basic camping knots?
Think again.
Your construction will fall down as soon as the slightest breeze touches it.
But don't worry, learning these knots is not rocket science.
Bowline Knot
This is a classic knot that's easy to tie and untie, and doesn't slip or bind under load.
It's definitely one of the must-know camping knots. So if you don't know it already, start practicing as soon as you finish reading this article.
You'll need this knot for setting up a ridgeline. When you wrap your cord or rope around the first tree, you need to pass it through the loop made by this knot.
That way, you know it won't budge.
Taut-Line Hitch
For wrapping the cord or rope around the first tree, you'll be using a bowline knot. But for the other tree, you need to know a taut-line hitch.
It's non-slipping and adjustable, so you can tighten it when needed.
This hitch can also be used to tie guy lines to the stakes.
Prusik Hitch
Otherwise known as a sliding knot, a Prusik hitch will be quite handy if you're using a tarp with ridgeline loops.
You'll see what I mean in the section below.
How To Build A Basic Tarp Shelter Over Your Tent
The simplest tarp shelter you can make is the A-frame. It doesn't get any simpler than that. Or more practical, for that matter.
It's great for both rain and snow, and you can set it up in just a few minutes.
Here's how:
Step 1. Prepare Your Tarp
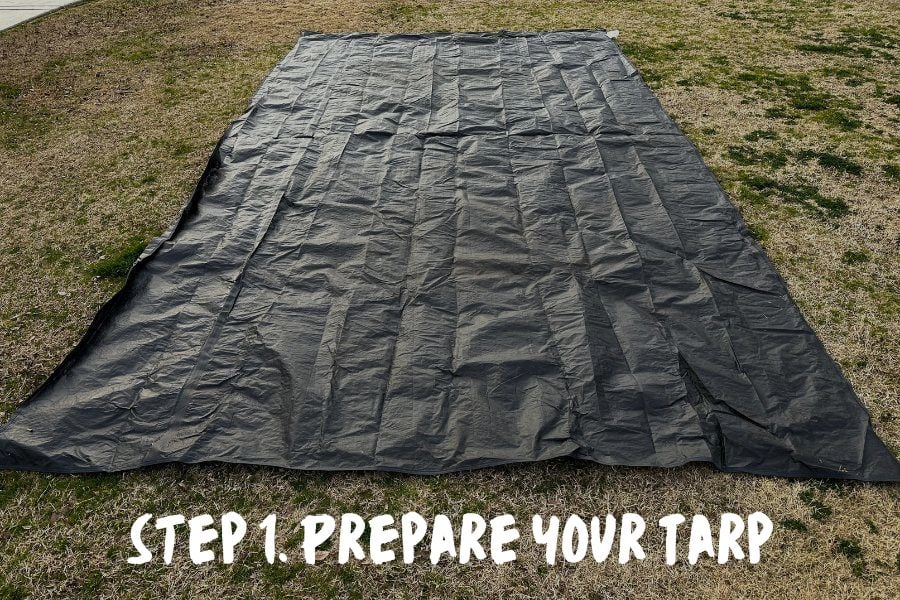
First, let's tie guy lines around the grommets on your tarp.
You're going to need them to make the whole construction taut.
Step 2. Create A Ridgeline
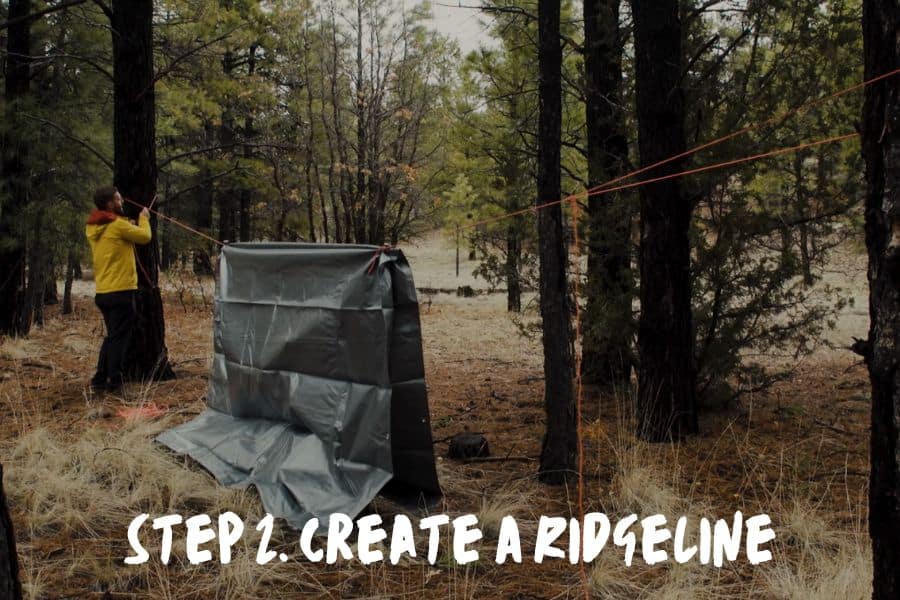
If there are two trees with less than 9 feet of distance between them nearby, you can use them to wrap your cordage and create a ridgeline. In case there aren't, see the alternative method below.
Make sure you set the ridgeline up higher than the height of your tent, as you're going to pitch it underneath later. But don't go too high either, because then it won't protect you when it starts pouring at an angle. A foot or two above your tent will be just enough.
Some tarps feature loops along the middle, which is where the ridgeline is supposed to go through. If that's the case with the one you own, you should pull the cord through them, and then wrap it around the tree.
When using a tarp with middle loops, the whole construction can move along the ridgeline, so you will need an extra hand in keeping everything taut.
Grab some paracord and tie a prusik knot on the first loop and the ridgeline. Then, repeat the same thing for the last loop as well.
But, if you're using a classic tarp without any loops, you've got one less worry. Just put the tarp over the ridgeline and move onto the next step.
Step 3. Staking Corners
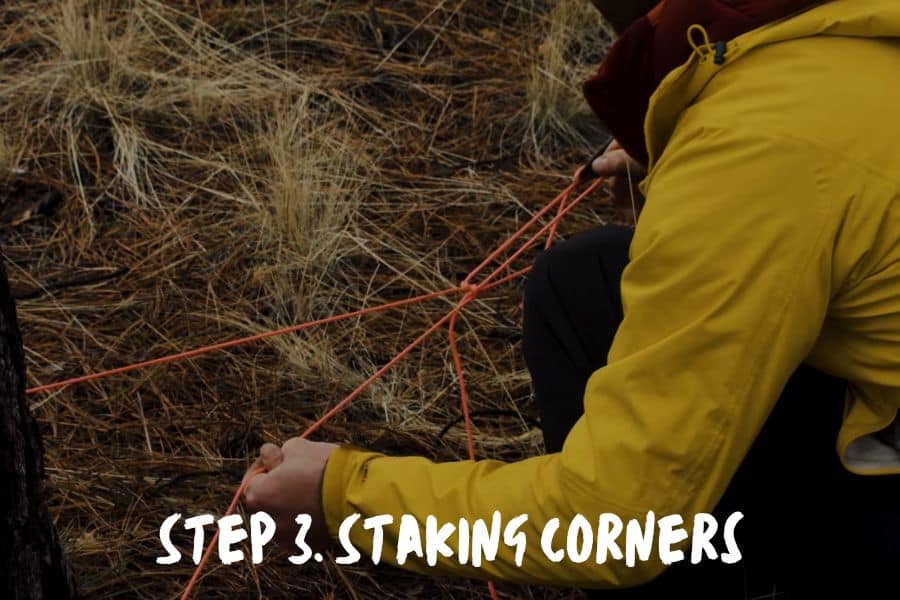
Remember those guy lines we tied around the tarp grommets?
Let's put them to work.
Grab your tent pegs and let's stake all four corners of the tarp, keeping everything as taut as possible.
And that's it!
Setting up a tarp is a piece of cake. Just make sure all sides are taut – you want the rain to flow down, not to create a pool of water on your tarp. You could also create a drip line, by tying a piece of cord to the ridgeline that will divert the water away from the tarp.
Alternative To Using Trees
Unfortunately, you won't always have trees that are proper distance apart around to help you. But don't fret, you can use telescopic tent poles instead.
The setup is pretty similar, but we're going to mix those steps up a bit.
The tent poles are going to replace the trees in this situation, but obviously, they can't stand straight on their own. That's why you're going to stake one side of the tarp first.
Now put your poles midway, at a 90° angle from the ground, and insert them into the grommets along the middle of the tarp edge.
Then, stake them down into the ground, and tighten them with guy lines so that they stay in place.
Finally, stake the corners on the other side of the tarp, and tighten the whole thing.
Other Uses For A Tarp

Tarps are like swiss knives – great for so many things.
Whenever I have some extra storage space, I pack two tarps. One for shelter, and the other one for whatever else comes to mind during the drip.
Let's look at a few other ways you can use them.
Underneath Your Tent
A tarp can work well as a groundsheet, too.
If you're camping on harsh terrain, you can put a groundsheet, otherwise known as a tent footprint, under your tent. That way, it protects your tent floor from wearing out.
Because no matter how durable your tent might be, a tarp is even more sturdy. And probably quite a lot cheaper.
What's more, that added layer between the ground and you will help you stay slightly more comfortable. When you're sleeping in a tent, every bit counts.
You should place a tarp underneath your tent when the soil is wet and muddy, too. As you already know, packing a wet tent can easily cause mold and mildew to form. And even if you're packing on a nice, sunny day, the soil underneath your tent could still be wet from previous rainy days.
That means the bottom of your tent will still be wet – unless you used a tarp as a groundsheet.
One note though:
When putting a tarp underneath your tent, make sure none of the edges are sticking out from underneath. Otherwise, water could get in and create a pool beneath, which is quite the opposite of what you want to achieve by using a groundsheet.
Shelter Over The Cooking Station
It's going to rain for the entire duration of your trip?
Don't let that stop you from enjoying some nice camping meals like frittatas and stews.
You can set up your cooking station underneath a tarp, and you basically won't know it's even raining.
Over The Campfire
Who said you can't set up a campfire when it's raining?
In this case, a classic tarpaulin works better than a nylon tarp because it's fire-retardant. But, as long as you put it up high enough, you should be fine either way.
If possible, it's better to make a lean-to construction than a classic A-frame above the campfire, so that there's more space for the smoke to escape.
Side Protection
It's not that uncommon to see it raining at a 90° angle (thanks a lot, wind). That means that, more often than not, a shelter above your head won't be sufficient.
An umbrella doesn't usually save your boots from getting wet, does it?
But if you're lucky enough that the wind blows in just one direction, you can use a tarp to create additional protection on the side.
Just make sure to keep it at a slight angle and taut, so that water doesn't collect.
To Sum Things Up
Tarps are such a versatile piece of camping equipment.
And considering how lightweight they are, there's no reason not to bring them on every camping trip.
Not only does a tarp protect your tent from the elements, but it can also allow you to cook and enjoy the beauty of a campfire, even on a rainy day.
With a tarp as a staple in your camping equipment inventory, you won't have to worry about any unexpected weather conditions ruining your trip.