

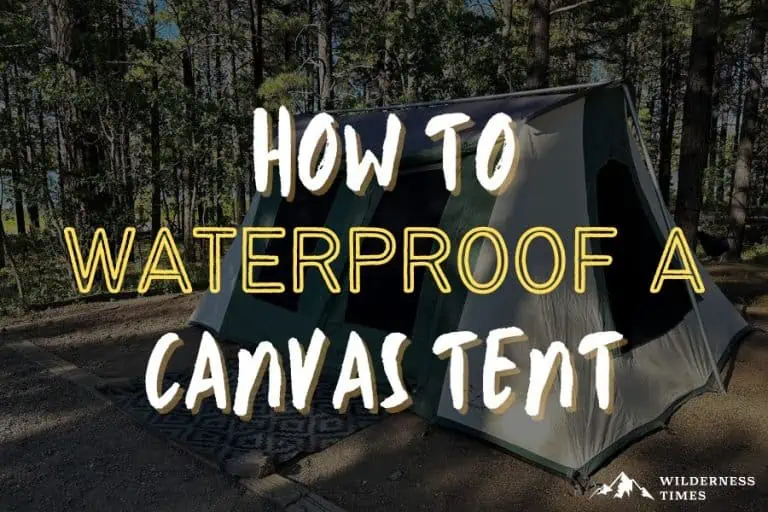
Lots of people believe canvas tents aren't waterproof.
And while they don't come waterproof straight out of the box, there are a couple of things you can do to make them as impervious to water just like nylon and polyester camping tents are.
There are two methods of achieving that – seasoning and waterproofing. In this article, I'll cover what each of these methods does and how to waterproof a canvas tent at home.
Seasoning Vs. Waterproofing
Canvas has some natural water resistance.
Just like wood, cotton fibers swell once they get wet, so the drops don't get through the weave. However, don't expect a canvas tent to keep you dry during a rainstorm.
Here's why: throughout the manufacturing process, different pieces of fabric are sewn together to make a tent.
The process involves a lot of sewing, and everywhere the needle pierces through the canvas, it creates a tiny hole.
These holes are what's letting in the water drops.
But, there's something you can do to prevent waking up in a pool of water if it starts raining overnight.
Actually, there are two methods you can implement – seasoning and waterproofing your canvas tent.
First, let's break down what each of these means.
Seasoning a canvas tent has nothing to do with adding salt, pepper and other spices to your tent, even though it might sound like that.
Seasoning means preparing your canvas tent for different seasons, including wet weather.
As previously mentioned, the sewing process creates plenty of needle holes that eventually allow water to get through. Seasoning a tent will reduce the size of the holes and prevent your canvas tent from leaking.
It's simple to do – basically, you're fighting fire with fire. Well, in this case, you're fighting water with water.
Remember how I compared canvas to wood? Well, when saturated in water, cotton swells and just like that – all those needle holes are gone.
So all you need to do is soak your tent a couple of times, and there you have it – a waterproof tent.
Now, you might be wondering – if seasoning makes your tent impervious to water, what does waterproofing do?
This method implies using some kind of a waterproofing product on your canvas tent. This type of product does a good job of sealing all the needle holes.
In fact, they do it too well. As a result, the canvas is no longer breathable.
But if that's the case, why would anyone go for waterproofing instead of seasoning?
When you first buy a canvas tent, seasoning is a must if you want to keep the water out of your tent.
However, an old tent simply won't be as impervious to water as it used to be when it was new.
In this case, you'll need to use a waterproofing product on it.
How To Season A Canvas Tent In 5 Easy Steps
Seasoning a canvas tent is a piece of cake.
You'll need three things: a water hose, a backyard and a bit of patience.
Let's see what you need to do, step by step.
Step 1: Pitch your tent
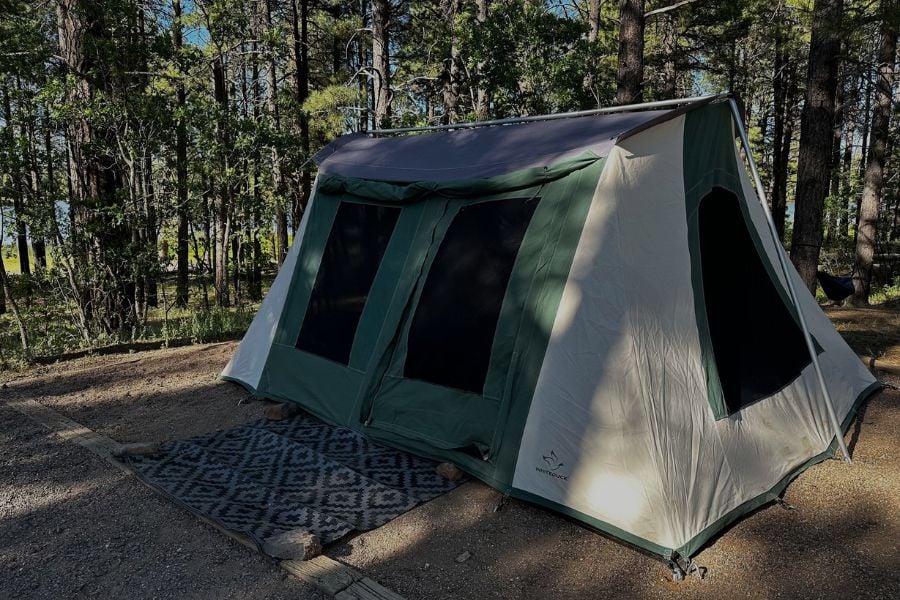
Find a suitable place in your backyard to set up your tent.
It will have to stay there for a few days, so do it somewhere where it won't stand in the way. If you don't want your kids to accidentally knock it down with a football, it's probably better to pitch it in the corner, right?
Keep in mind that the balcony won't do, no matter how large. You'll need a proper yard, and if you don't have one, you'll have to ask a friend or relative to let you pitch the tent in theirs.
Set it up just like you would when camping.
Stretch out the canvas as much as possible, then close all the doors and windows.
Step 2: Soak the canvas
Okay, now that you have everything ready, it's time to get the tent soaked.
Theoretically, you could keep an eye on the weather forecast and pitch your tent up just before a rainstorm. However, the rain might not last long enough to soak the tent completely.
Plus, no one can know for sure if your tent will have enough time to dry out before the next drizzle.
Therefore, waiting for a longer period of sunny days is a much better option.
To get the tent soaking wet, use a water hose. Make sure every bit of the canvas is drenched to the bone.
This is especially important for seams. These are the places where water usually finds its way through, so seasoning the tent seams is a must.
To soak the tent you'll need at least 5 minutes of hosing. The more, the better.
After you're done, open the doors and look at the canvas. If there are any areas where the sun peaks through the needle holes, these places need some extra soaking.
Don't worry, there's no such thing as drenching your tent too much. In fact, it's always better to do some extra soaking the first time you're seasoning a tent.
Step 3: Repeat the process
I said that sunny days are the best time to season a tent. Depending on how hot it is, it will take anywhere from 4 to 24 hours to air dry.
But you don't want the sun to just dry it. Ideally, you want the canvas to get baked. By baked, I mean hot to the touch.
With a little bit of luck, the weather will be on your side and your tent will be blazing after a few hours spent in the sun.
Once that happens, it's time to repeat the whole process.
Adjust the tent if needed, to make sure every bit of canvas is stretched tightly.
Once again, make sure the doors and windows are properly closed, then grab your water hose again.
You're about to "shock" your tent with the cold-hot-cold treatment. This will help the canvas threads swell even more and, hopefully, shorten your seasoning process.
After another 10-minute hosing session, let the tent air dry. Again.
Step 4: Test time
For most tents, it takes about three to four soakings and bakings for the canvas to become water-resistant.
But even if you've repeated the process multiple times, always check your result before camping. The last thing you want is to find out about a leak during a rainstorm in the woods, right?
At this stage, pitching a tent when it's about to rain is a good idea. There's no better way to check if the seasoning process worked.
If you're unlucky with the forecast, simulate a rainfall with a hose again.
After the tent gets wet, open the doors and look inside. Ideally, there shouldn't be any leaks. If you do find one, however, then it's time to apply a waterproofing product to that area.
Step 5: Air dry and pack it up
And that's it!
After a couple of seasoning sessions and possibly the help of a waterproofing spray, your tent is ready.
Once it's completely dry, pack it up until you're ready to test it out in the field.
However, don't expect the seasoning to last forever. You should repeat this process every 12 months or so, to prolong your tent's life.
How To Waterproof A Canvas Tent In 4 Easy Steps
With time, your canvas tent will lose its water-resisting ability, even if seasoned annually.
This tent fabric simply wears down eventually and the fibers don't swell as much when wet. That's when you need to get a waterproofing product to keep the water out of the tent.
There are different types of these products on the market.
If you only need to use it on certain areas that are letting the water through, then a waterproofing spray is a good option.
On the other hand, for large surfaces, you can get a bottle of concentrate that can be rolled on.
There are also products specially designed for seam sealing.
As you know, seams are more likely to let the water through. This is even more true for canvas tents, as their seams aren't factory-sealed like they are on a nylon tent.
Here's how to apply tent waterproofing spray and a seam sealant to a canvas tent:
Step 1: Place a tent on a flat surface
Take your tent and spread the canvas across a flat surface in your yard.
Ideally, you'll want to do it on a sunny spot, which will help with drying.
Step 2: Cleaning time
The tent needs to be clean before applying a product.
That means removing any dirt or soil left from your last camping trip.
For cleaning canvas, soap and water will do the trick. Use a hard bristle brush if you need to remove a stain.
In case of extremely persistent dirt spots, a pressure washer might be the best option.
Step 3: Apply a product
Fully saturate a waterproofing product on the desired area, whether it's only the weak spots or the entire tent.
Apply a seam sealer on the seams. Use a soft bristle brush to properly impregnate these areas, so that there's no possibility of leakage.
After you're done, let it air dry.
Step 4: Hose it off
It's time to make it rain again.
Take your hose and pour the water down the tent.
You should be able to see droplets gliding off the tent material. If that happens, you did a great job at waterproofing your canvas tent.
To Wrap It Up
Contrary to popular opinion, canvas tents can keep you dry during a rainstorm.
Unlike nylon tents, it's not ready to withstand water straight from the factory, but the process of making it waterproof is simple.
With a little time and water, anyone can do it at home.
More on Tent & Gear Maintenance: